Application Tagging
Getting Started with the Migration Planner
The Cloudamize Migration Planner will assist you in creating and executing a migration plan by visualizing all available machines and application-level data. Cloudamize Migration Planner provides several tools to assist you in planning your cloud migration process. Migration Planner allows you to create Groups based on Machine or Application. It also allows you to filter the Application and Hide unwanted apps. Migration Planner also provides Detailed reporting on SQL licensing, application interconnectivity, firewall rules, and more. Migration Planner also allows you to create Custom reports based on specific criteria.
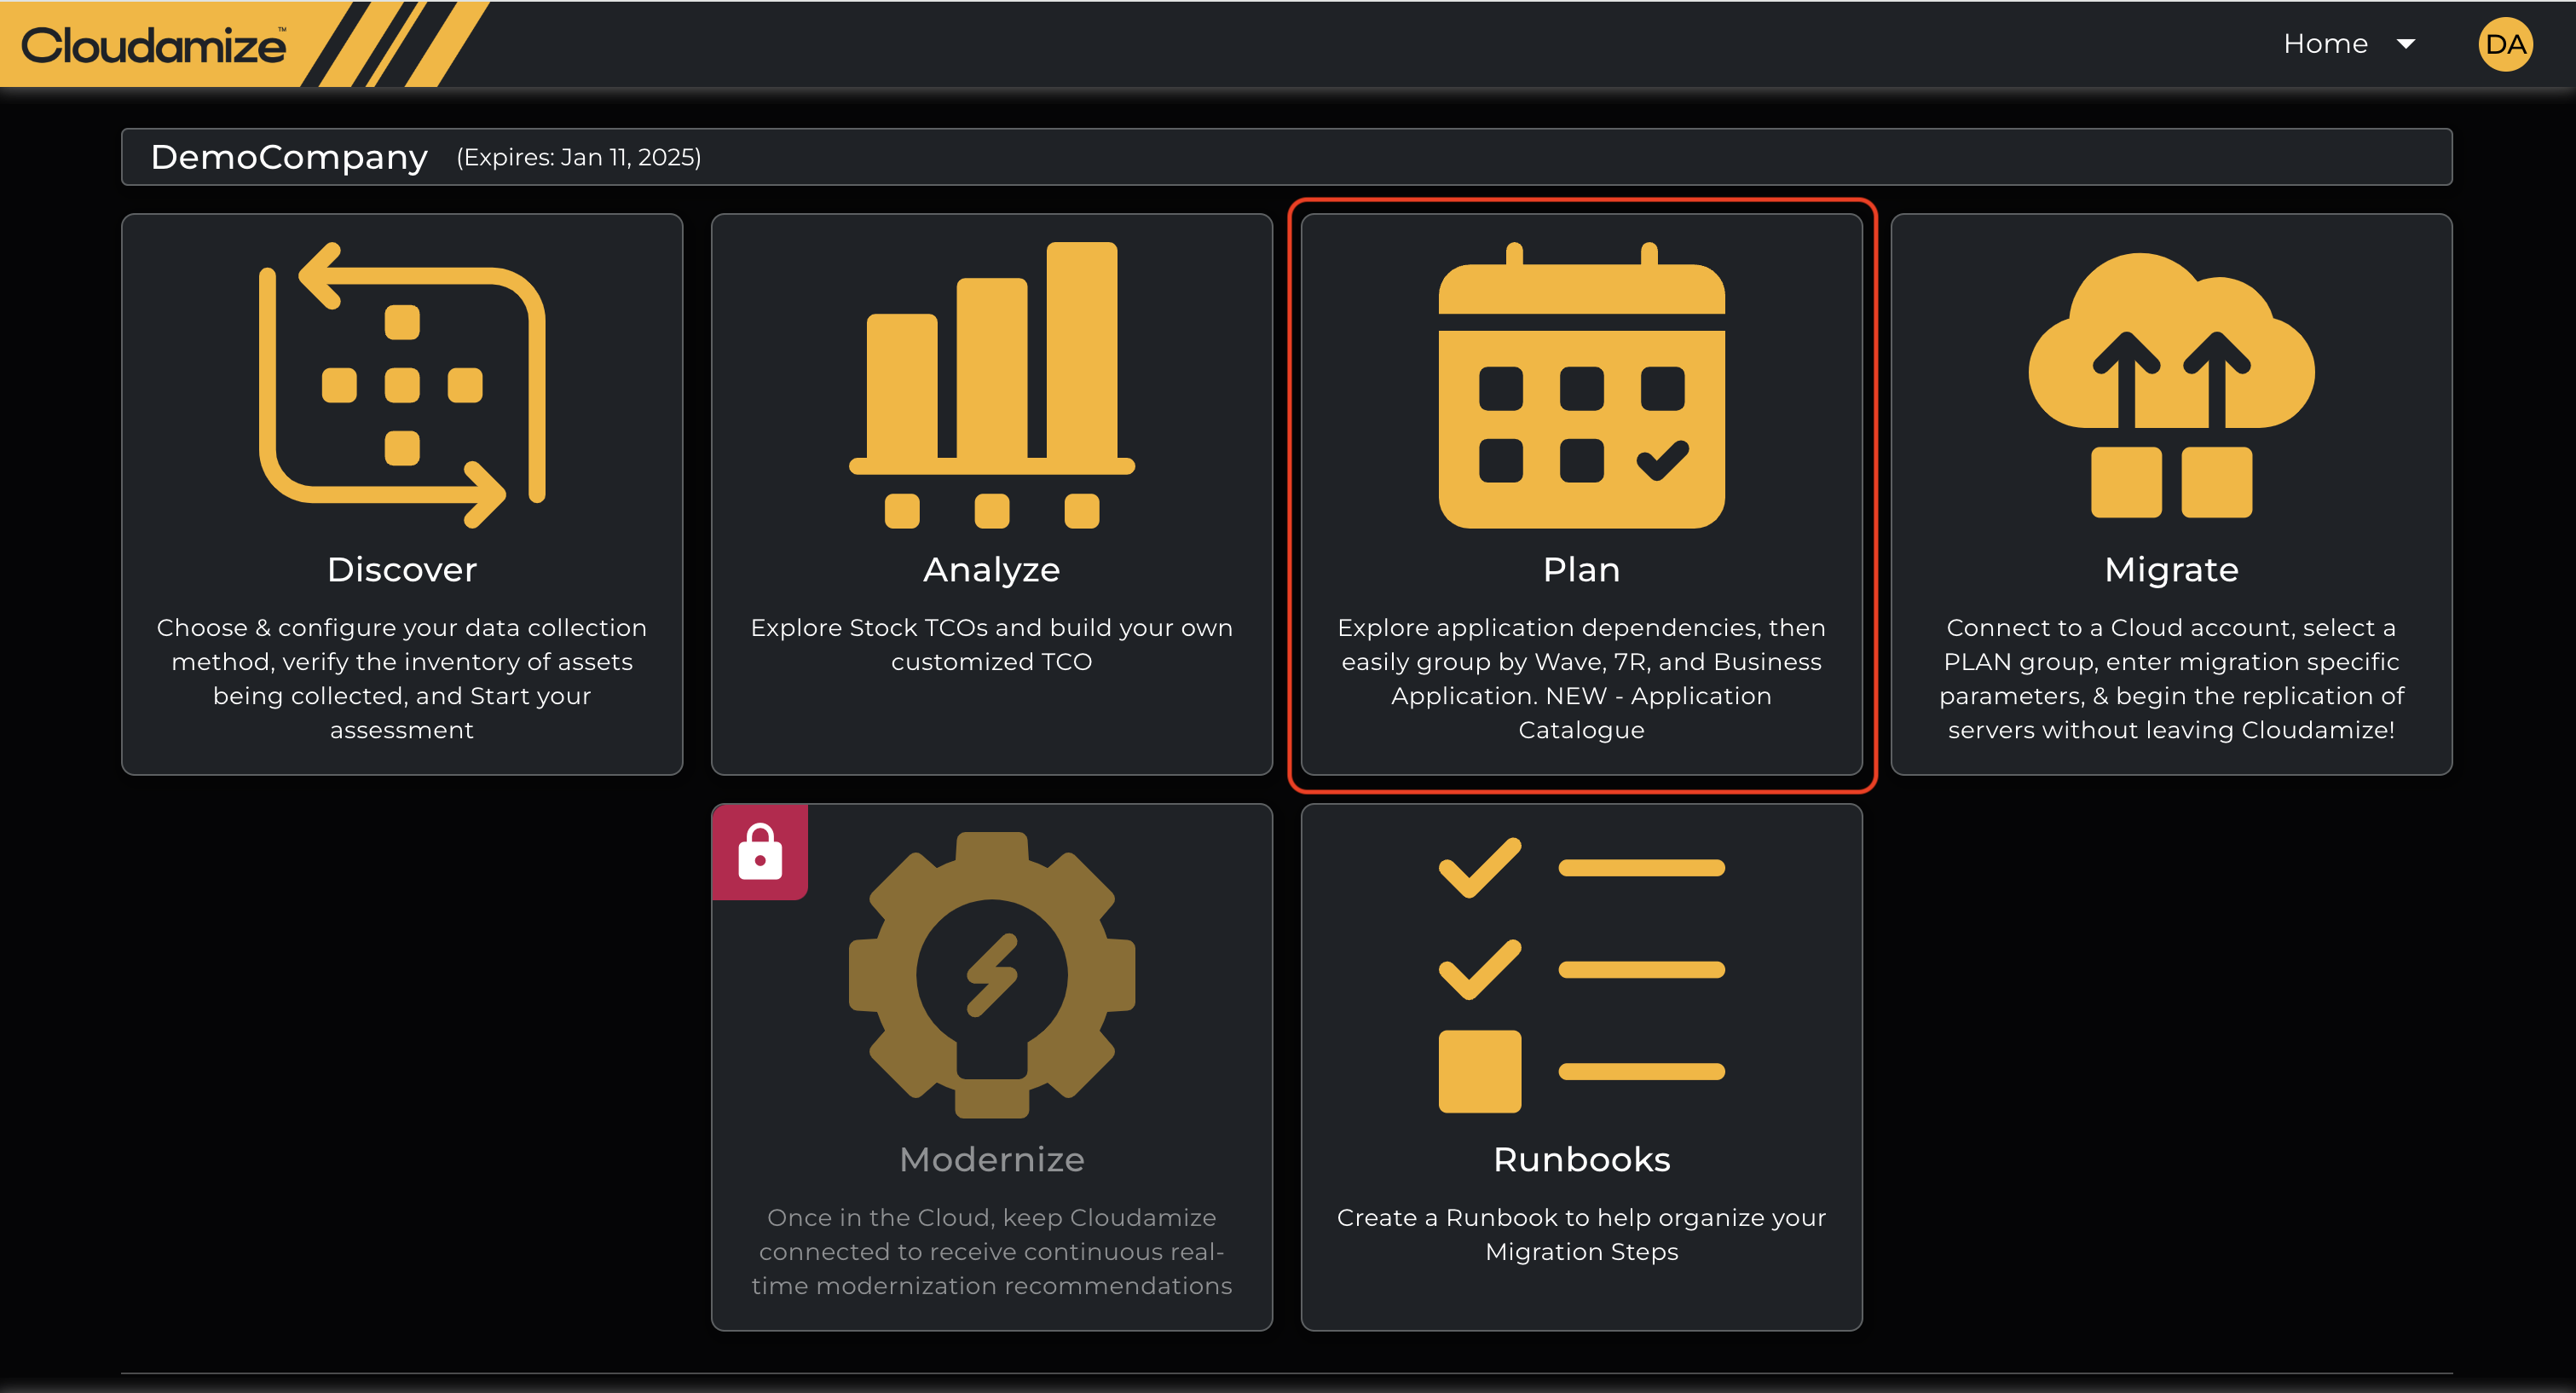
To access the Migration Planner, please log into console.cloudamize.com and click on the ‘Plan' option on the Cloudamize Landing Page, as shown in the screenshot below.
Once you select the Plan option, the screen will load below.
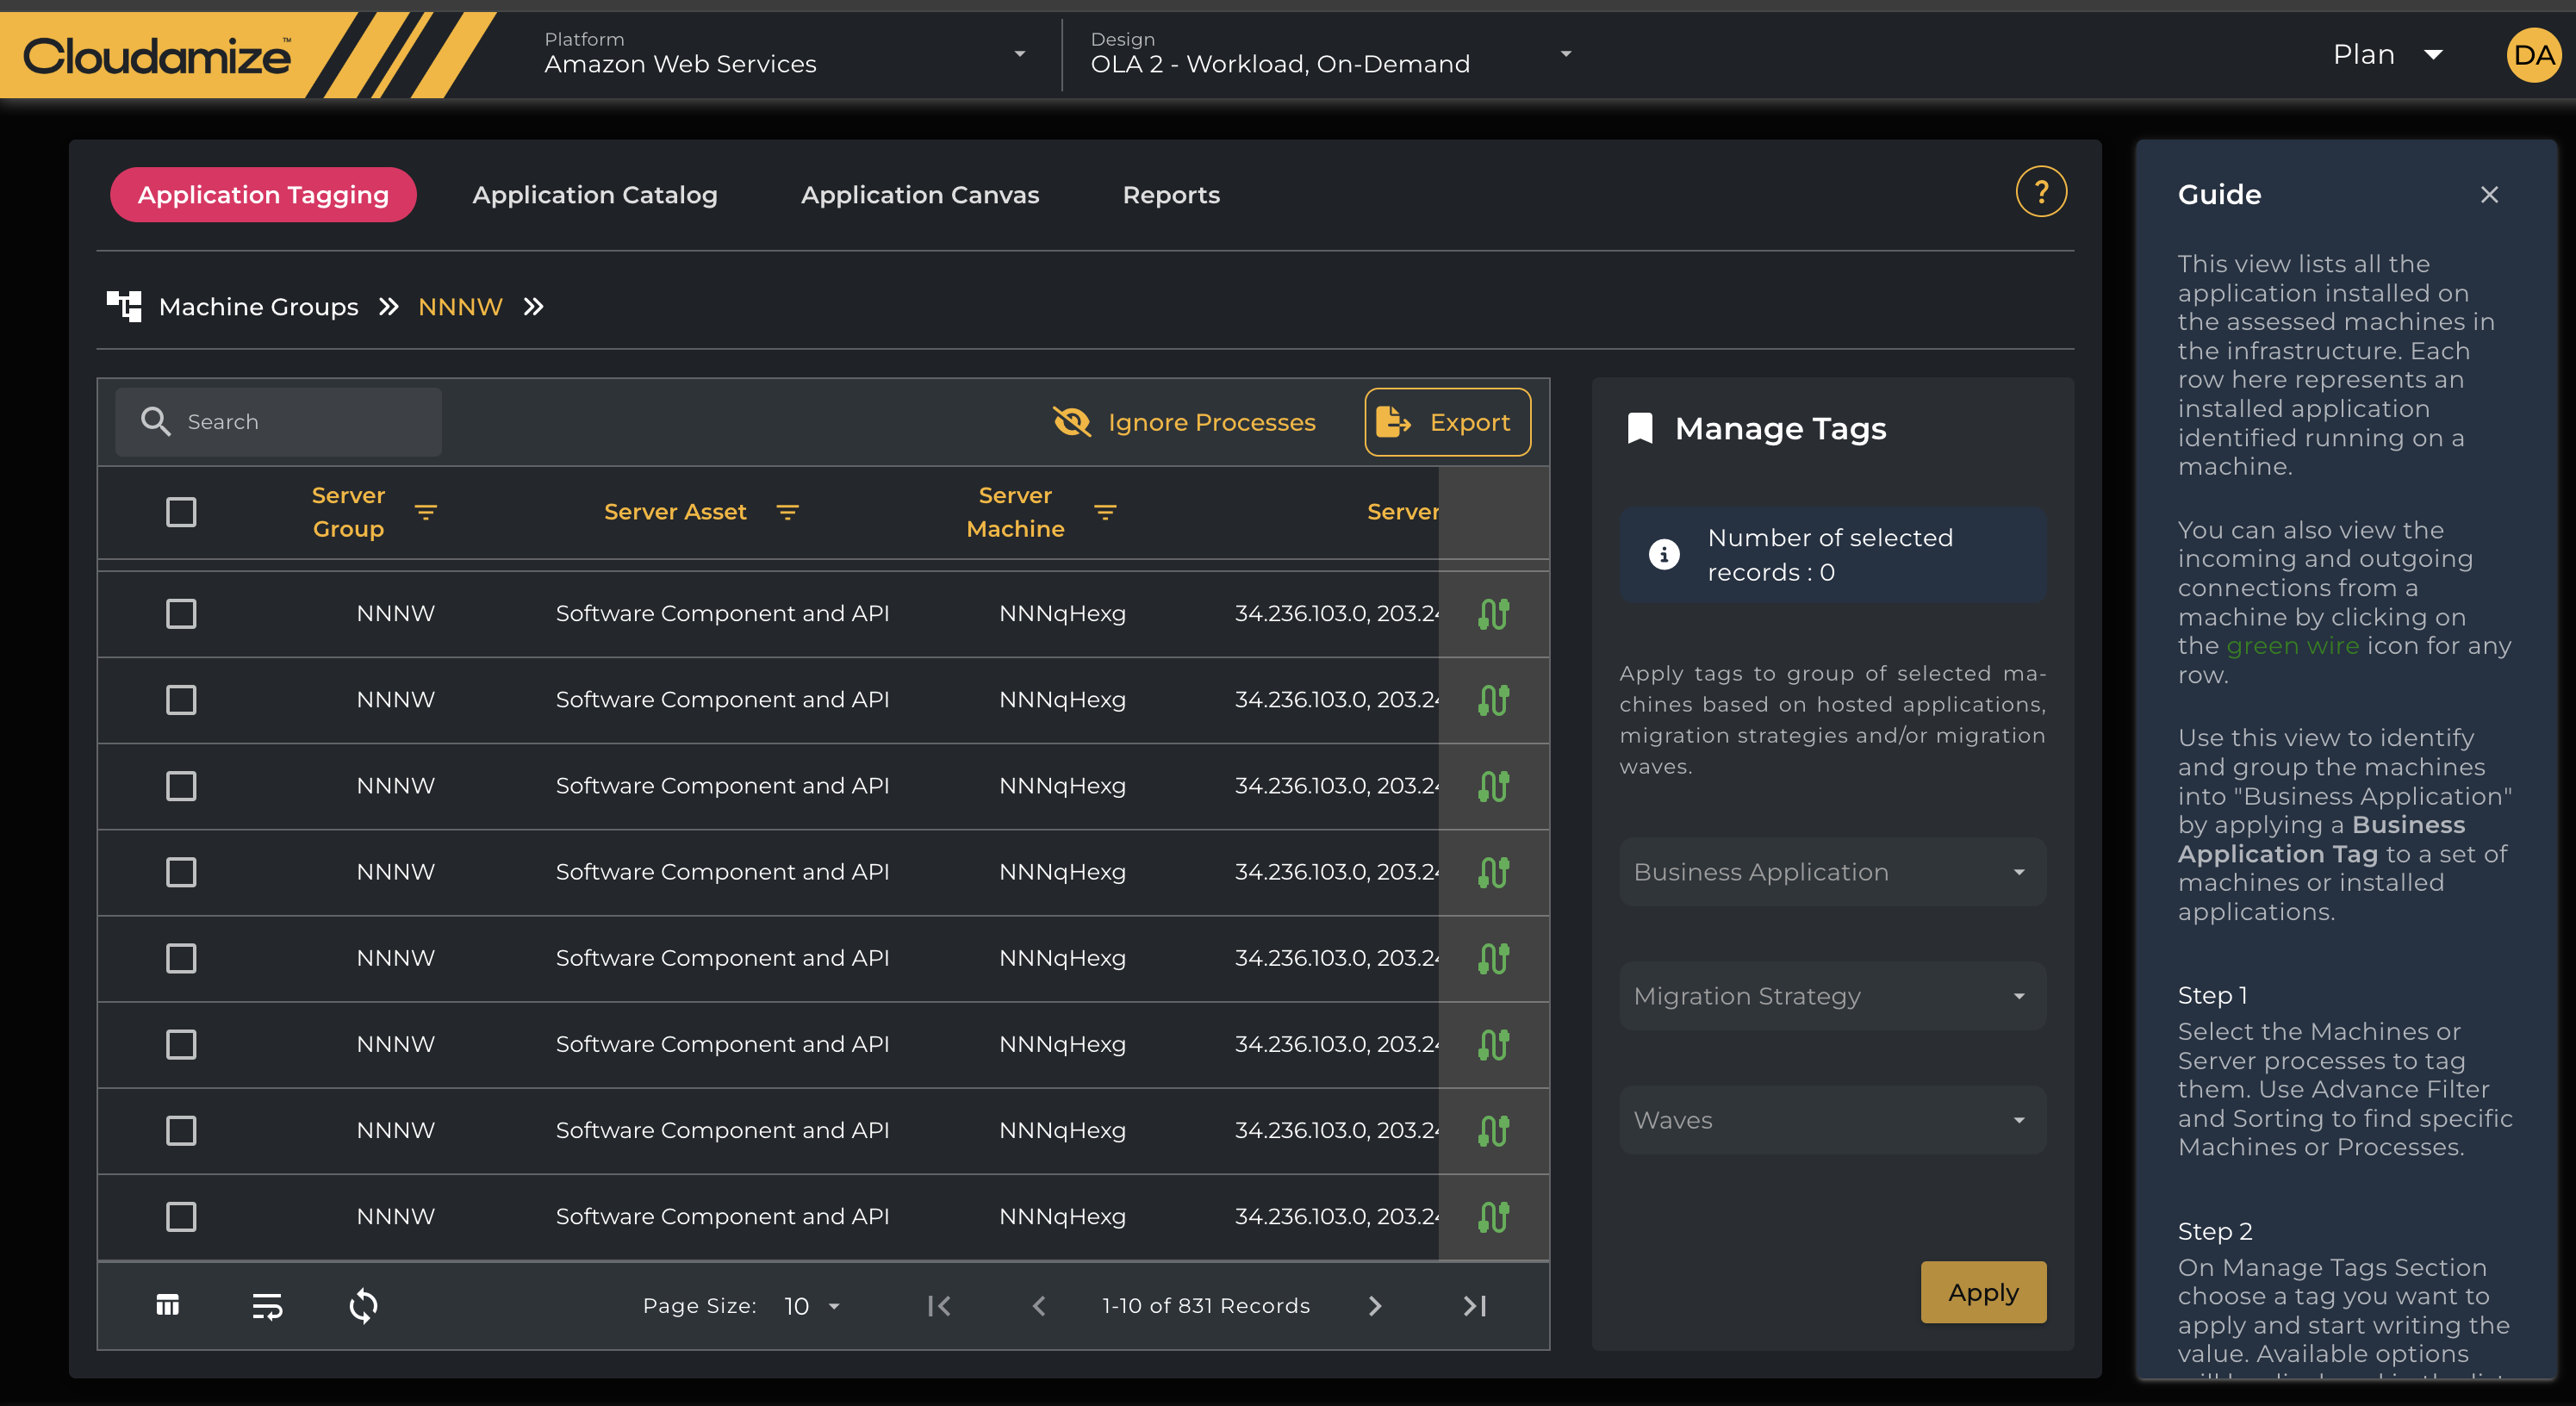
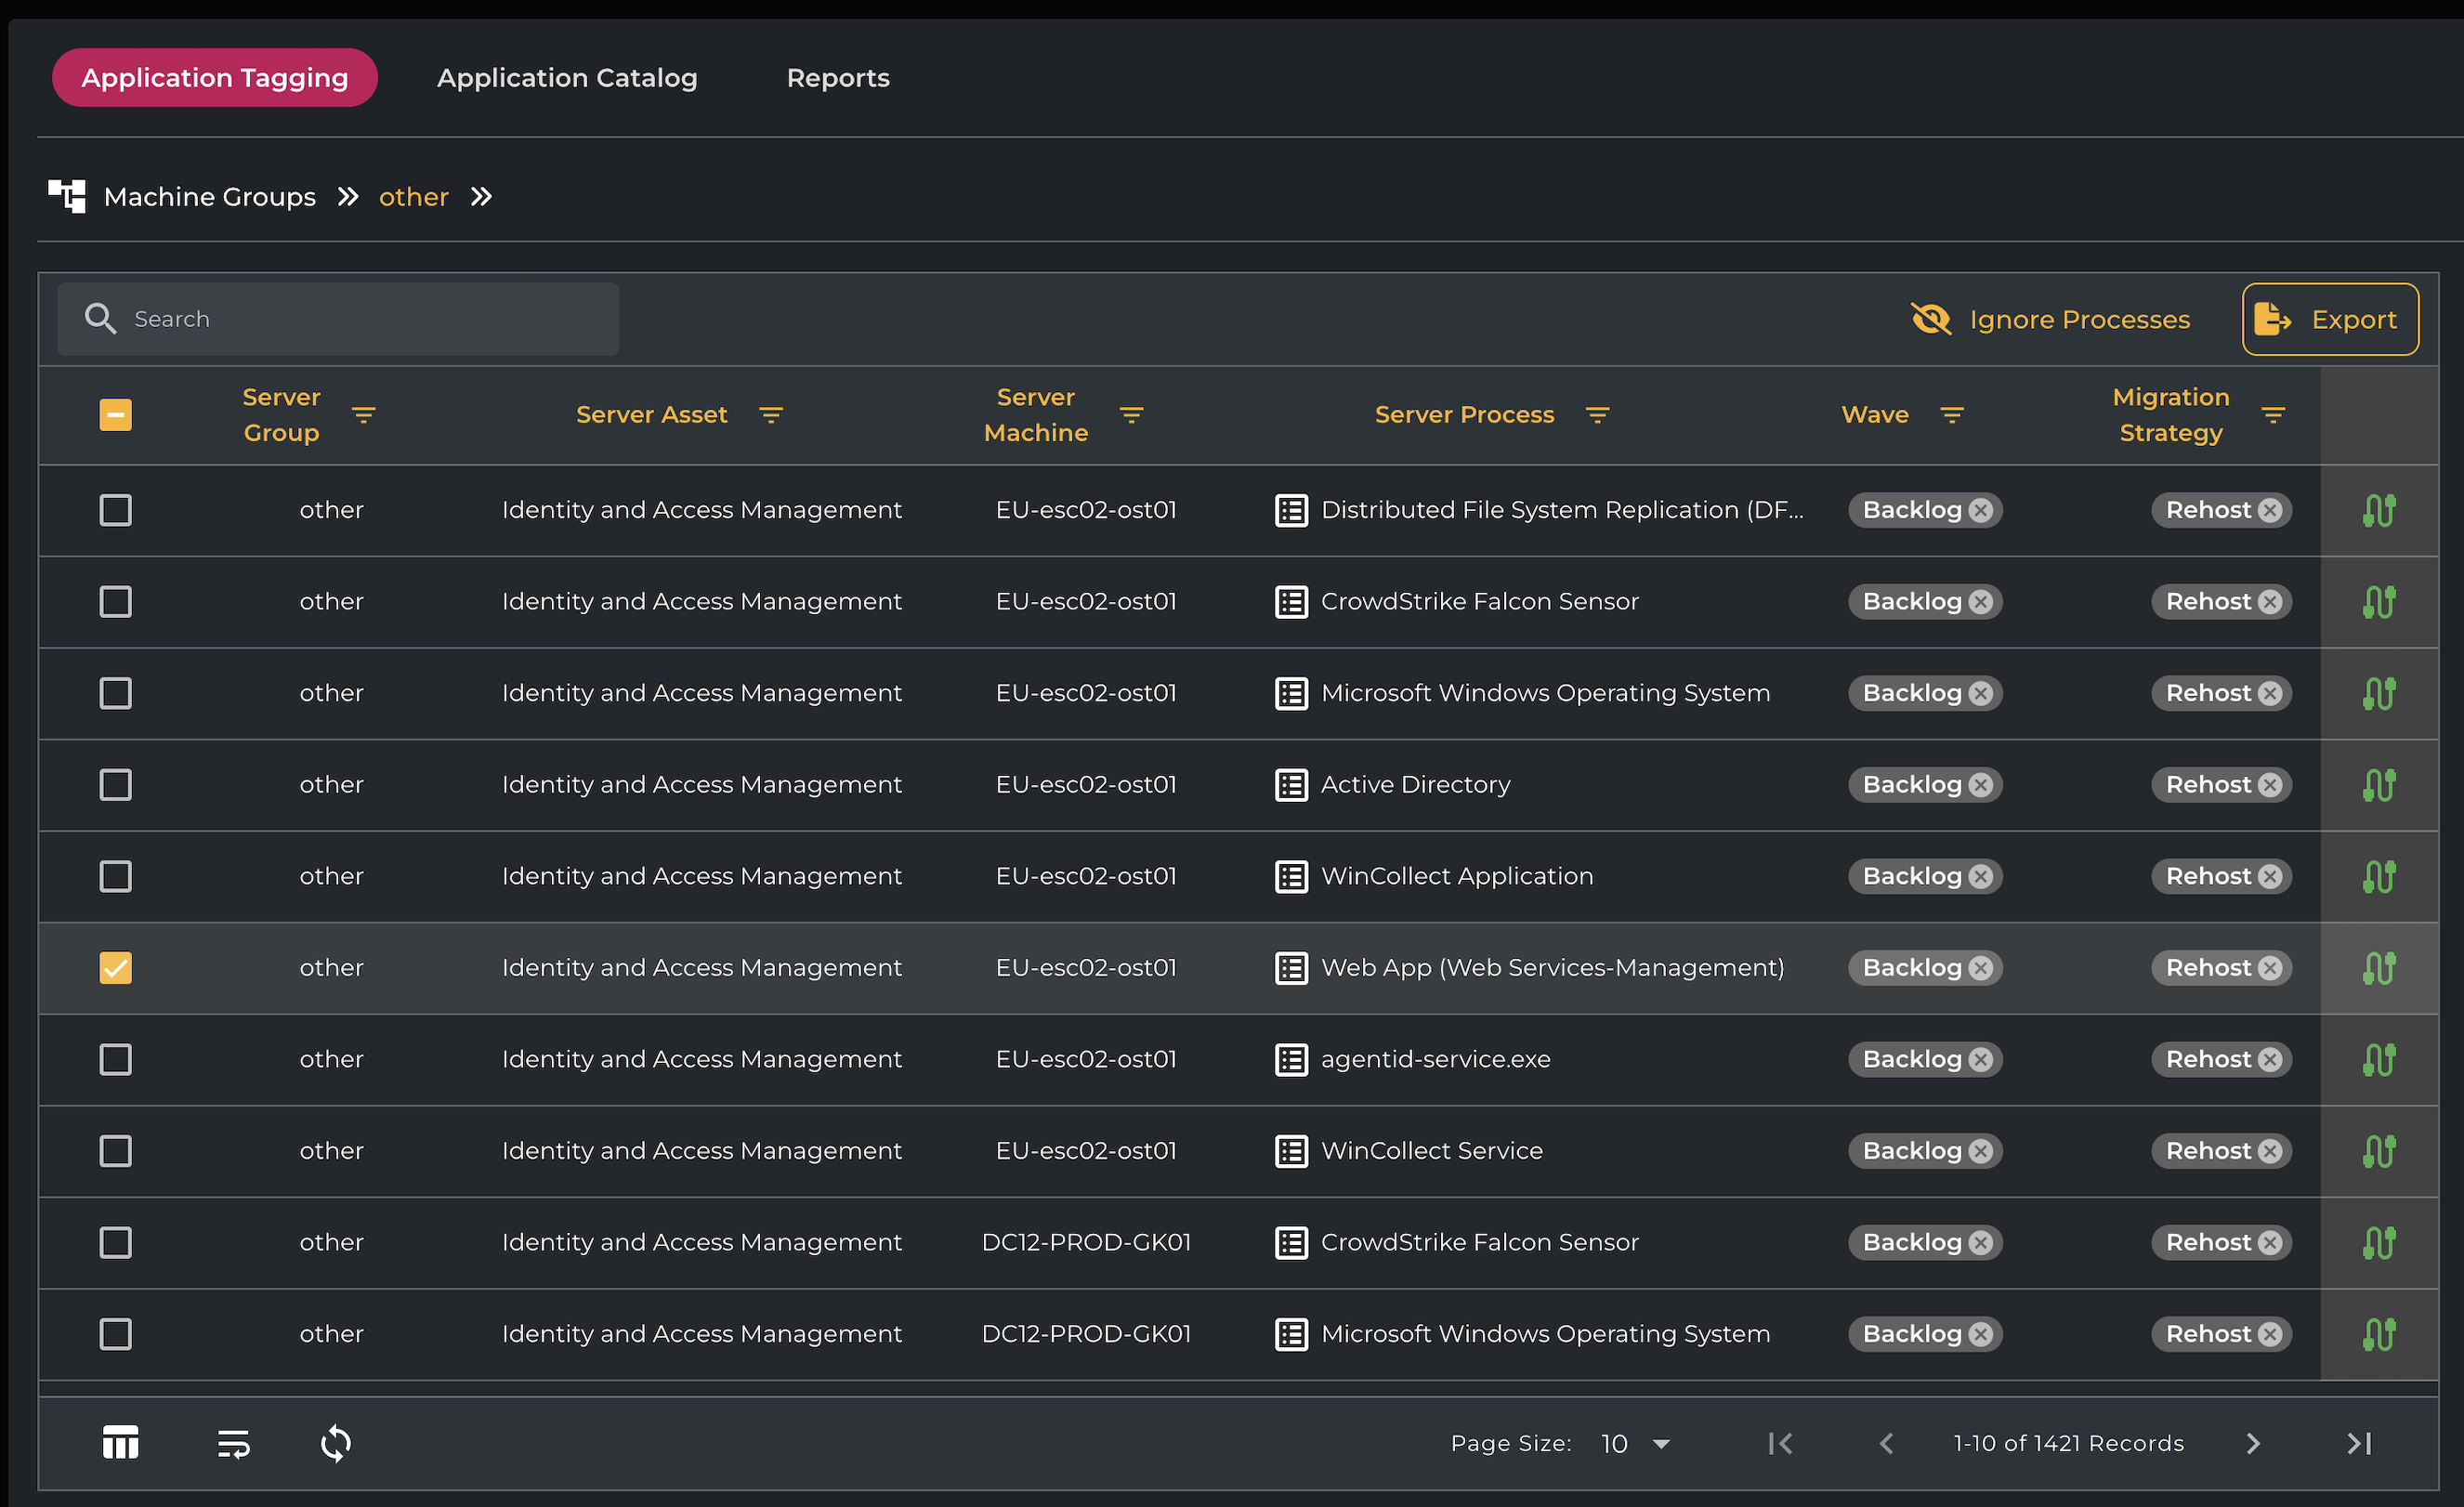
The Application Tagging in the Migration Planner provides a Server Application View. This view lists all the applications installed on the assessed machines in the infrastructure. Each row represents an installed application identified as running on a machine.
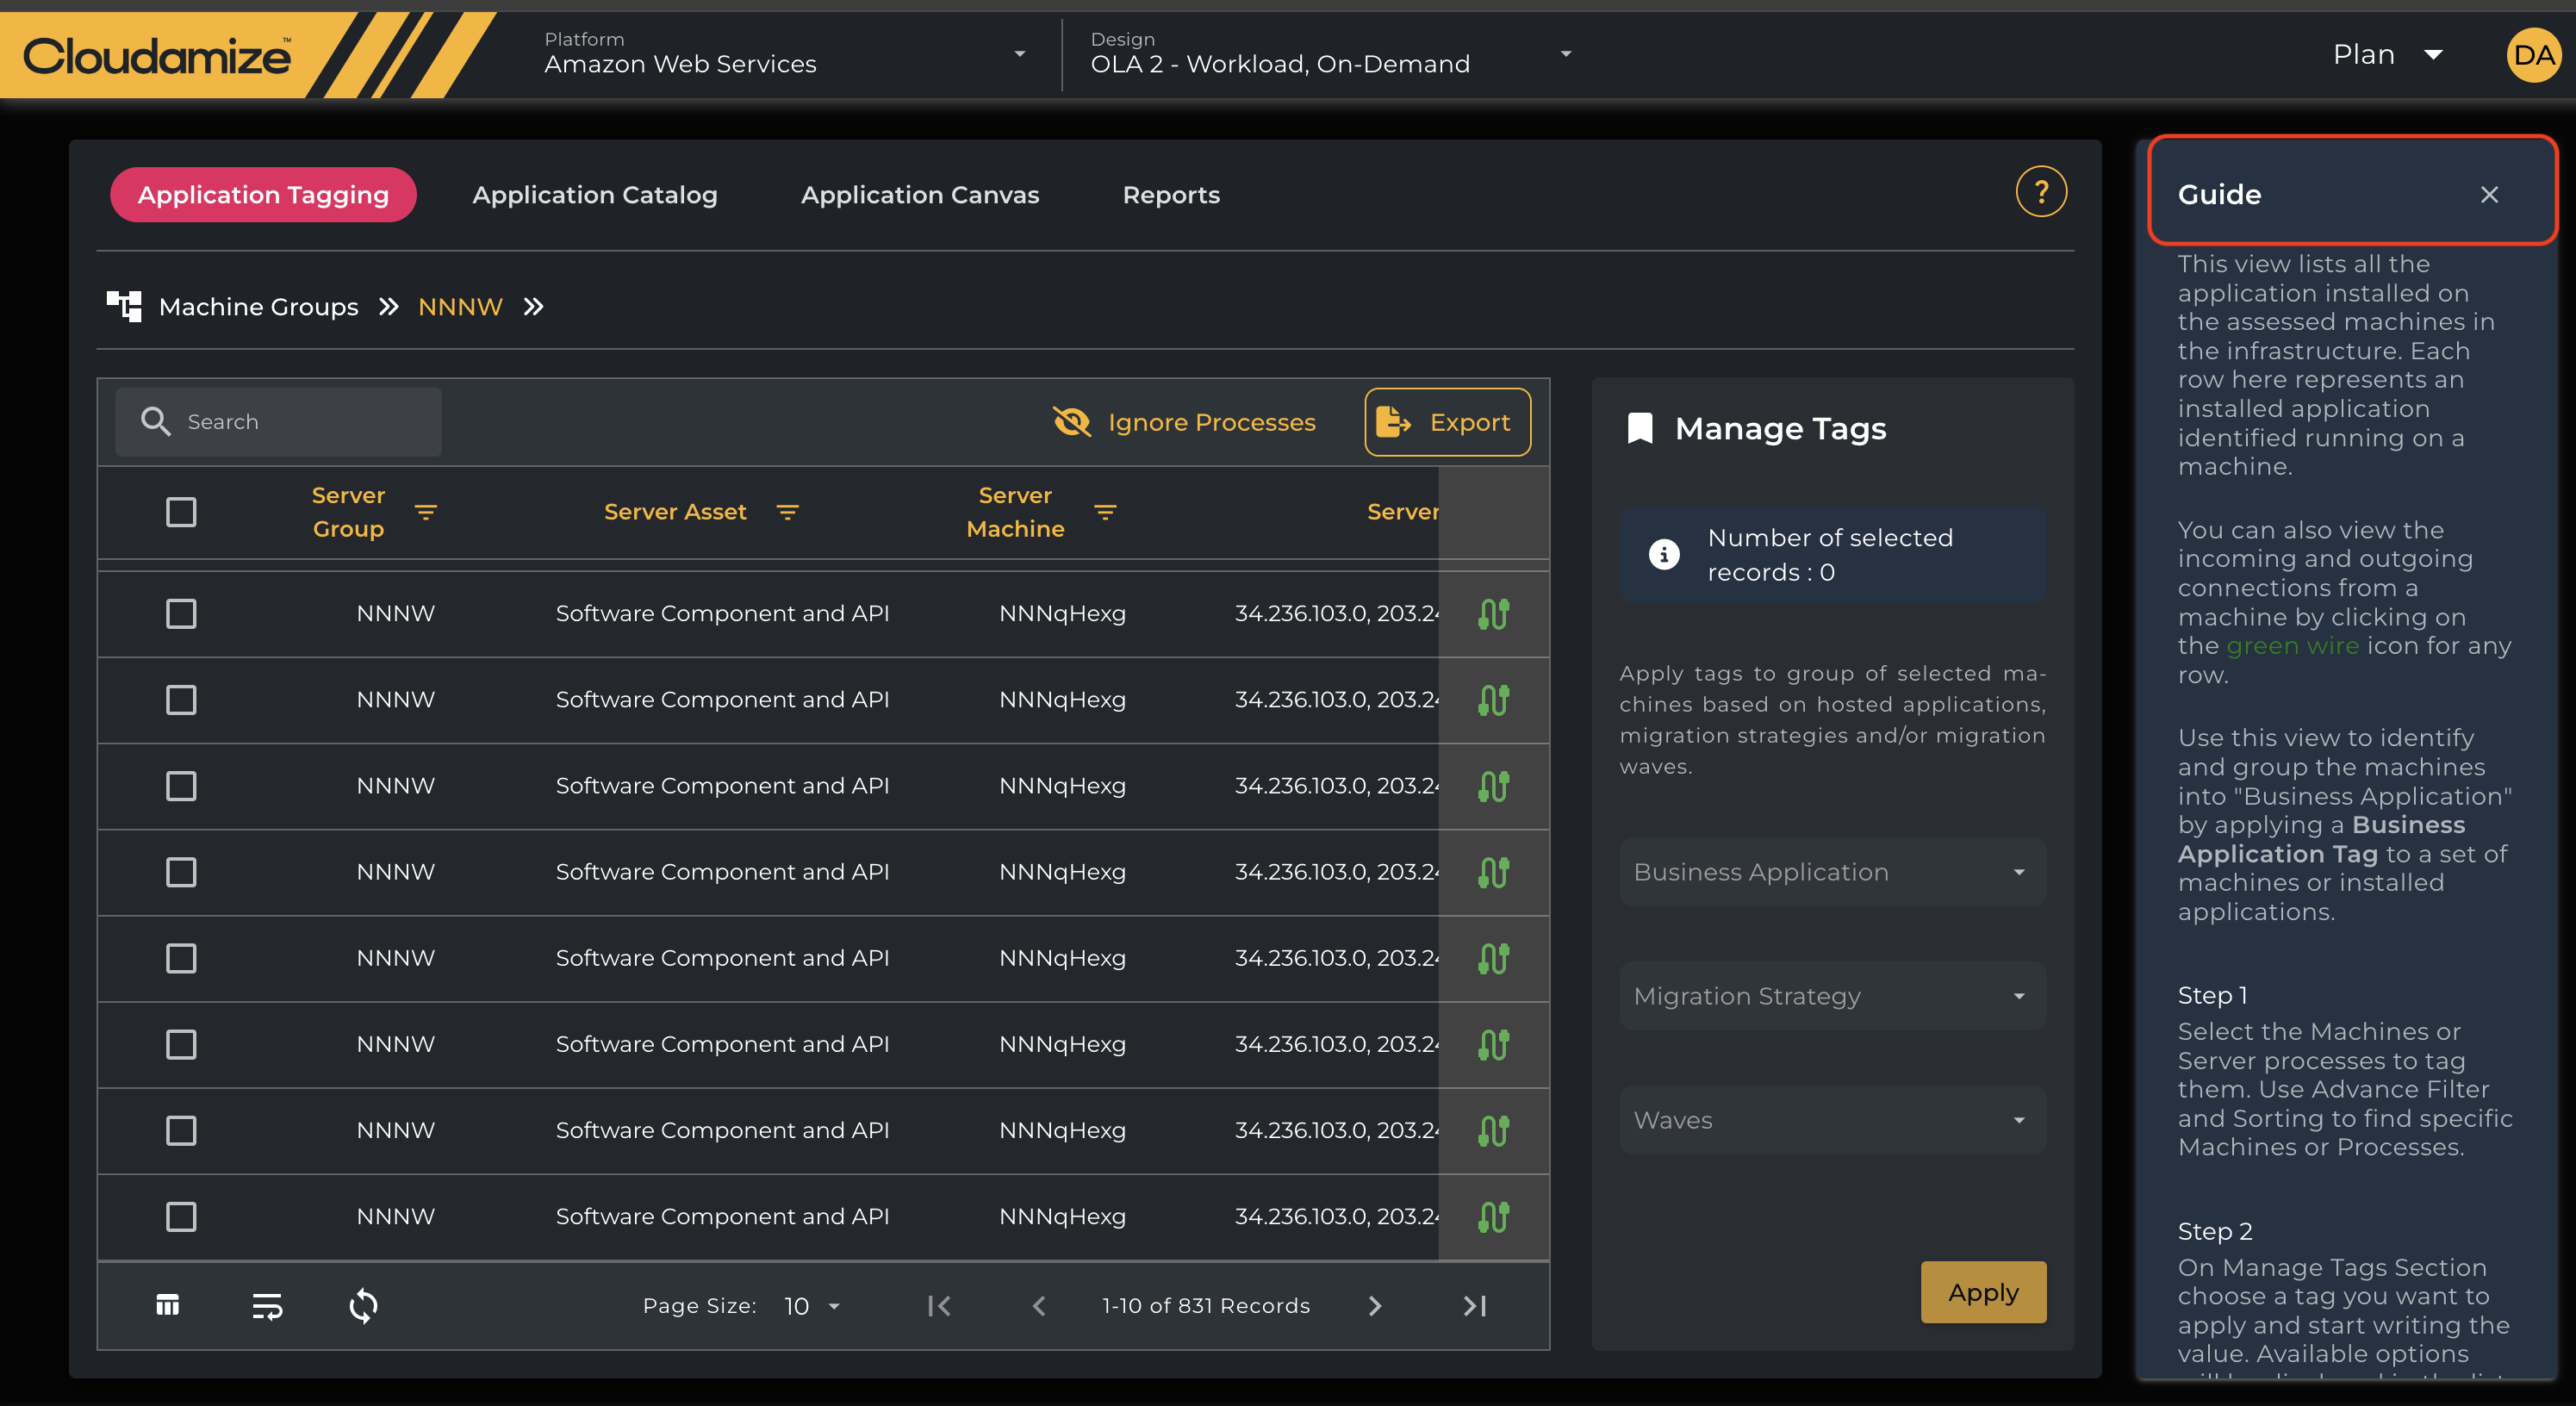
The Guide option on the right-hand side of the screen is a guide on how to use this view.
An installed application may have several small processes. You can view these by clicking the list icon beside the Server Process Name. The icon provides information about the installed location, port, and process name.
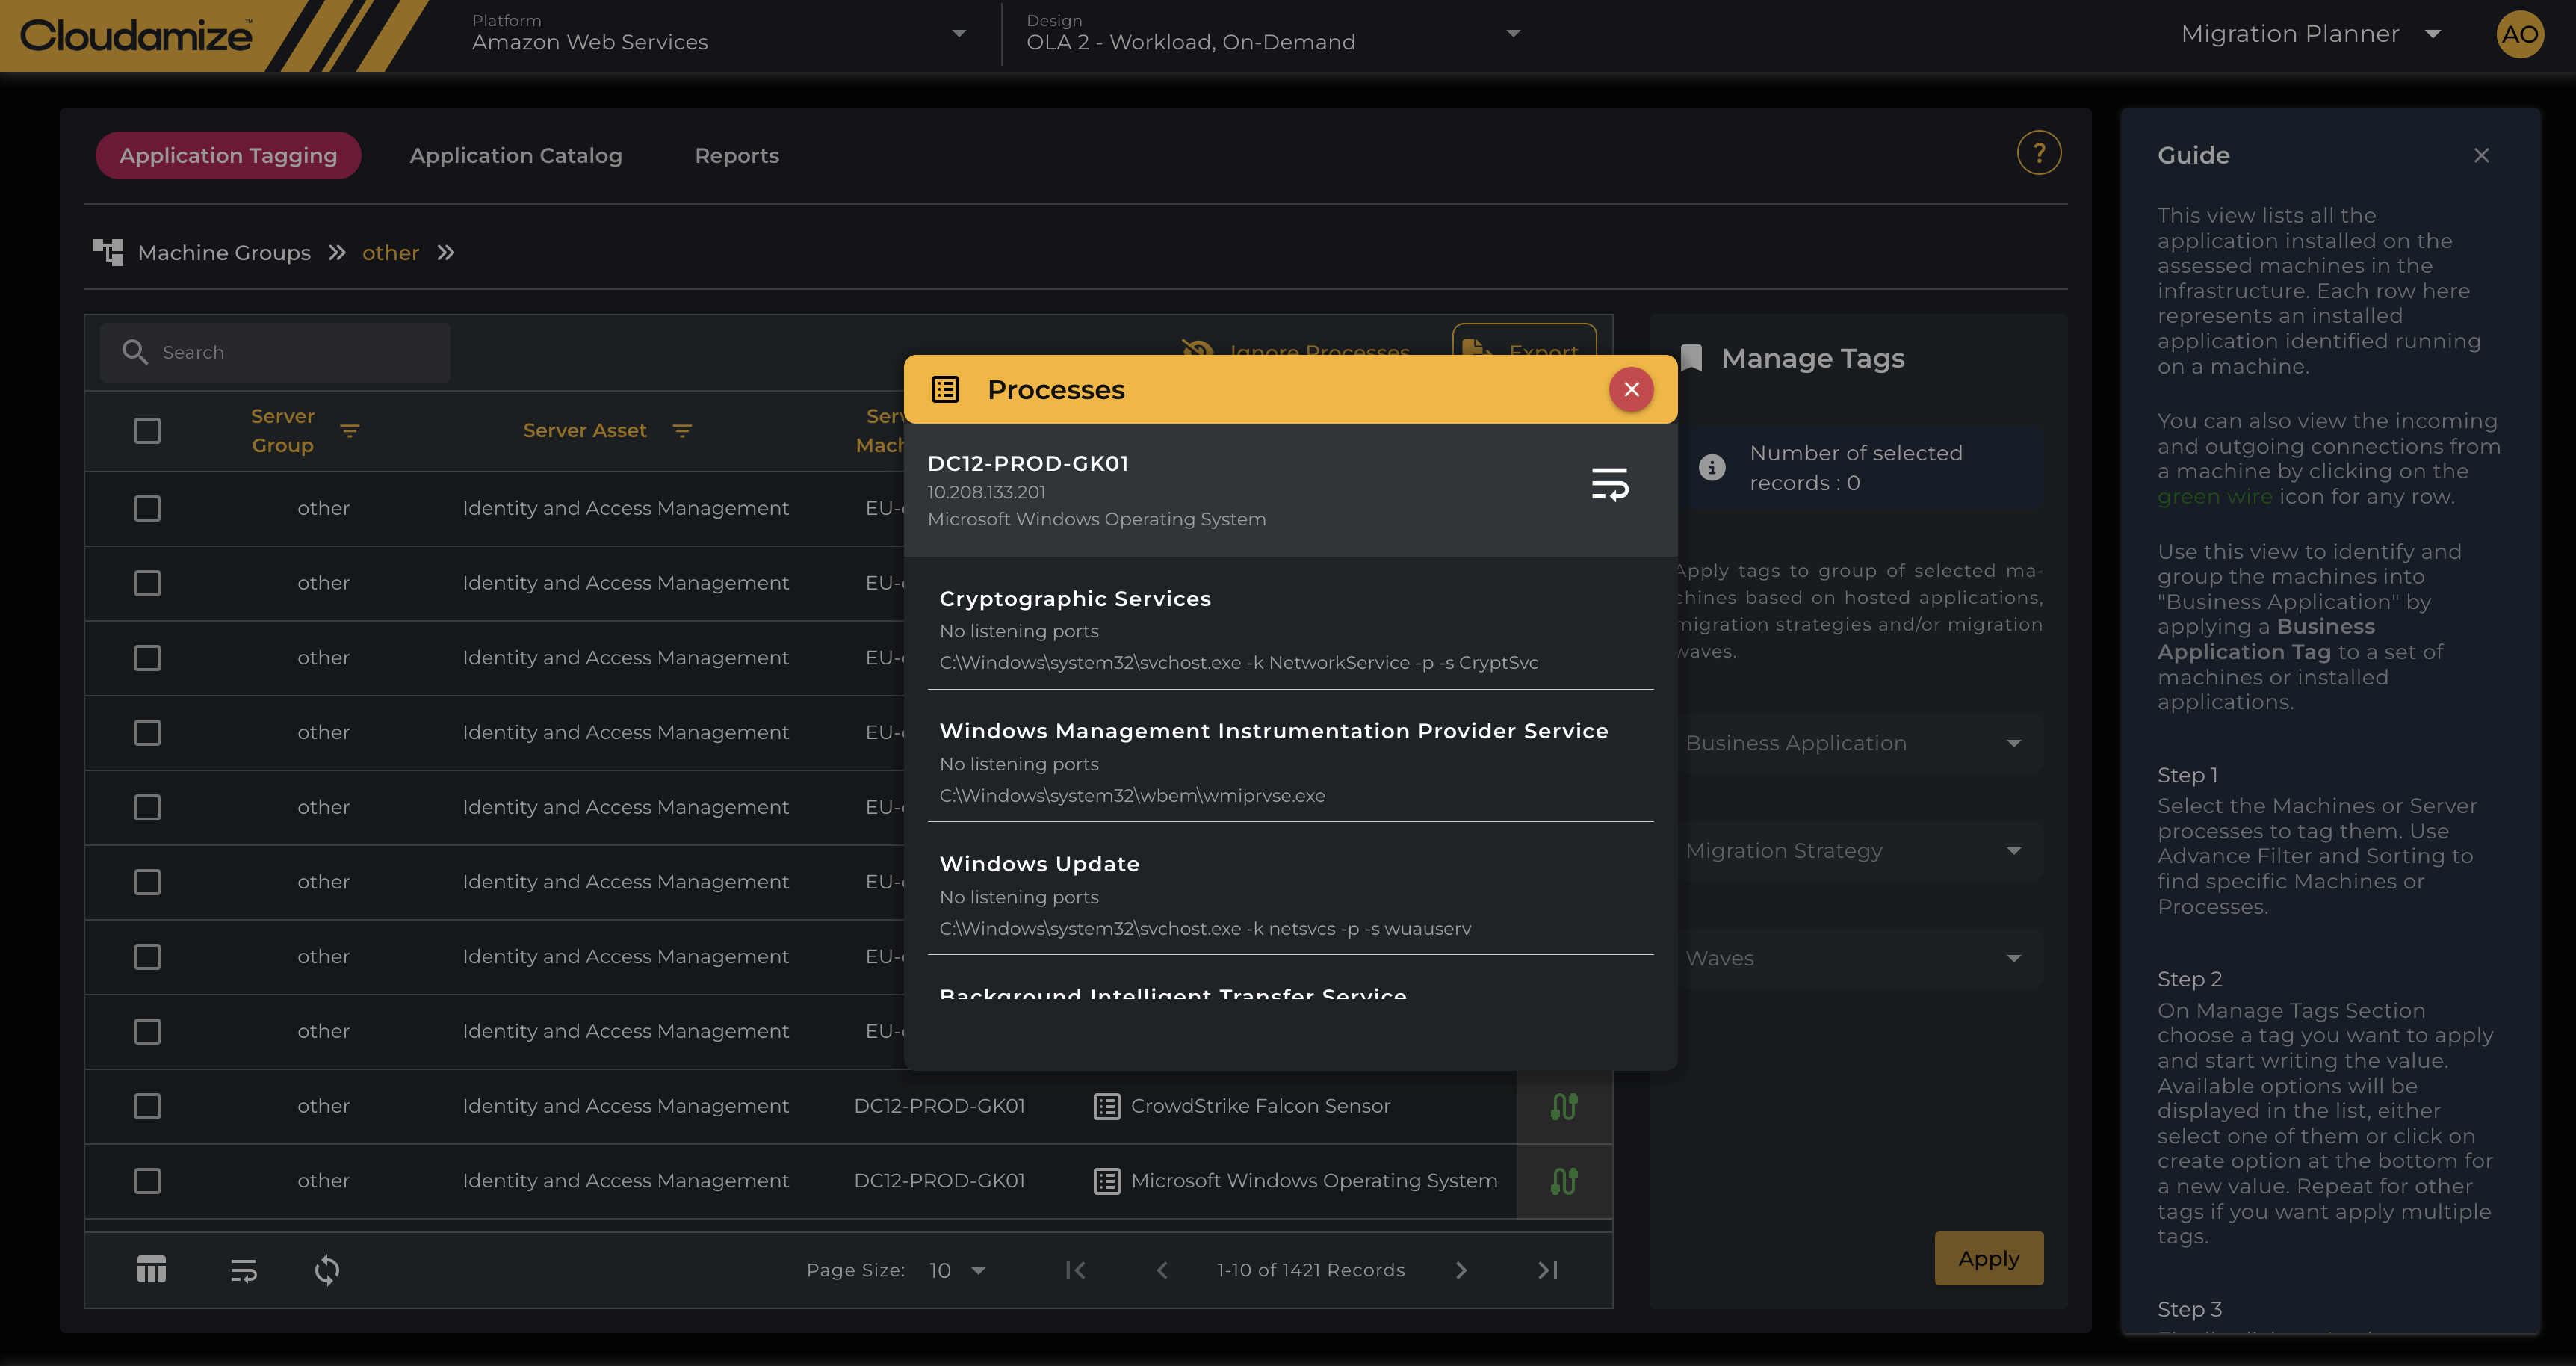
Ignore Process View
Use the 'Ignore Processes' toolbar option to exclude irrelevant processes from migration planning. This tool streamlines your migration focus by allowing you to view and exclude unnecessary processes.
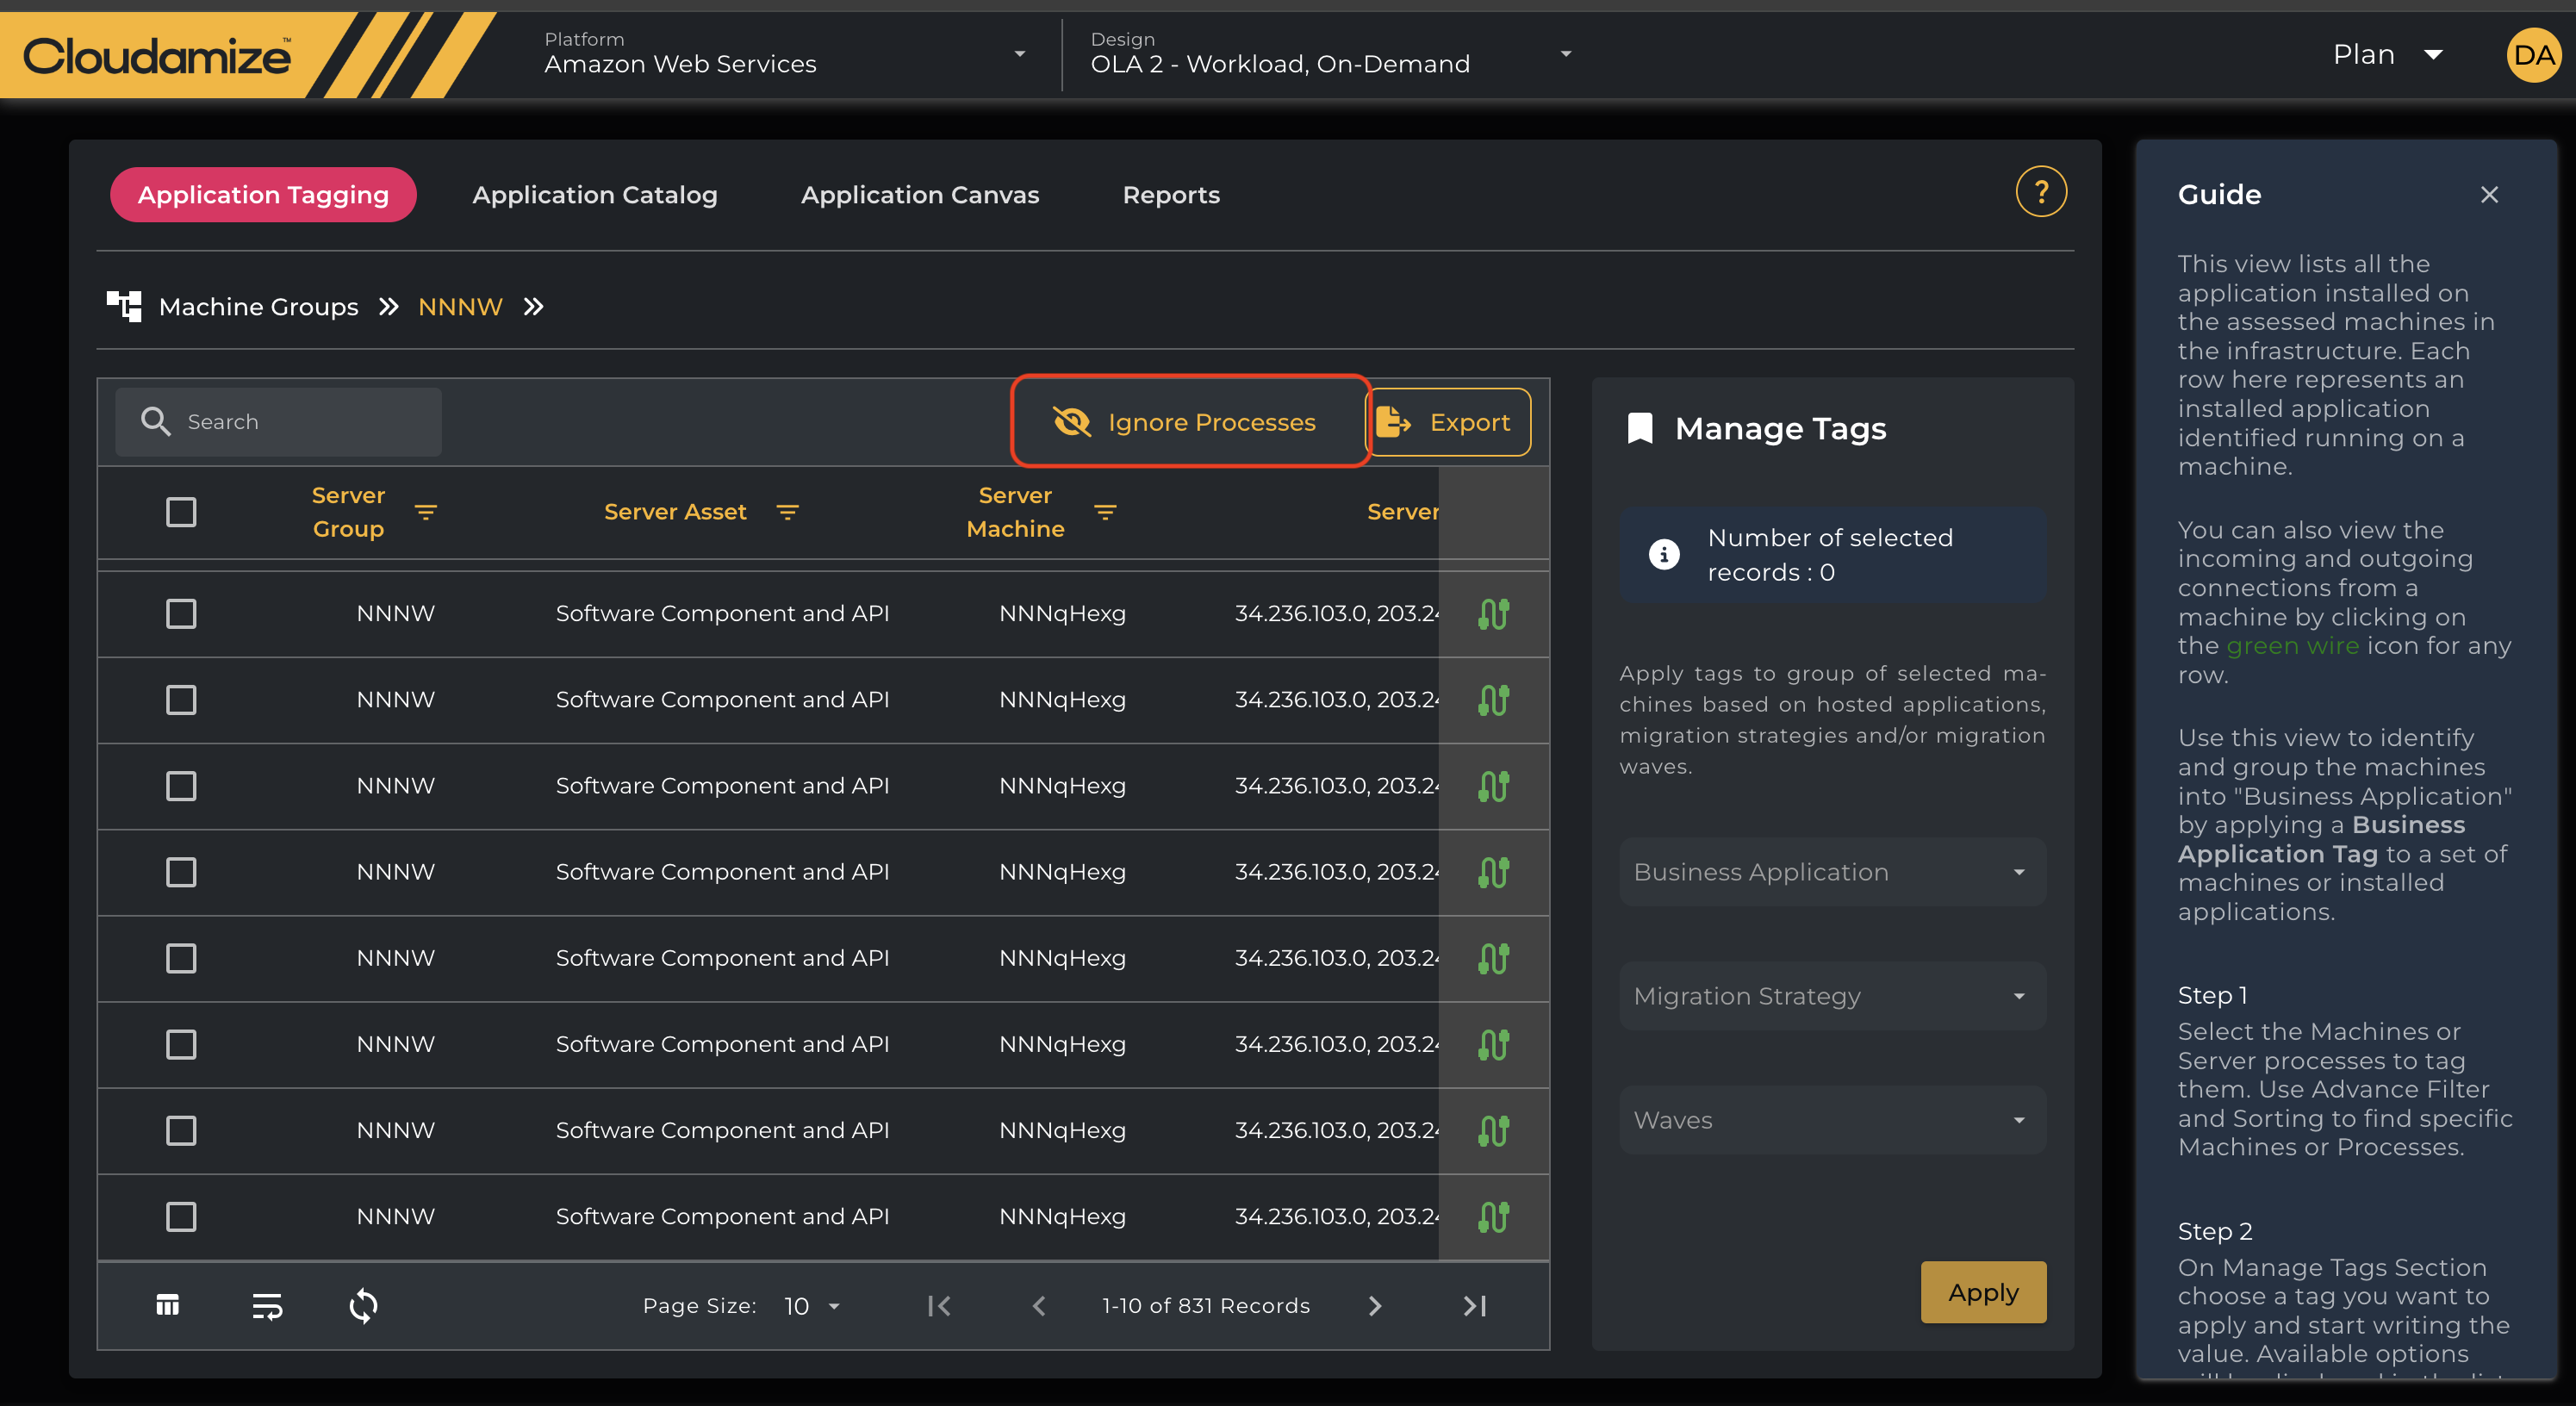
Once you click the Ignore Processes option, a screen with all the discovered processes will load.
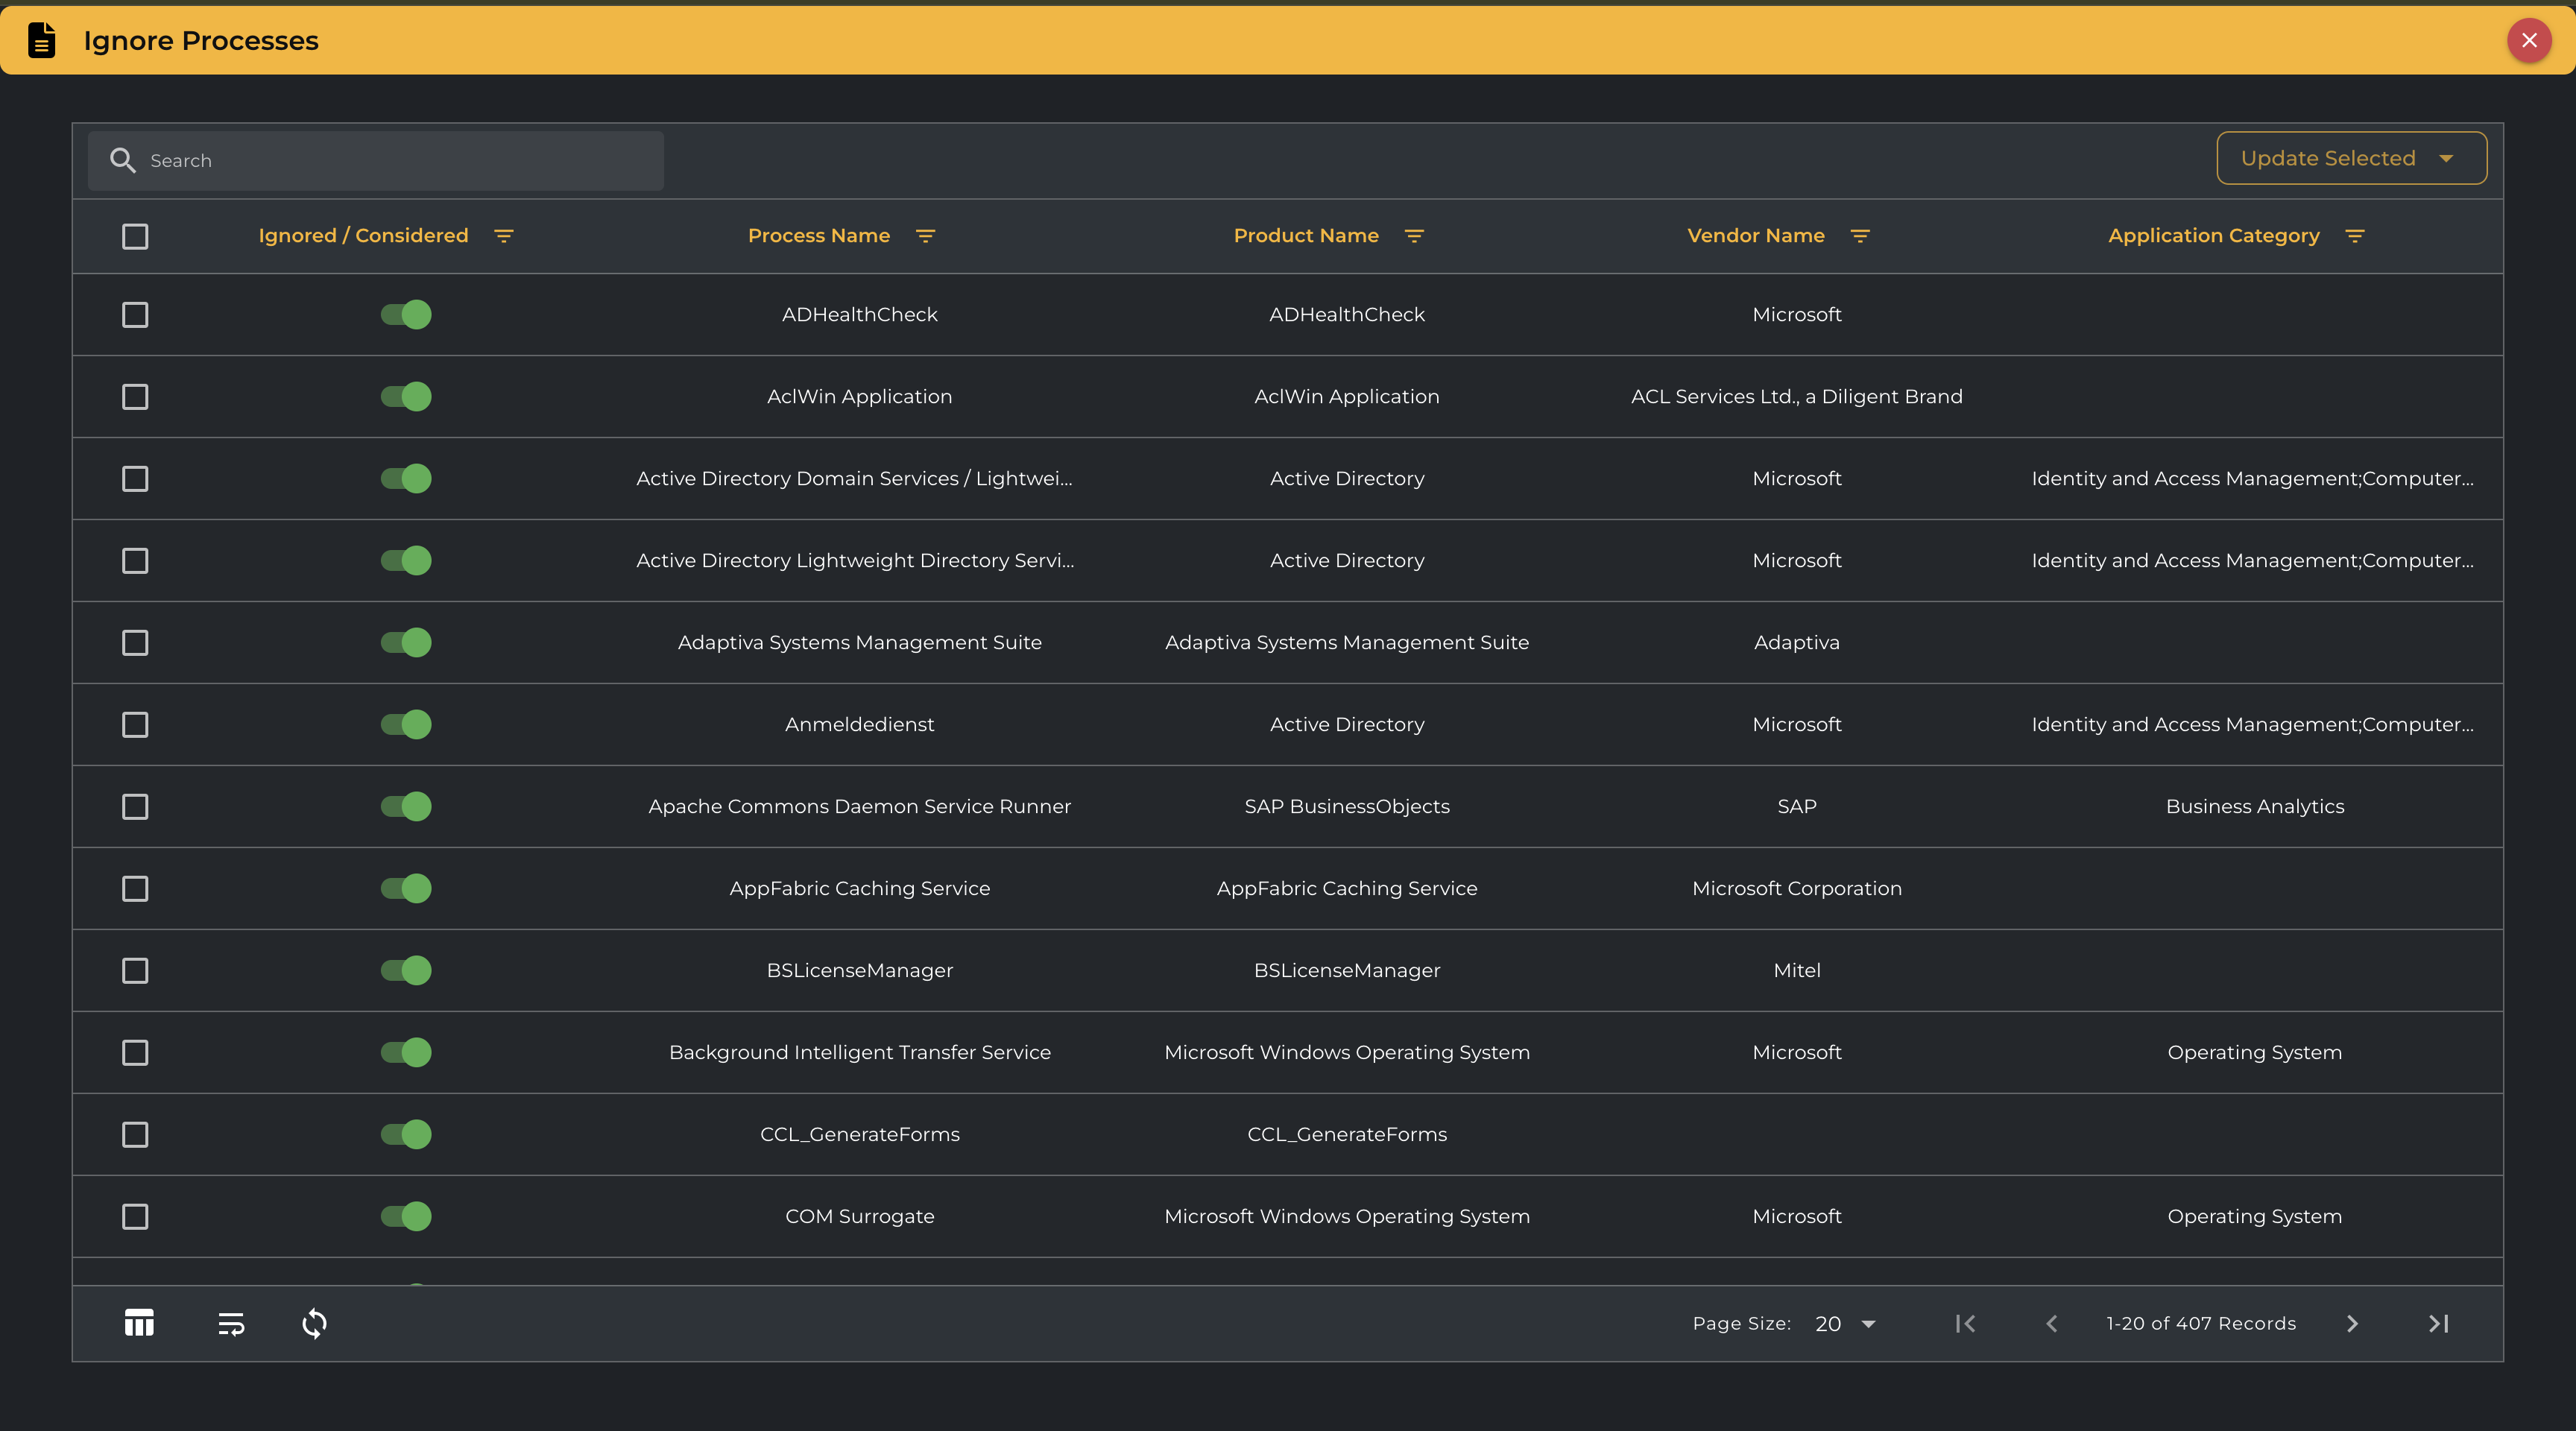
You can now use a toggle button in the grid row to Ignore an individual process or use the check box to select multiple processes to Ignore them in batch. Then, use the Update selected option in the top right to toggle and apply changes.

Interconnectivity View
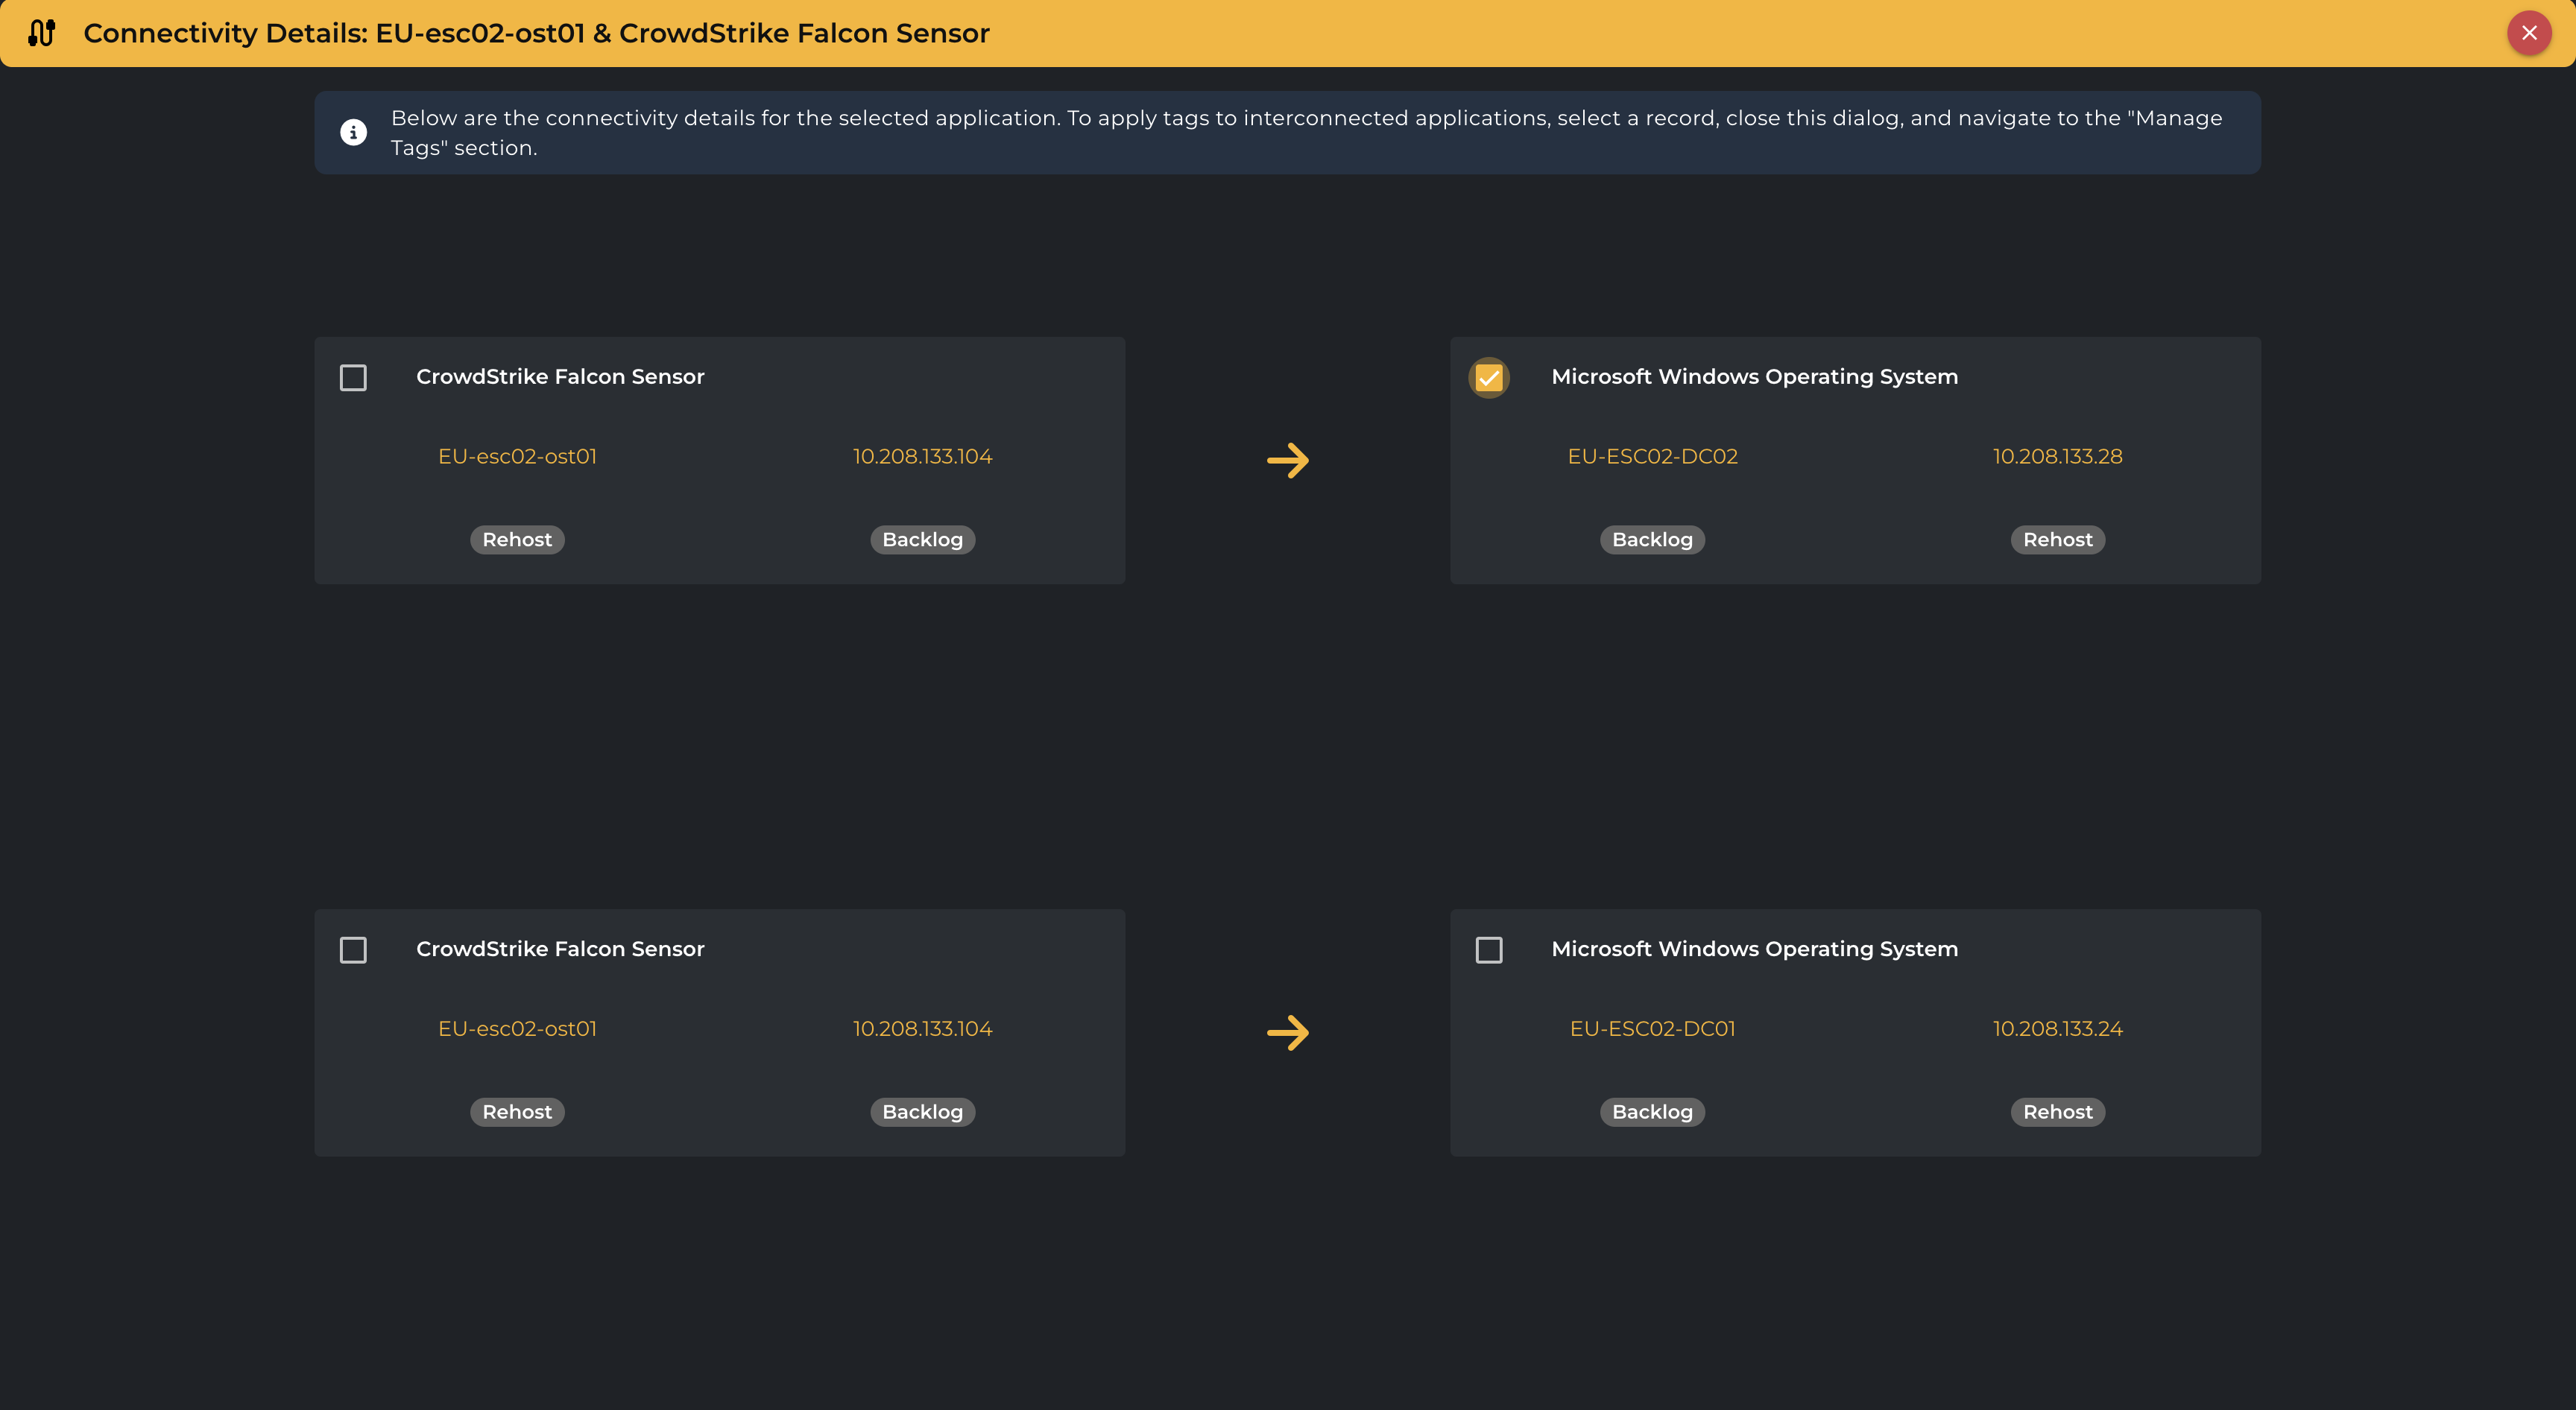
The interconnectivity view lets you examine incoming and outgoing application connections by clicking the green wire icon. This is valuable for identifying interdependent applications within a single business process.

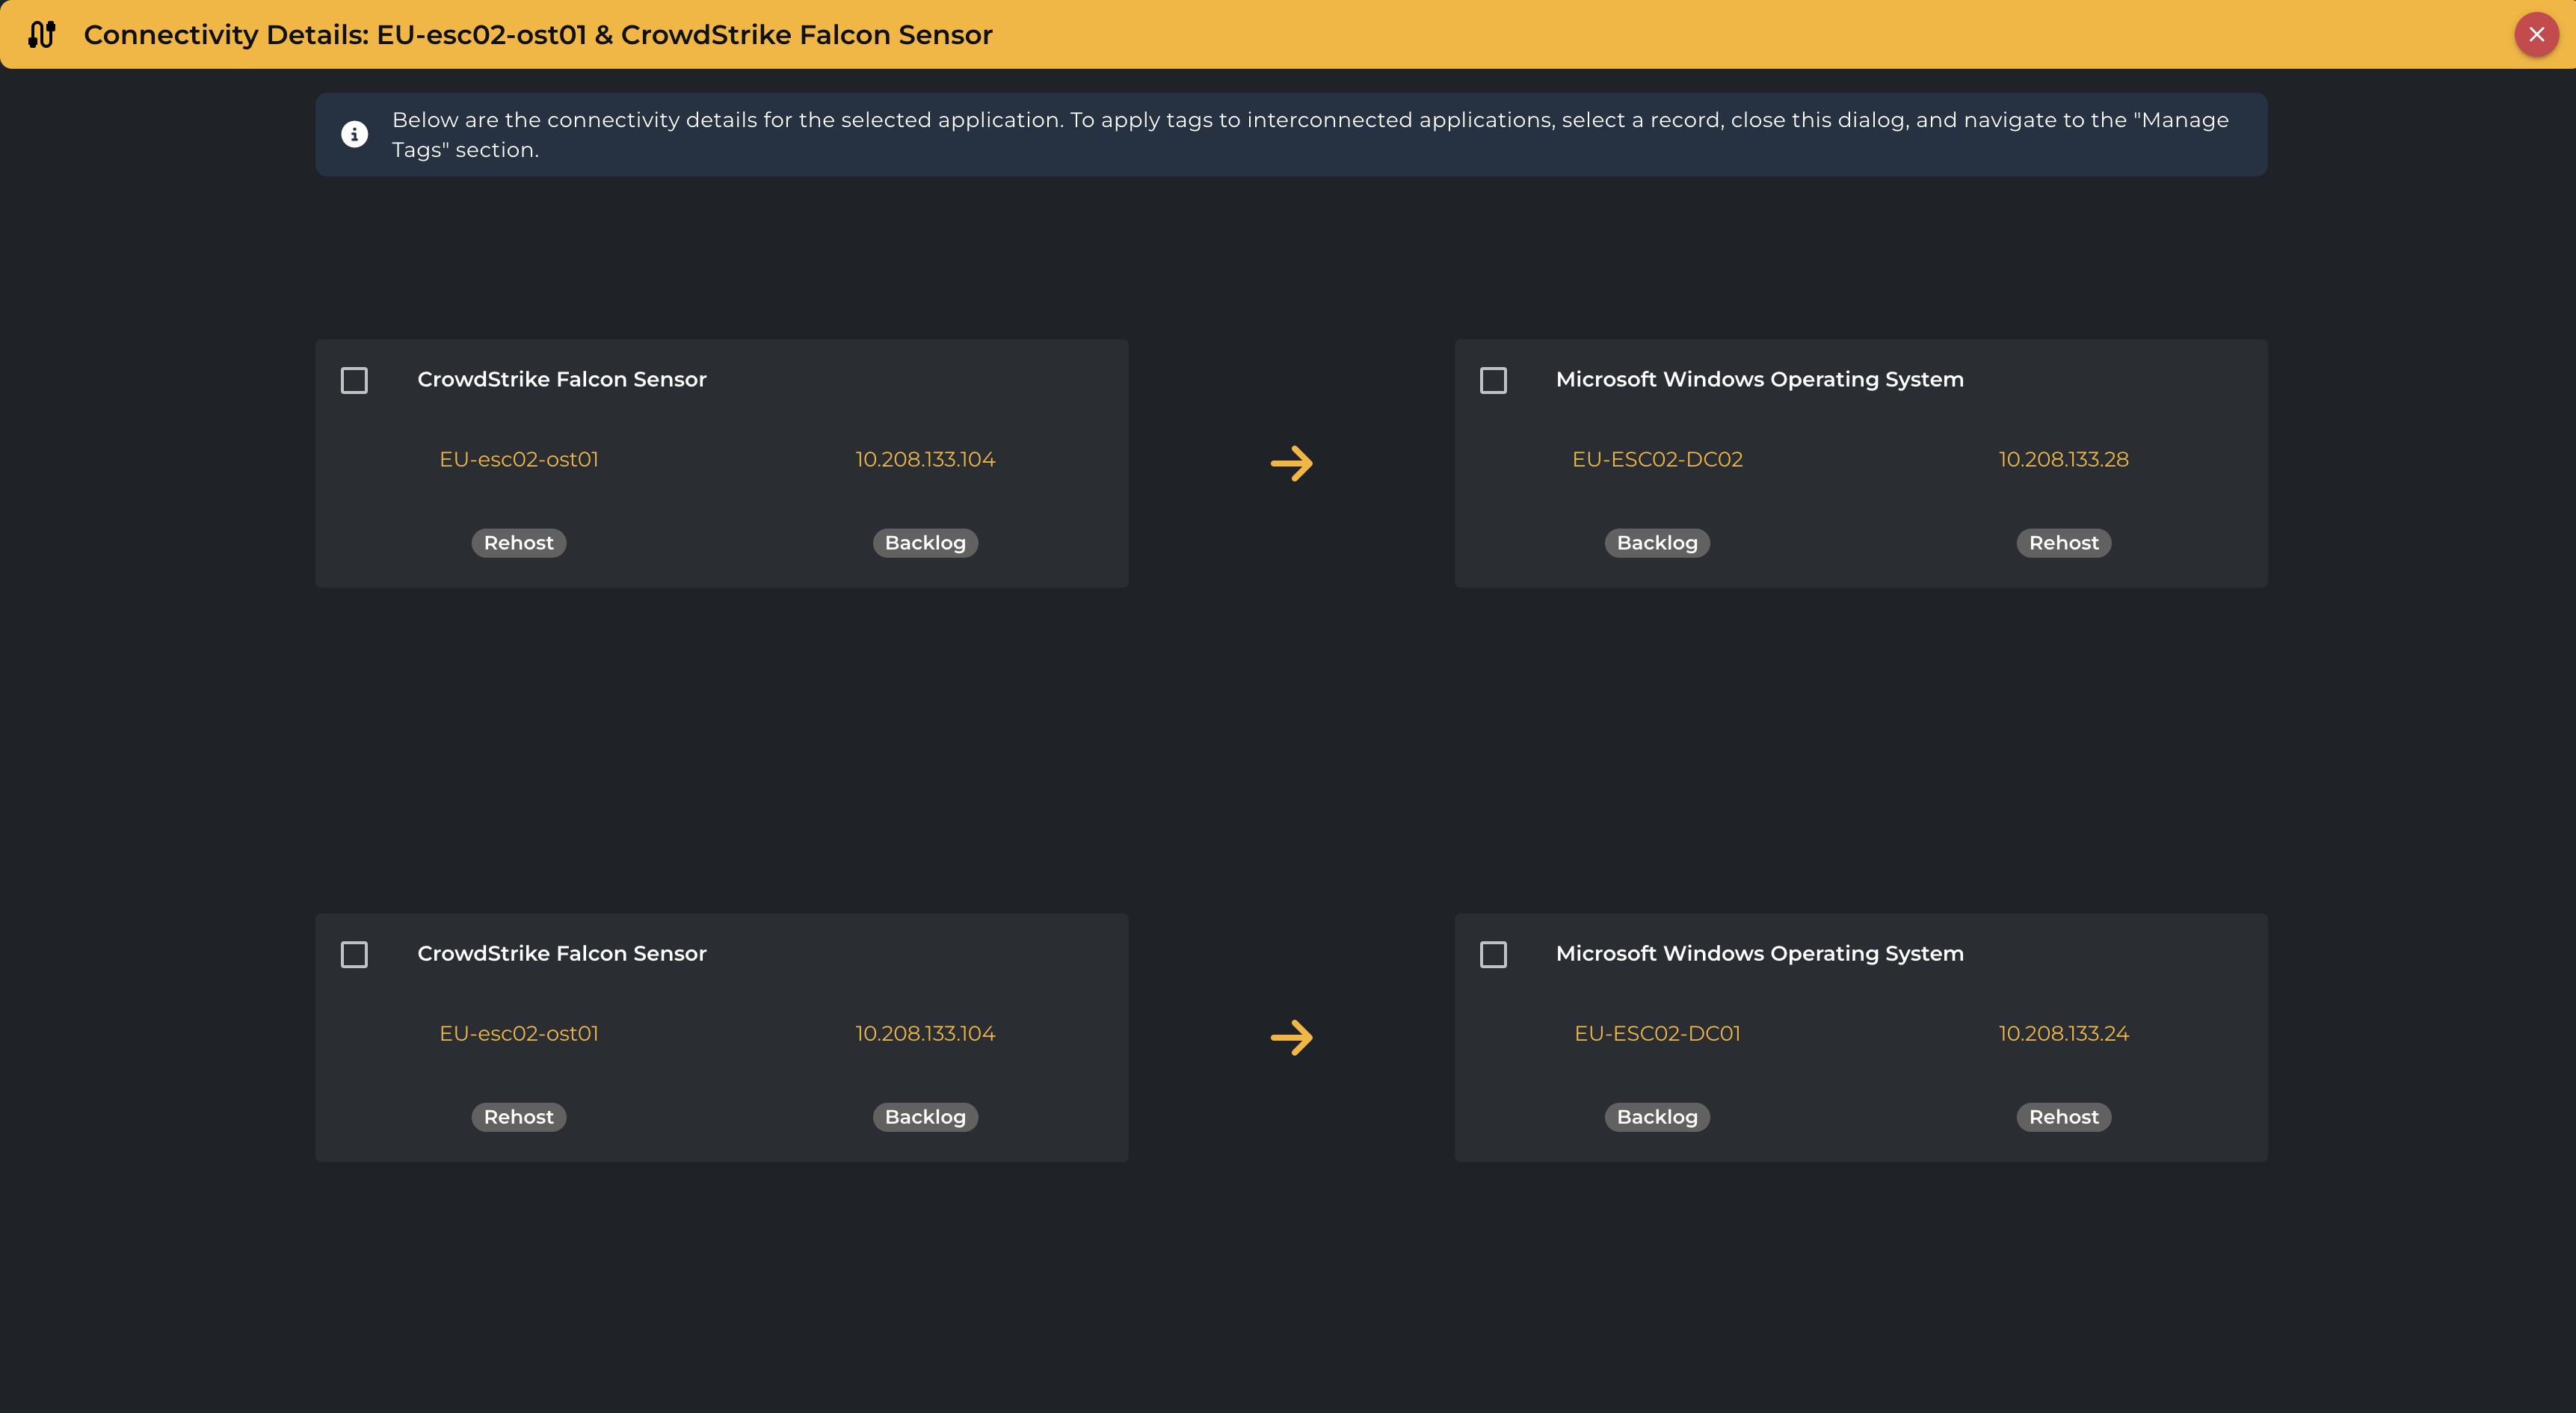
How to use the Server application view for tagging?
Step 1: Find and select Machines or Applications
The Server Application view in Application Tagging provides an advanced filtering option for all the columns in the grid view, allowing you to narrow down the results to a specific machine or application.
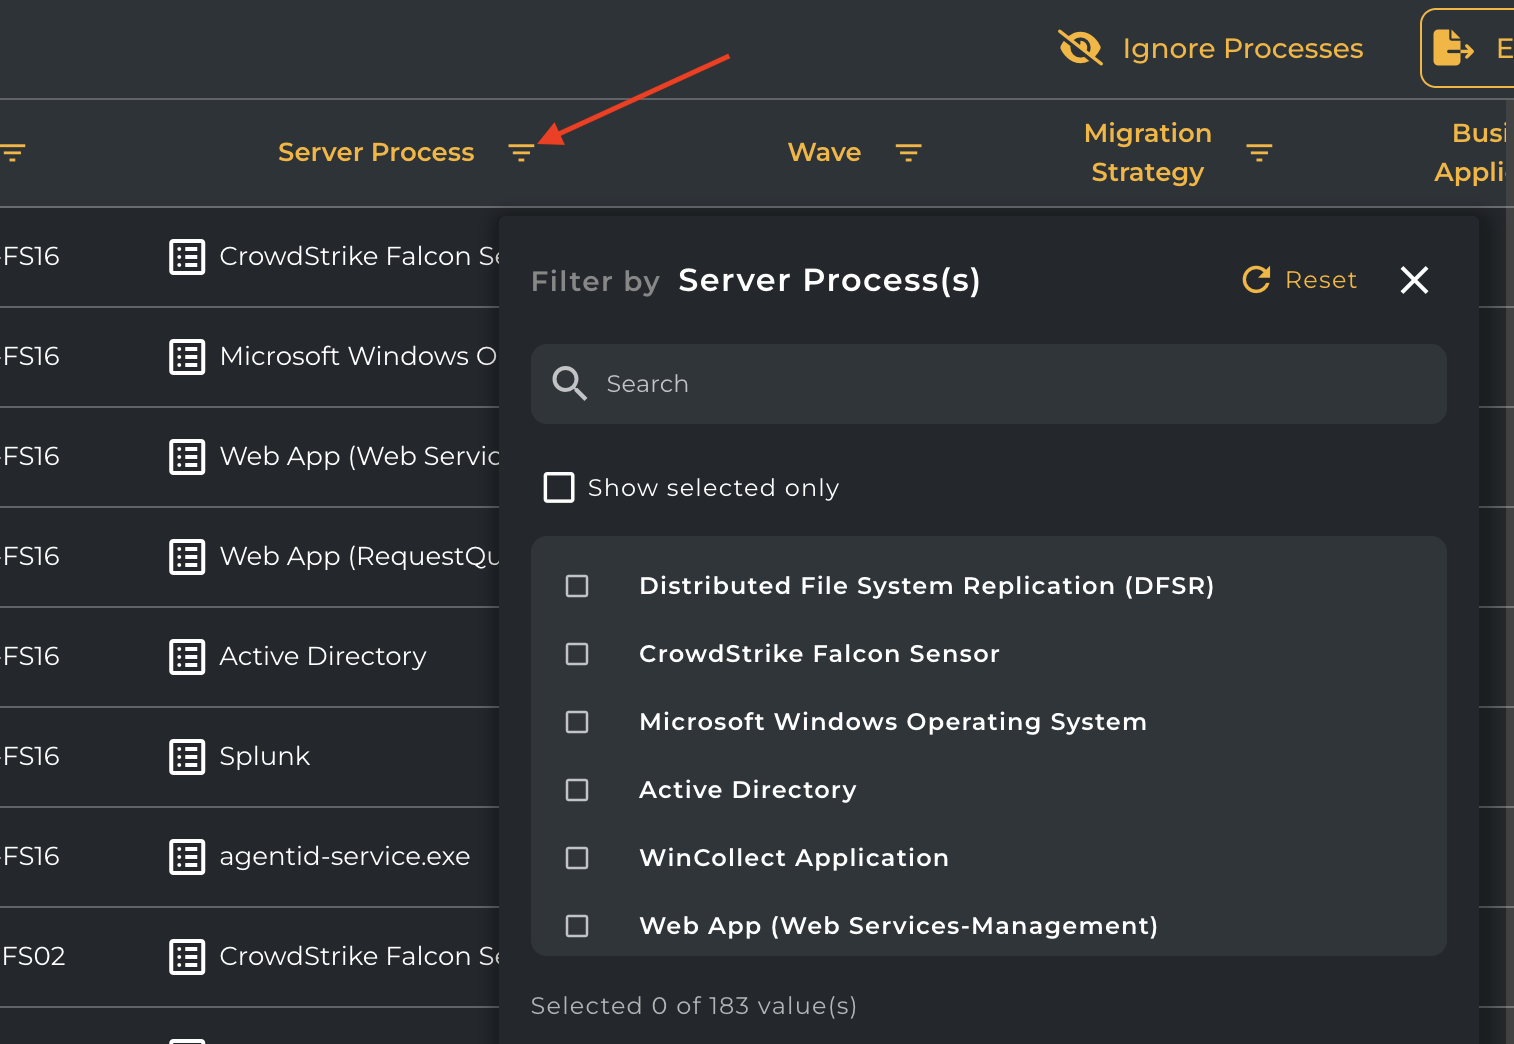
You can select a record from the main screen or from the connectivity view.
No of the selected records will be displayed in the manage tags section.
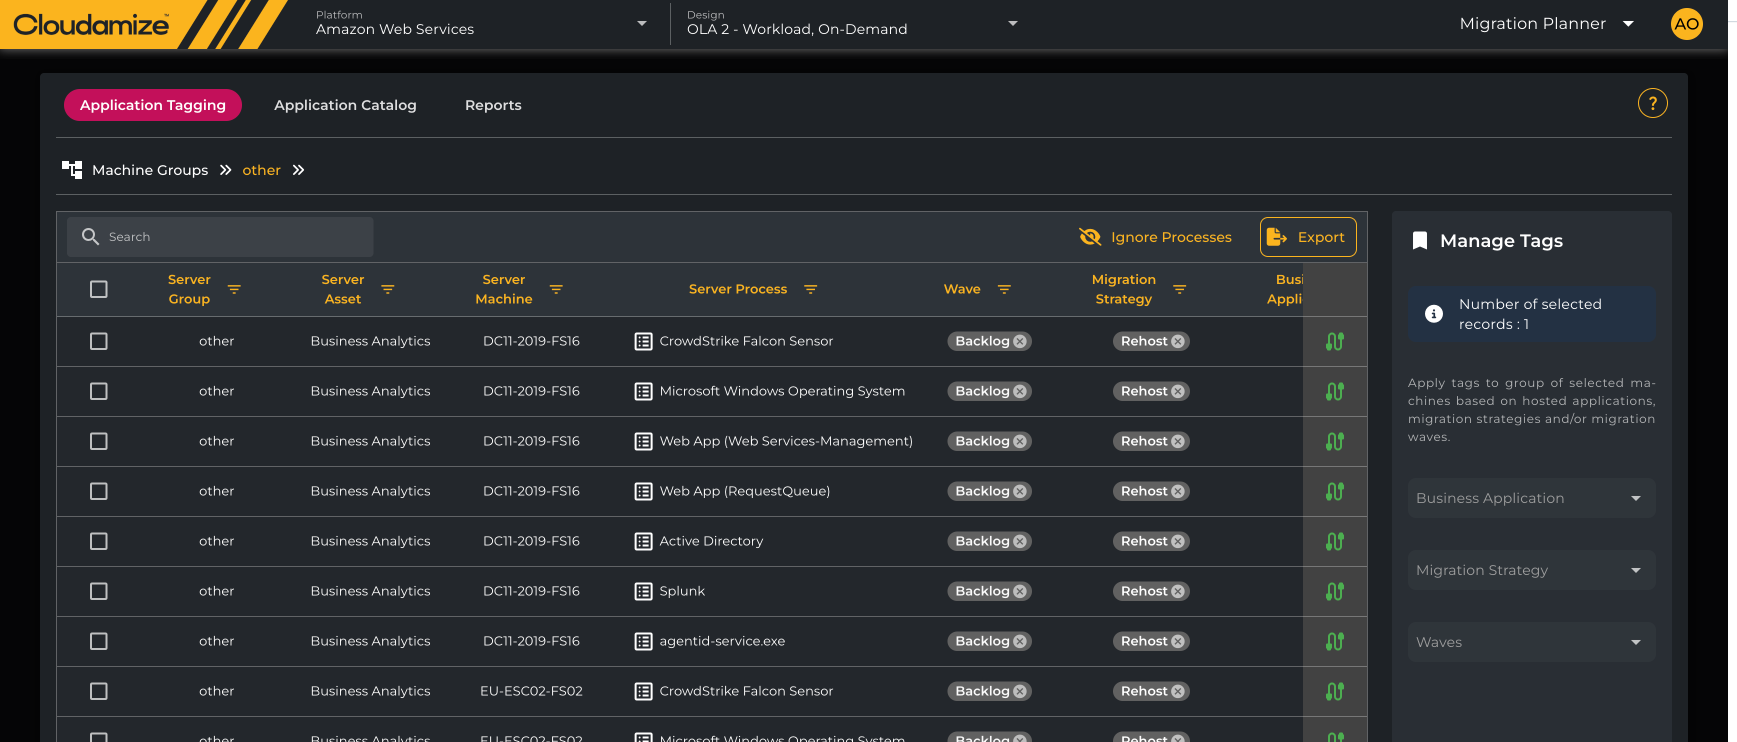
Step 2: Apply Tags to group or categorize them
The Customer can now Apply tags from the Manage Tags section to selected installed applications, aligning with the customer’s migration strategy. Group and tag applications as Business Applications. The customer can type a name in the Business Application field to search existing options or create a new one.
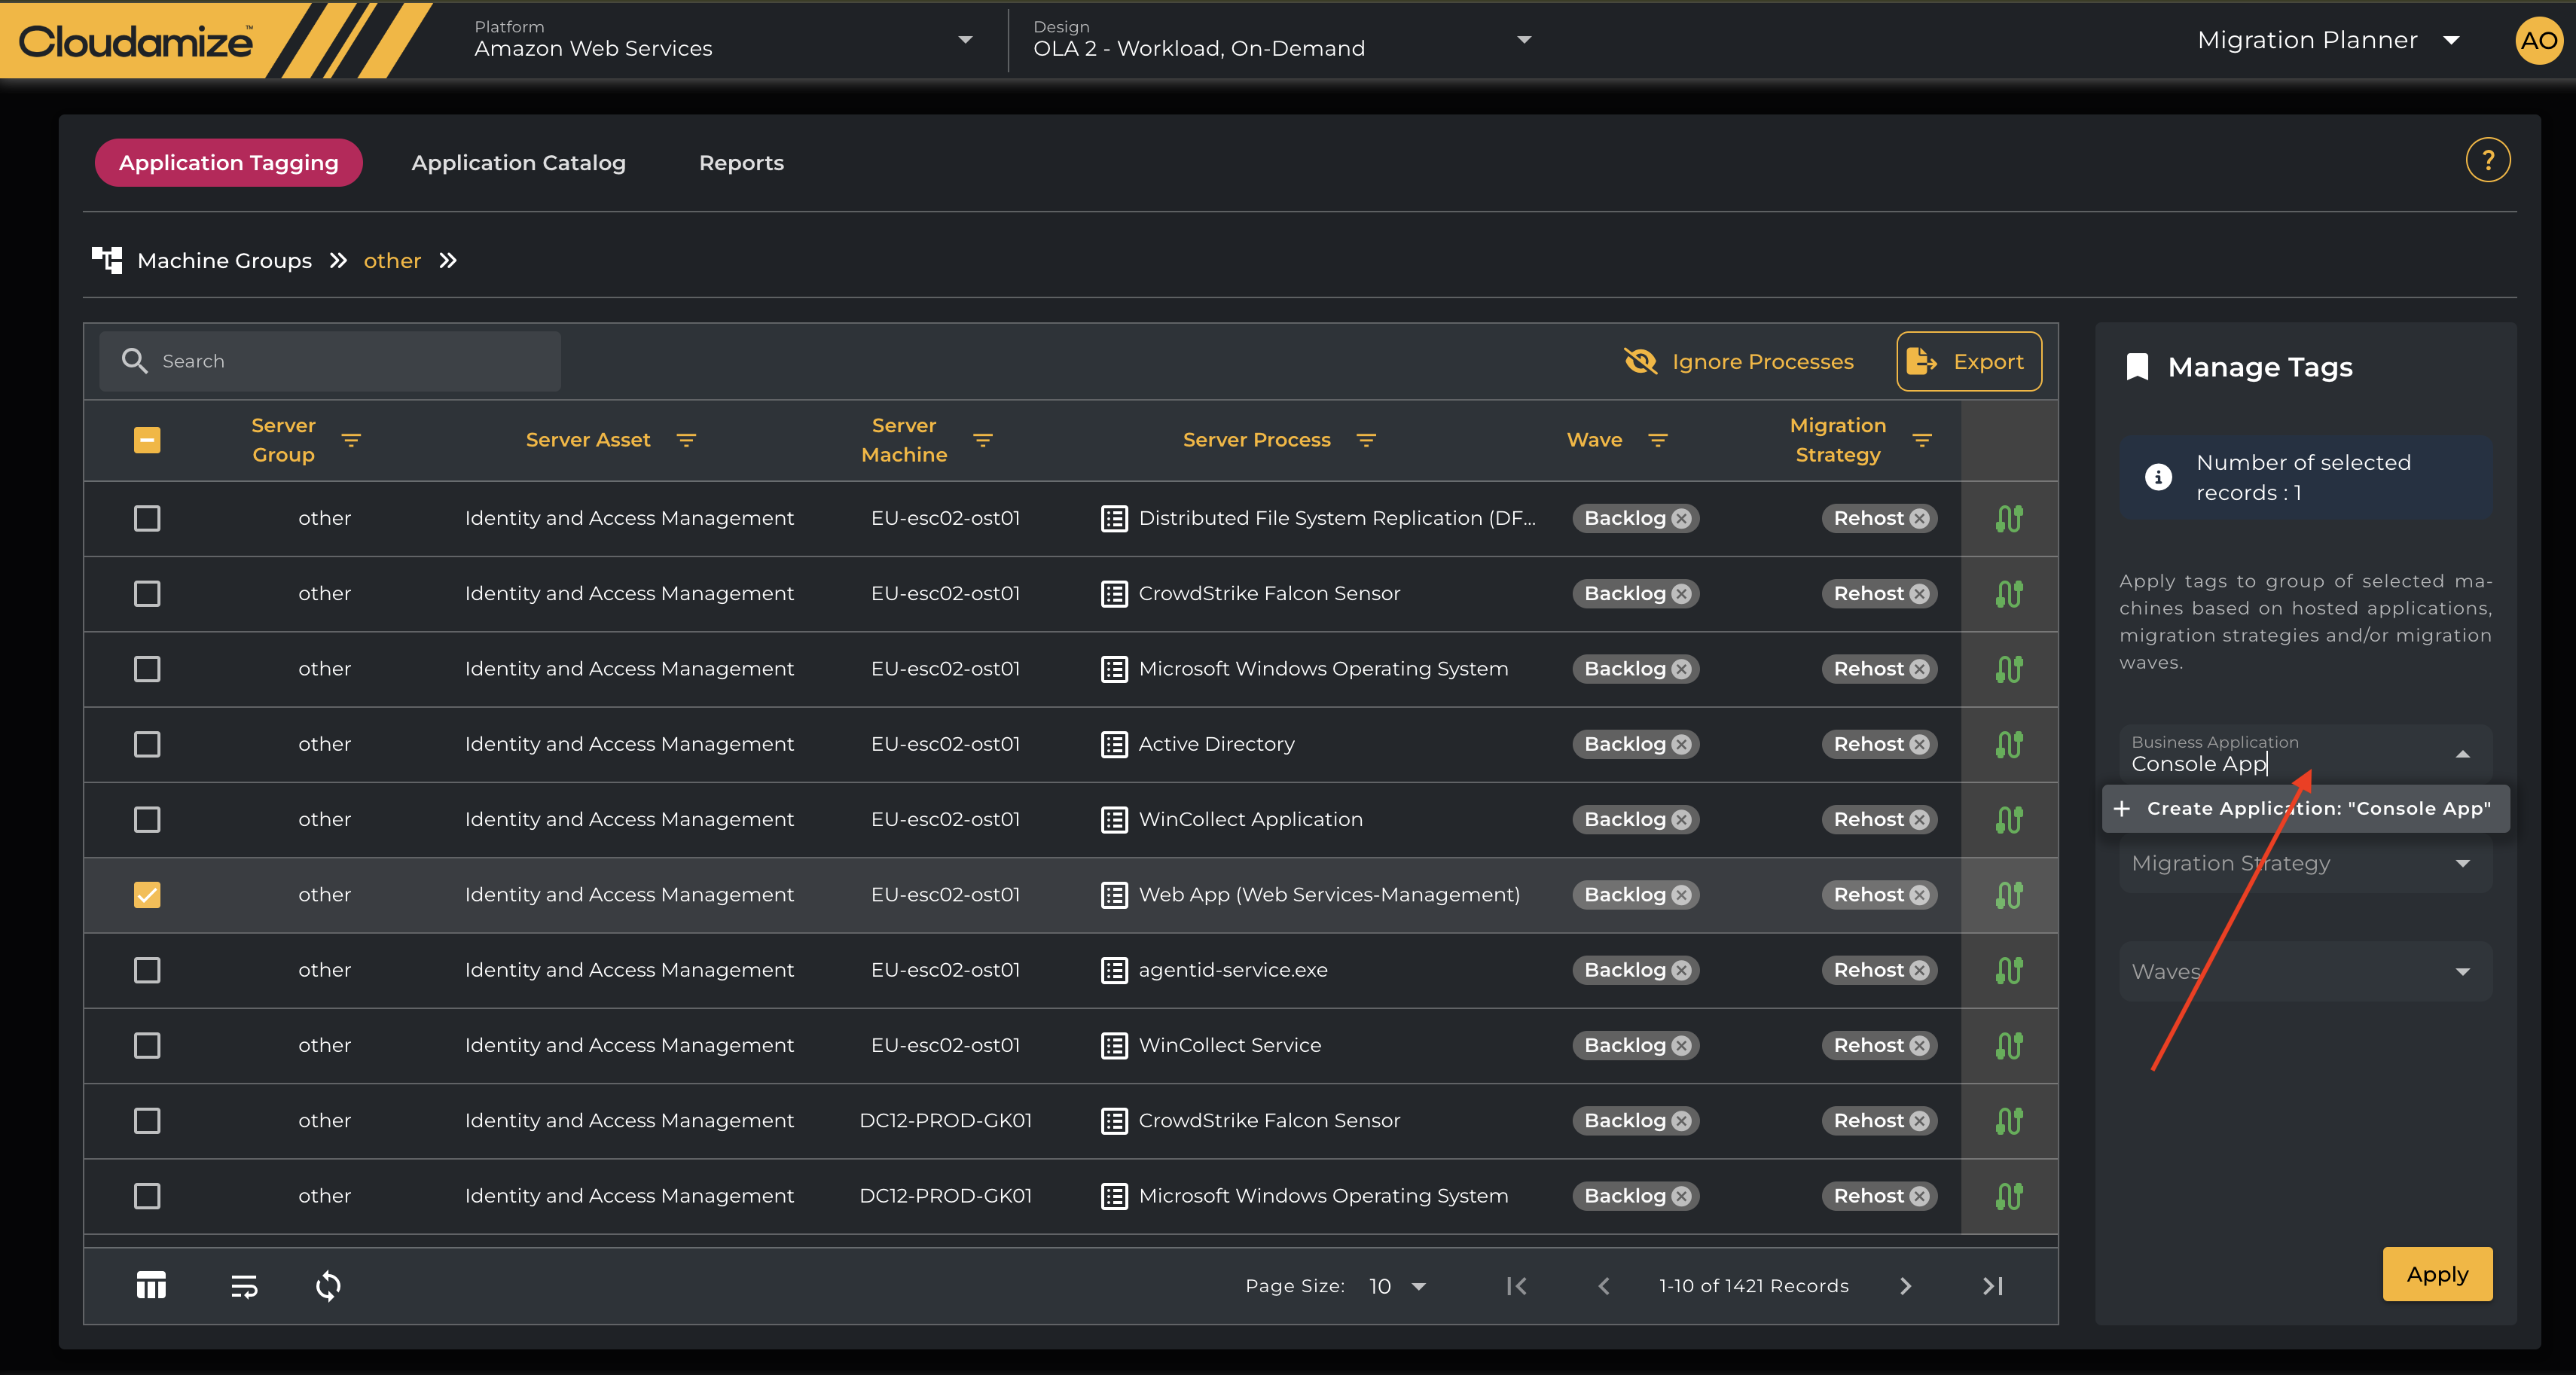
If the customer wants to group or tag the installed applications based on the 7R Migration Strategy, they can use the migration strategy dropdown, which has fixed 7 default values.
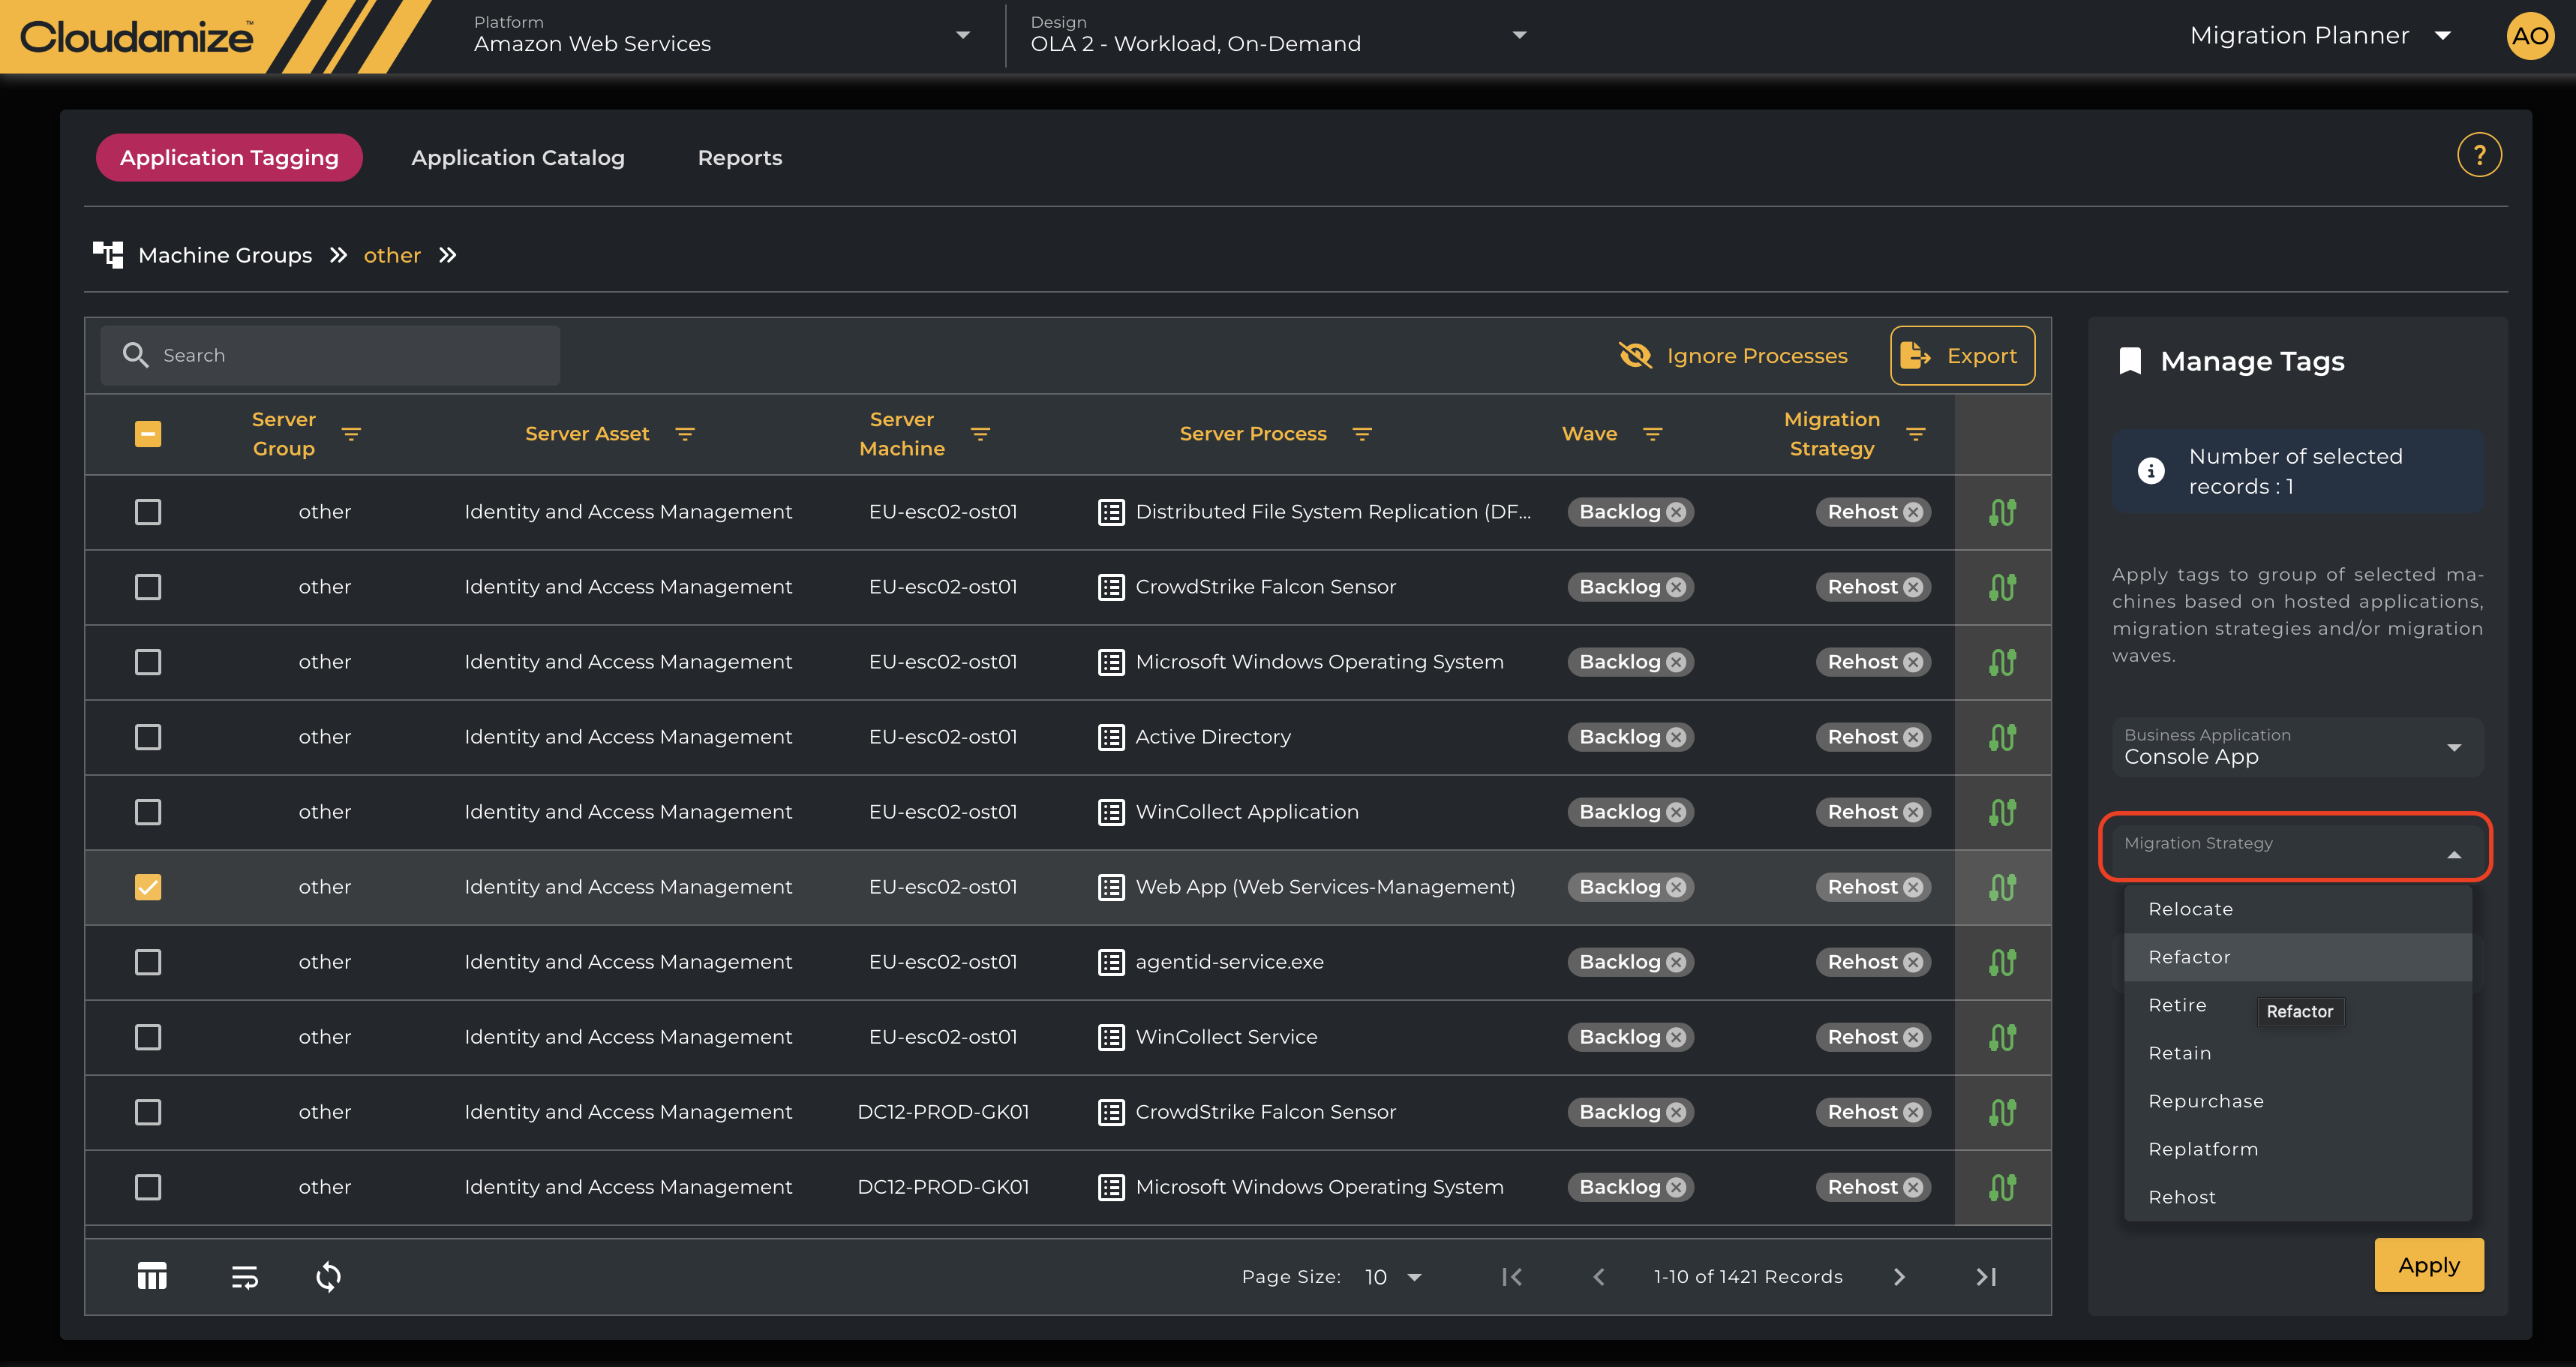
To organize migrations into manageable waves, apply the Wave tag to specific machines or applications. This helps determine the order in which resources will be migrated.
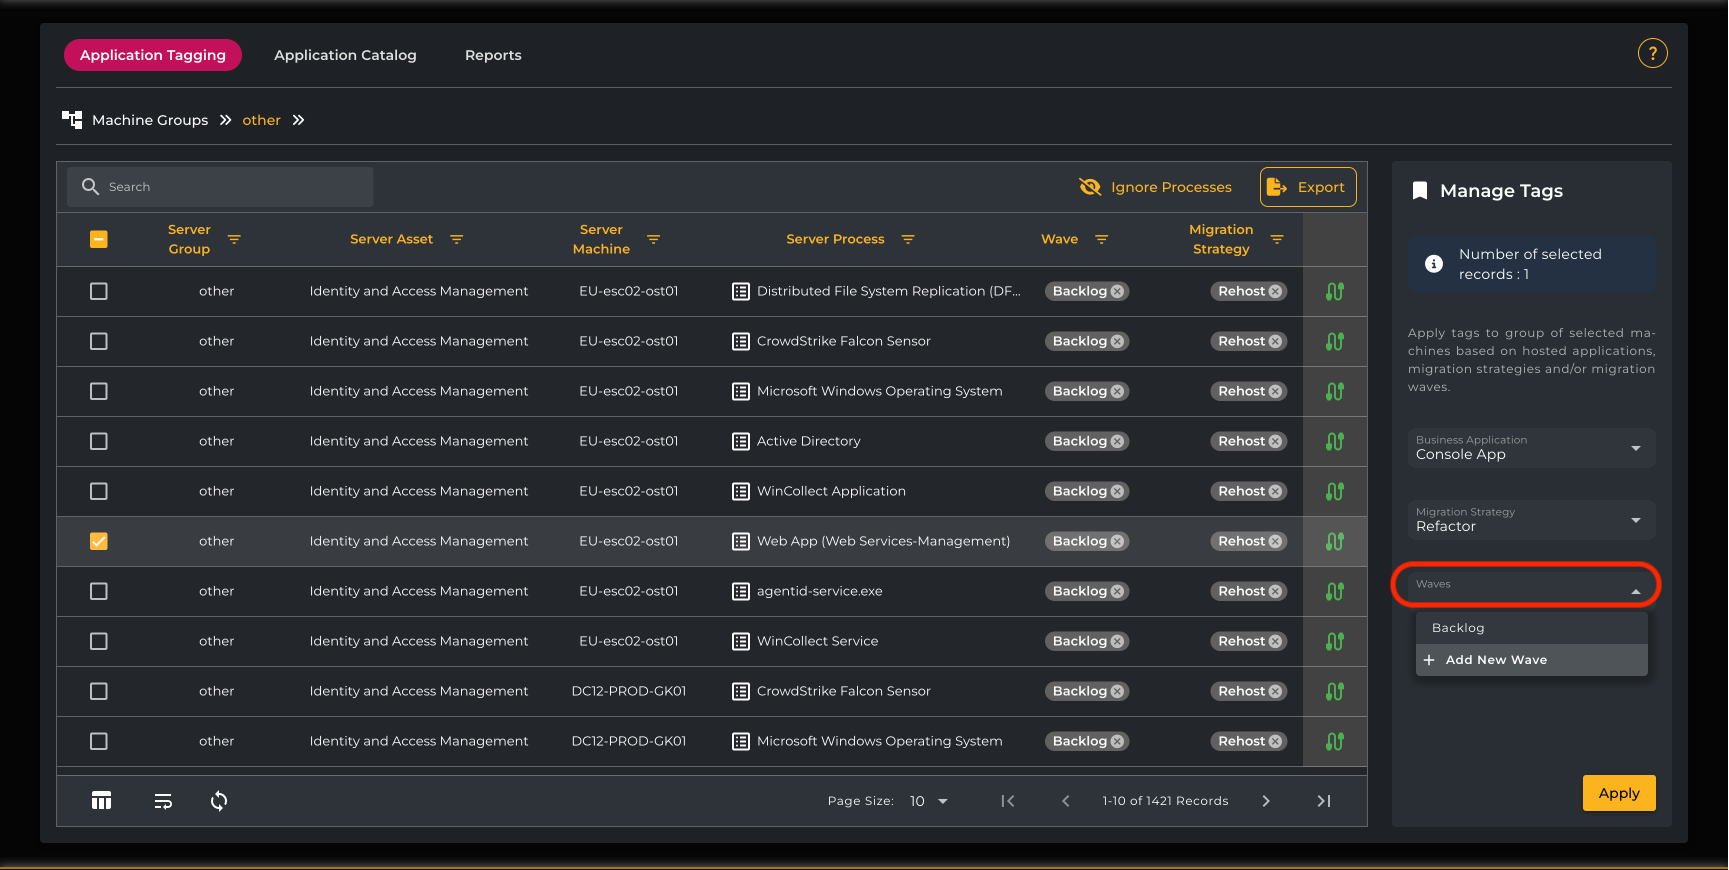
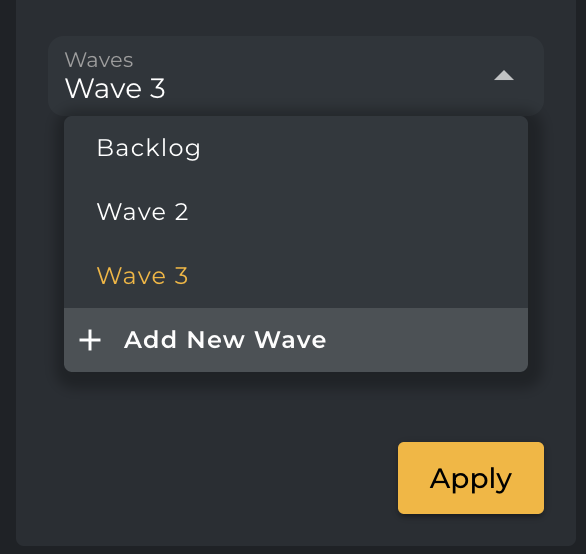
The Wave Dropdown has an option to add a new wave, and it will auto-increase wave no.
After applying tags, click the Apply button to save changes. The main view will refresh, displaying the applied tags on the selected rows. Please note that all the installed applications are tagged as Rehost and put into the Backlog Wave by default.
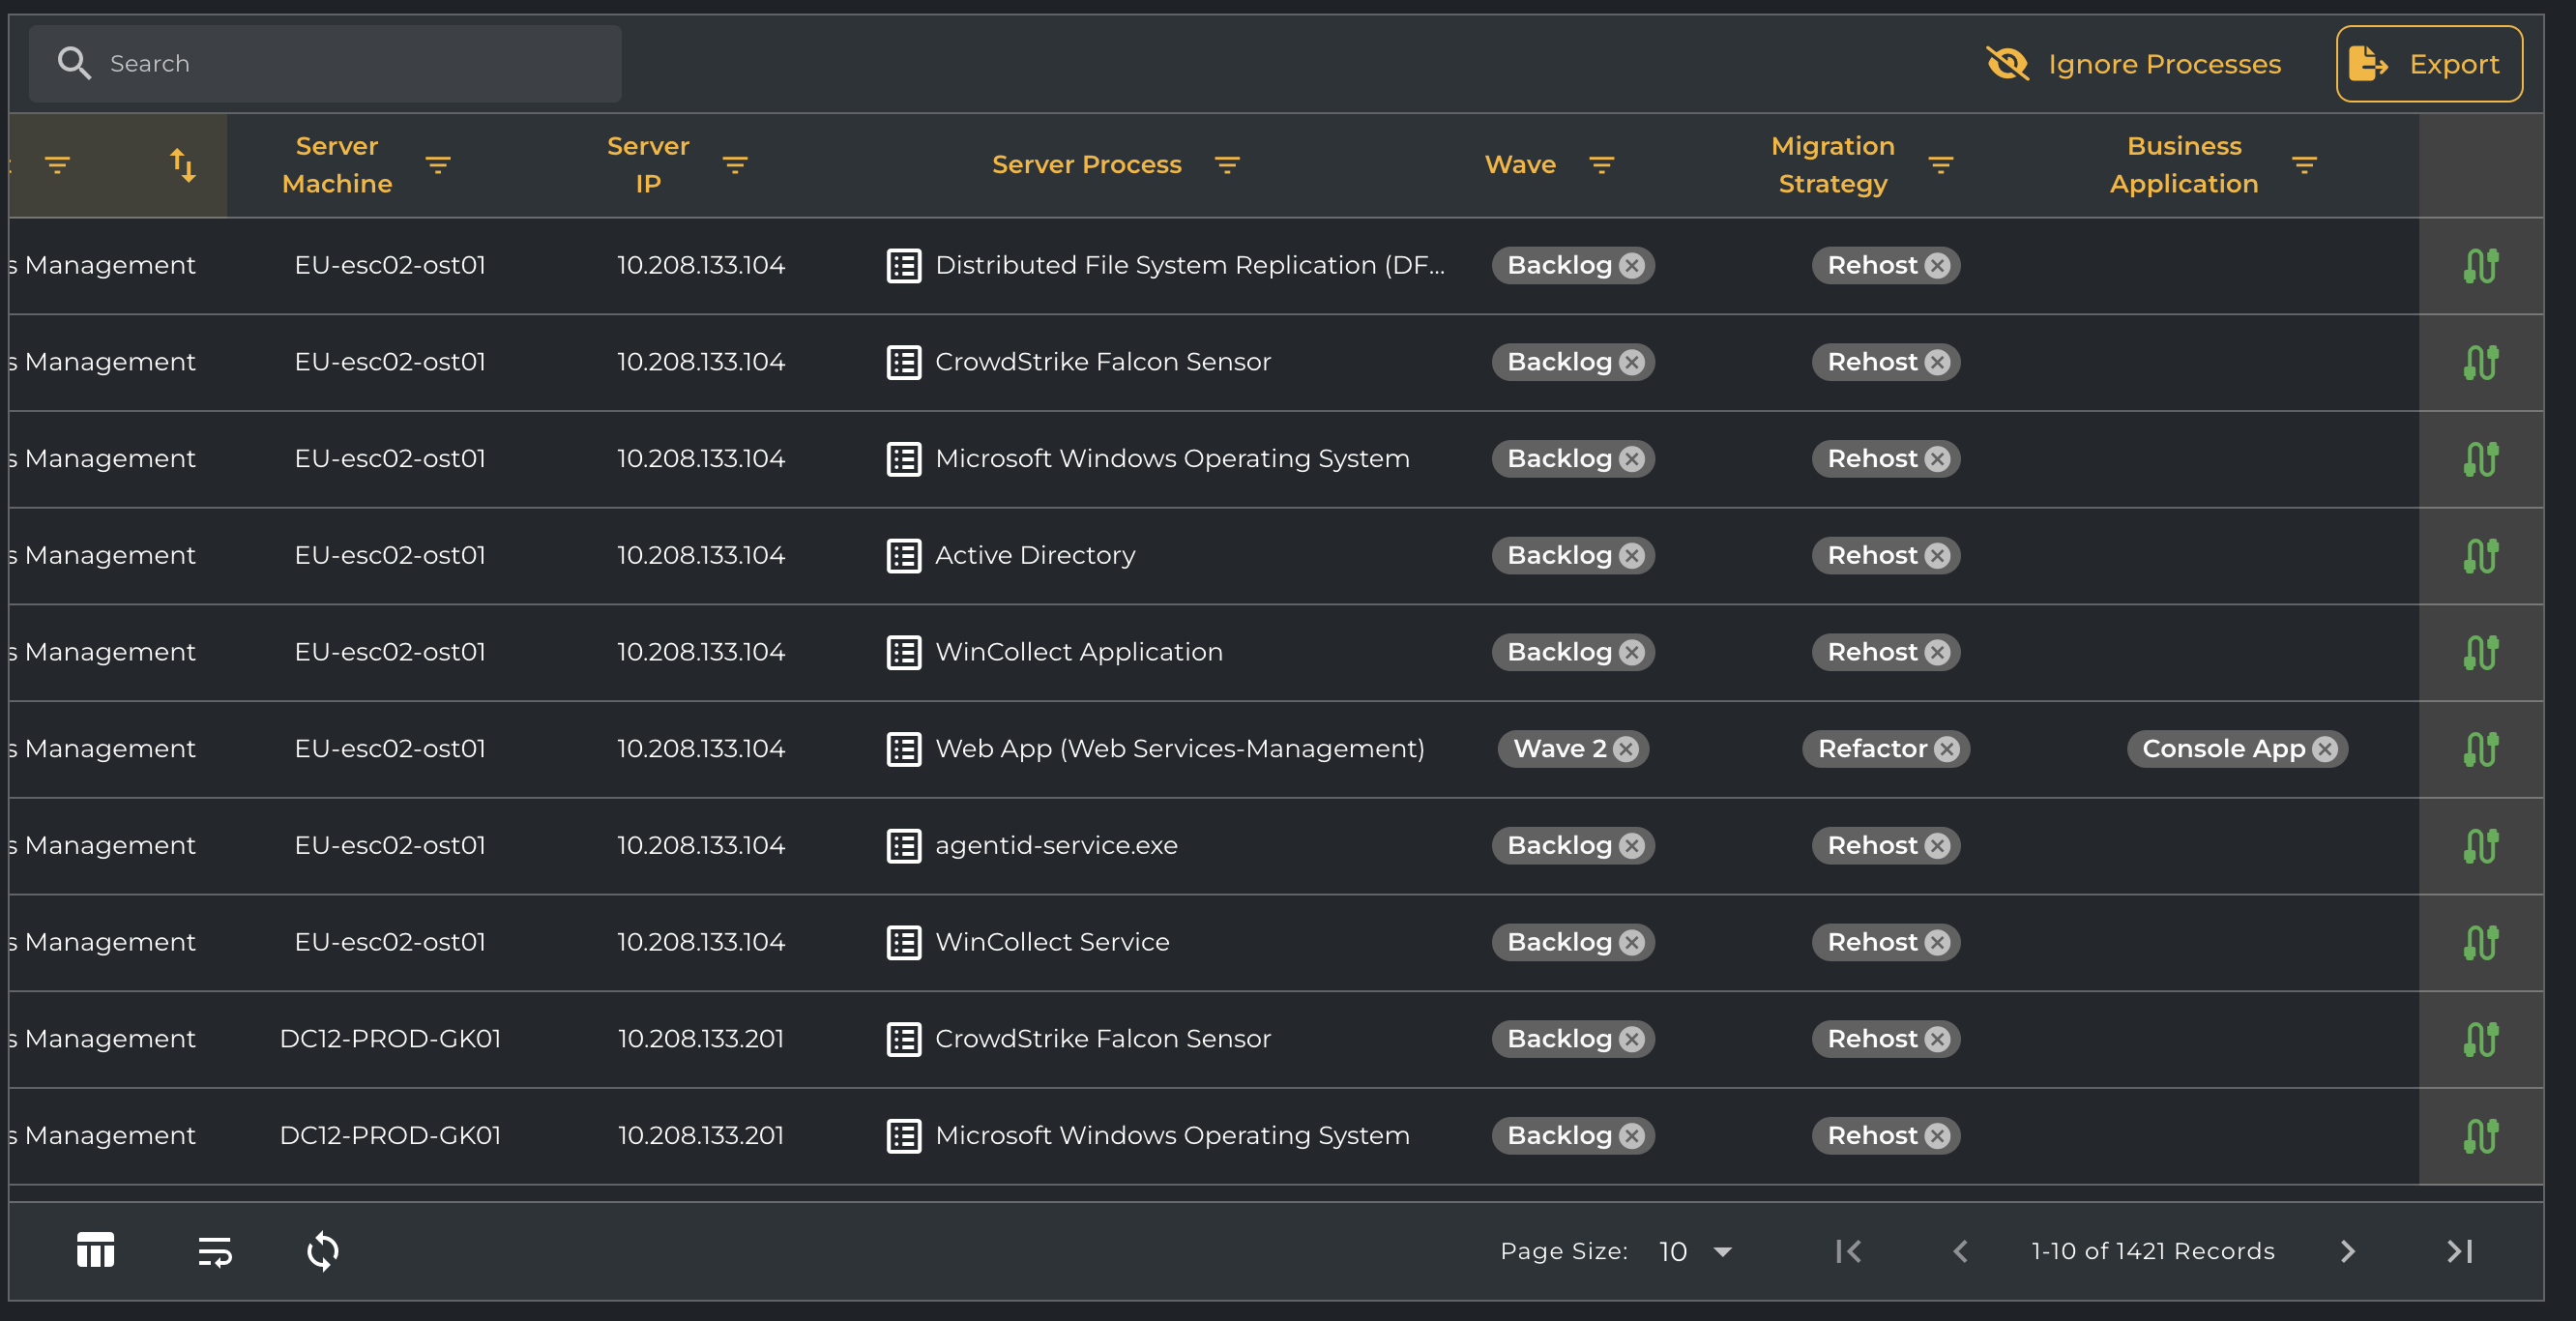
Here is a sample Application Tagging report MigrationPlanner-Server-Applications .xlsx
