Skip table of contents

Discover Your Network with Cloudamize Network Scanner

Overview

The Cloudamize Network Scanner is a wrapper for the open-source tool “nmap”. Our wrapper will run the tool, process the data, and send it back to the Cloudamize data collection servers. The tool must be downloaded prior to use: https://nmap.org/ and is not packaged with the Cloudamize Network Scanner wrapper. Please refer to the nmap documentation for any queries regarding its usage.

The Cloudamize Network Scanner works with any of our supported Cloud Service Providers.

Usage

The data collected by the Network Scanner can be used in the following ways:

  1. To identify Windows and Linux servers that are not included in the Cloudamize assessment and check off in real-time which servers are connected to Cloudamize using the Network Discovery tab (see below).

  2. To identify NAS and SAN devices. NetApp devices can also be identified so they can potentially be added to an Agentless Data Collector to gather data.

  3. To identify other servers (Unix systems, mainframes, etc.) that will be identifiable in the Migration Planner to assist with potential refactoring.

Requirements

The nmap tool is run from a Linux server. Its documentation can be found here.

We recommend running the wrapper and tool on a dev, utility, or otherwise disposable (non-production) server.

The server should have internal firewall visibility to as much of your network as you wish to scan for discovery and external firewall access based on the endpoint of your assessment:

  • US: am.cloudamize.com

  • EU: am-de.cloudamize.com

  • UAE: am-ae.cloudamize.com

The nmap tool requires root access. You must either run the network scanner with the root account, with sudo, or allow password-less sudo access to run nmap.

Downloading

You can download the network scanner as a binary distribution or wheel distribution.

Installing

You must install nmap and either the binary or wheel wrapper. The Network Scanner can be used in a Docker environment. We recommend a recent OS for newer versions of nmap with potentially better OS mapping.

Nmap

CODE
# For Ubuntu/Debian
apt-get install nmap
# For Red Hat
yum install nmap

Binary

CODE
gunzip netscan.gz
chmod +x netscan

Wheel

CODE
tar xzf netscanner-py3-none-any.whl.tgz
pip3 install netscanner*.whl

Running the Network Scanner

The utility may have an unpredictable impact on your network - it is designed to back off if it starts to overload the network, but there are always risks. The utility can be passed the --slow or --fast flag to adjust the speed setting given to nmap.

Depending on the size of the network, the scanner may take a long time to run, and there is no resume functionality should it be interrupted. It is important that the machine scanning stays on.

The scanner will function best if you give it a reasonable range to scan. Targets are specified in CIDR notation, for example, 192.168.1.1/24 for a network with subnet mask 255.255.255.0. Multiple ranges can be specified by separating them, each with a comma.

CODE
usage: netscan [-h] [--target TARGET_IP] [--customer-key CUSTOMER_KEY]
               [--dry-run] [--send-only] [--test-connection] [--no-ping]
               [--fast] [--slow] [--verbose] [--version]
Runs nmap and collects results
optional arguments:
  -h, --help            show this help message and exit
  --target TARGET_IP, -t TARGET_IP
                        REQUIRED. Target IP range(s), CIDR notation, comma
                        separated
  --customer-key CUSTOMER_KEY, -c CUSTOMER_KEY
                        REQUIRED. Your customer key to associate the data
                        with.
  --dry-run             Don't send results to Cloudamize
  --send-only           Only send result data file to Cloudamize (do not scan)
  --test-connection     Only test connection to cloudamize servers
  --no-ping             Skip pinging, port scan all. SLOW.
  --fast                Scan network at a faster pace. May impact network
                        performance.
  --slow                Scan network at a slower pace. May take a very long
                        time.
  --verbose, -v         Run nmap with verbose flag.
  --version             Print version information.

A typical run of the network scanner may look like:

CODE
netscan --customer-key <custkey> -t <ip_range>

Viewing the Results: The Network Discovery Tab

The Network Discovery Tab is available under the Discovery Option. To access the Network Discovery Tab, select the “Discover” option from the Cloudamize Landing Page.
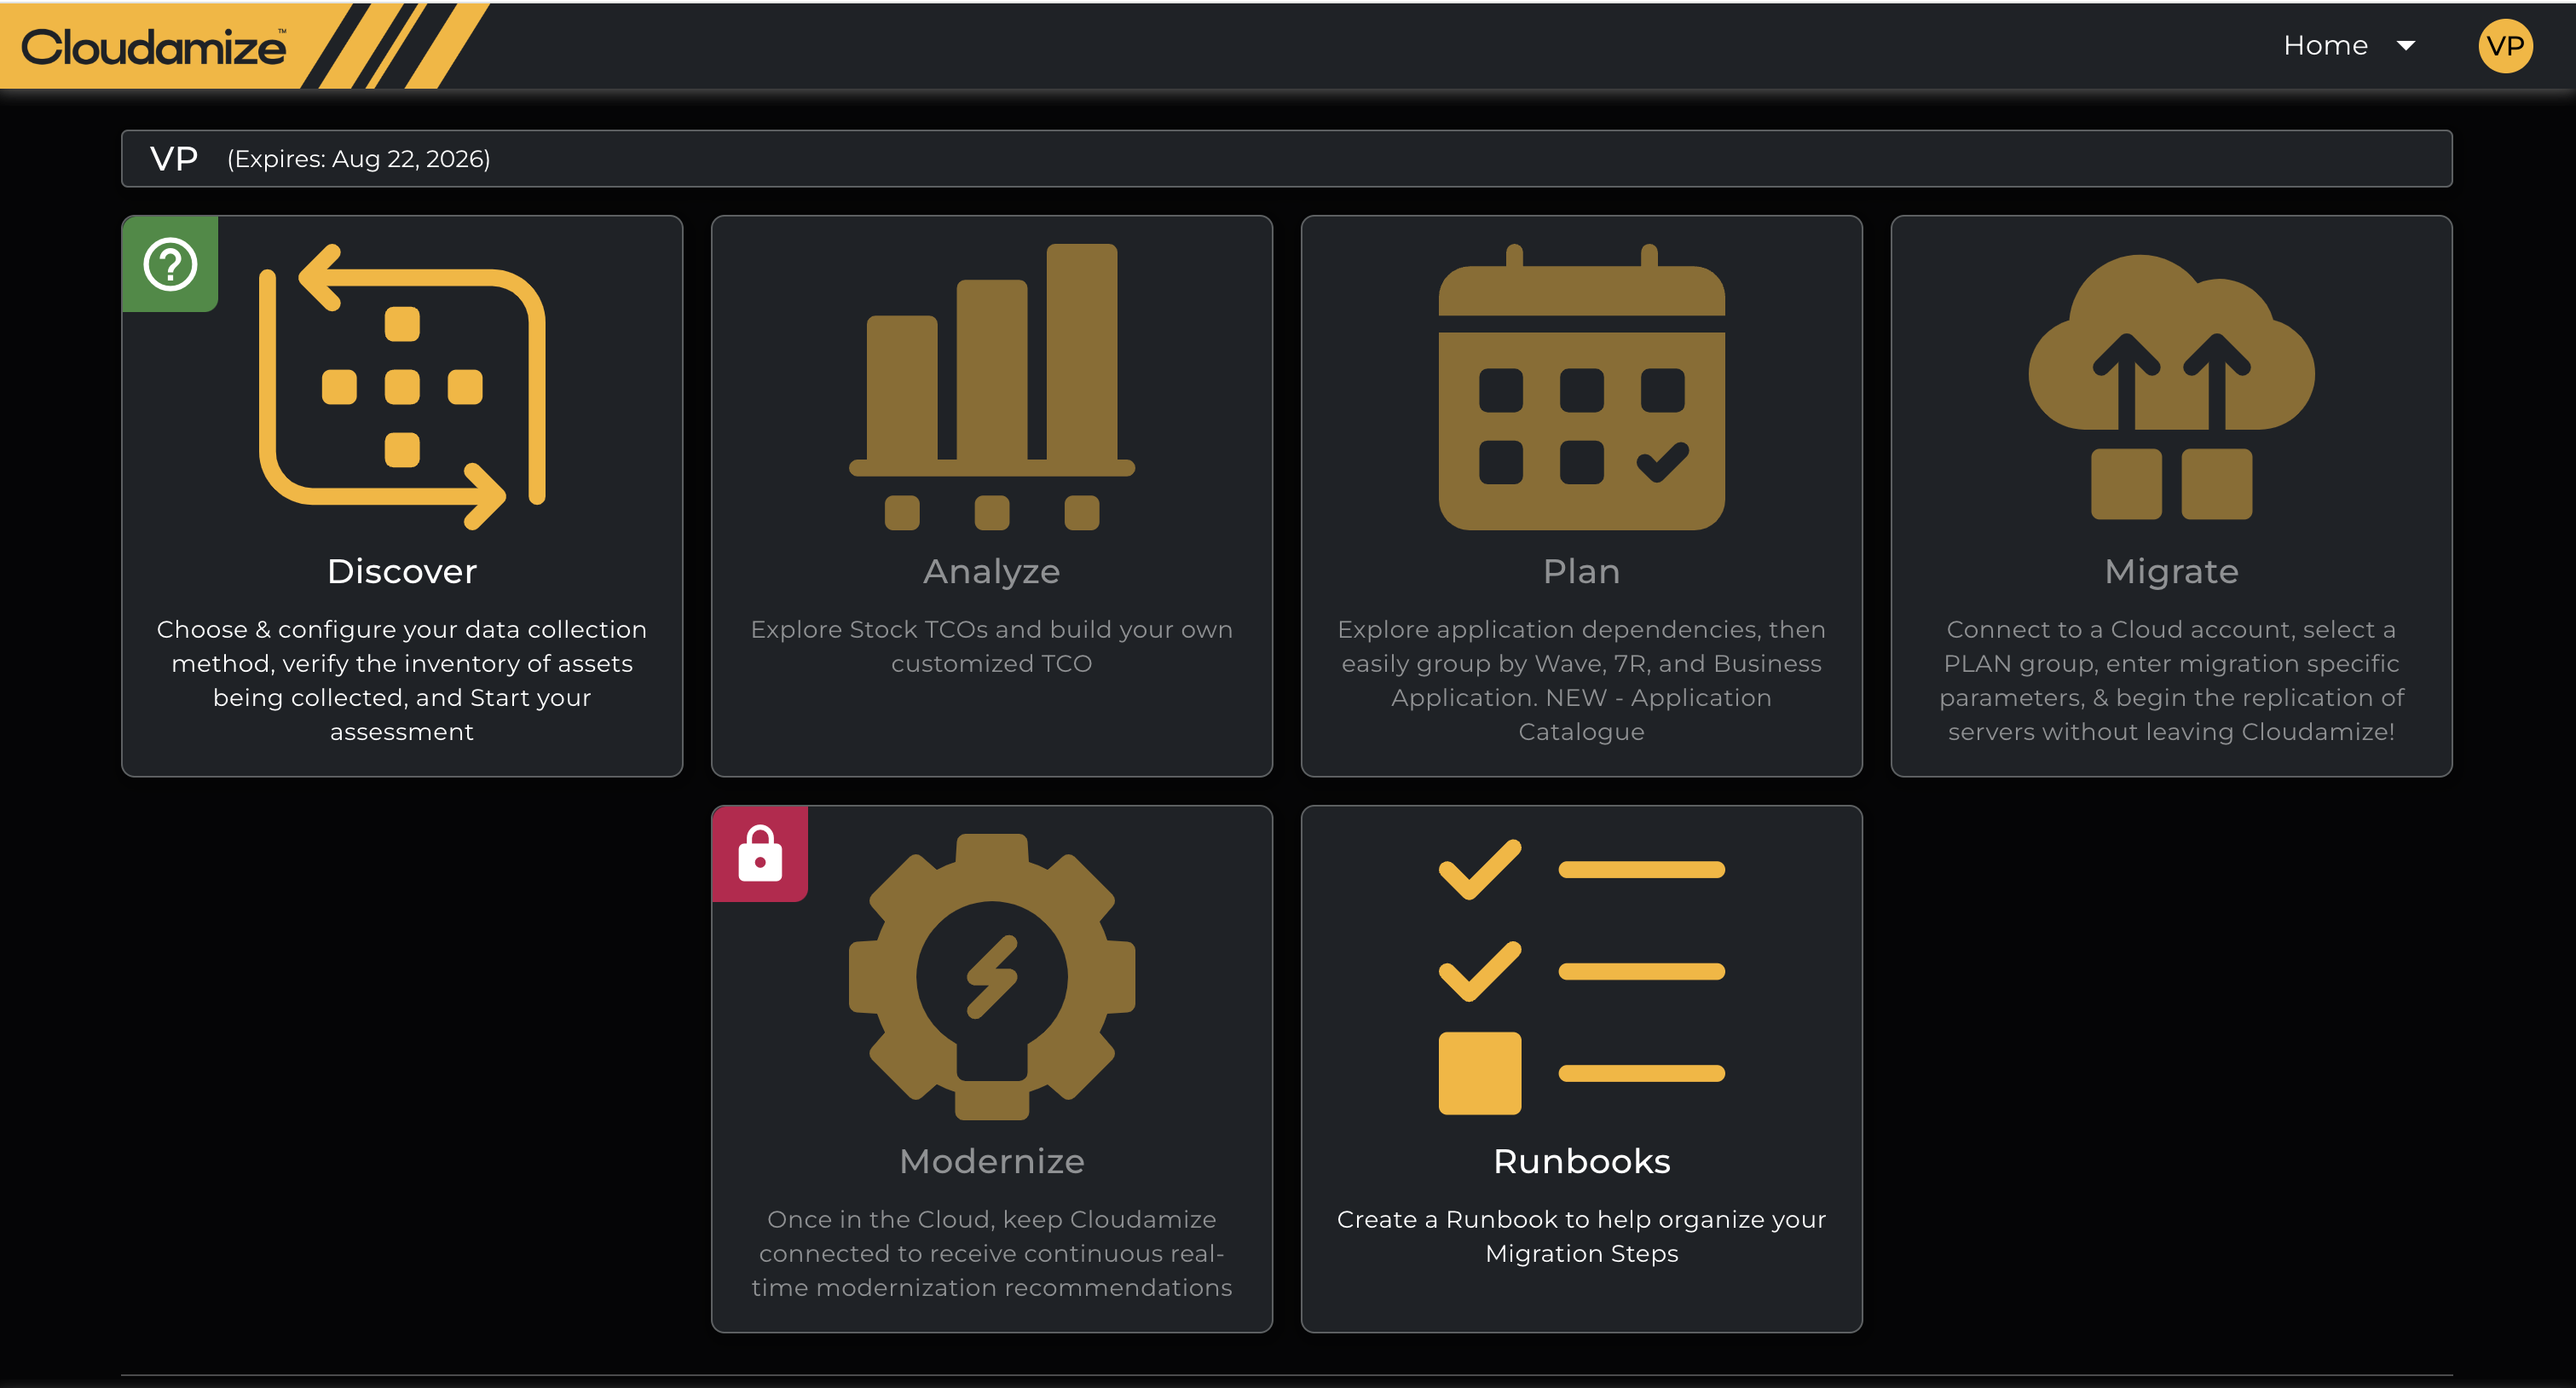
image-20241219-073052.png

Once the tool has completed its run and uploaded the data to the Cloudamize portal, you can view the results on the Network Discovery tab in the Inventory Settings page of the portal.

image-20241022-154430.png

Network Discovery Tab, Prior to Data Upload
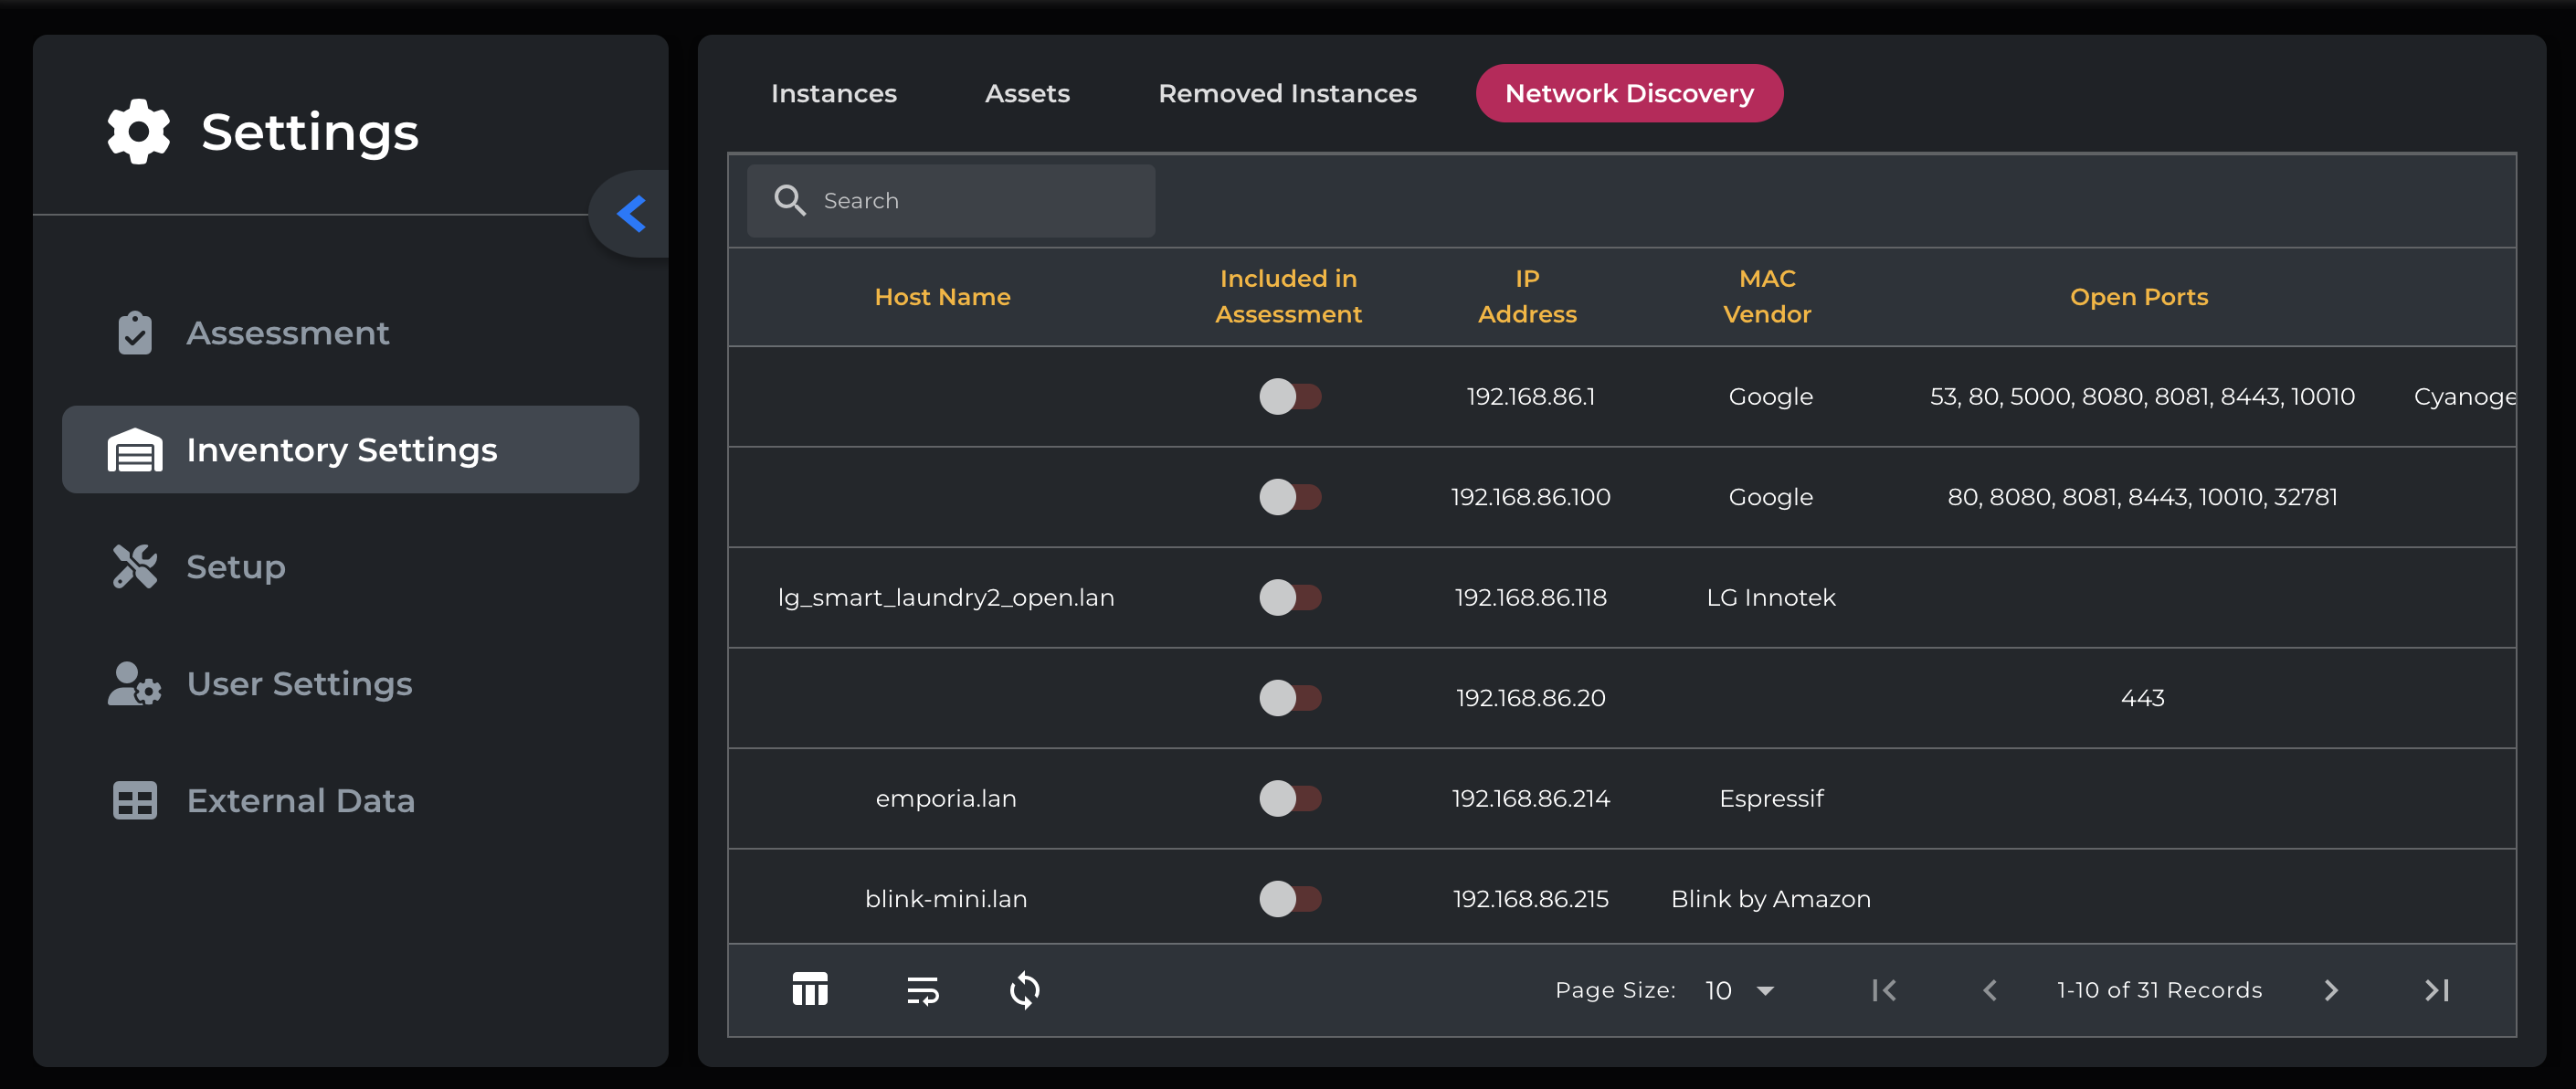
image-20241024-162929.png

Network Discovery Tab, After Data Upload

On this tab, you can view all discovered network devices and any related details that have been discovered, labeled by column. The results are searchable using the search box to the top left.

The “Included in Assessment” column identifies any servers that are connected to the portal by a Cloudamize data collector - Agent, Agentless, Hypervisor, or vCenter connections are all valid connections. Using this, you can identify servers that aren’t currently included in the assessment and quickly be able to add them if desired, for example, by adding their IP address to an existing Agentless Data Collector.

Support

The Network Scanner wrapper is provided as-is. Cloudamize can offer assistance configuring the command line for the tool but cannot offer support for the nmap tool itself.

If you have any queries, please contact the helpdesk.

JavaScript errors detected

Please note, these errors can depend on your browser setup.

If this problem persists, please contact our support.