Assessment Details
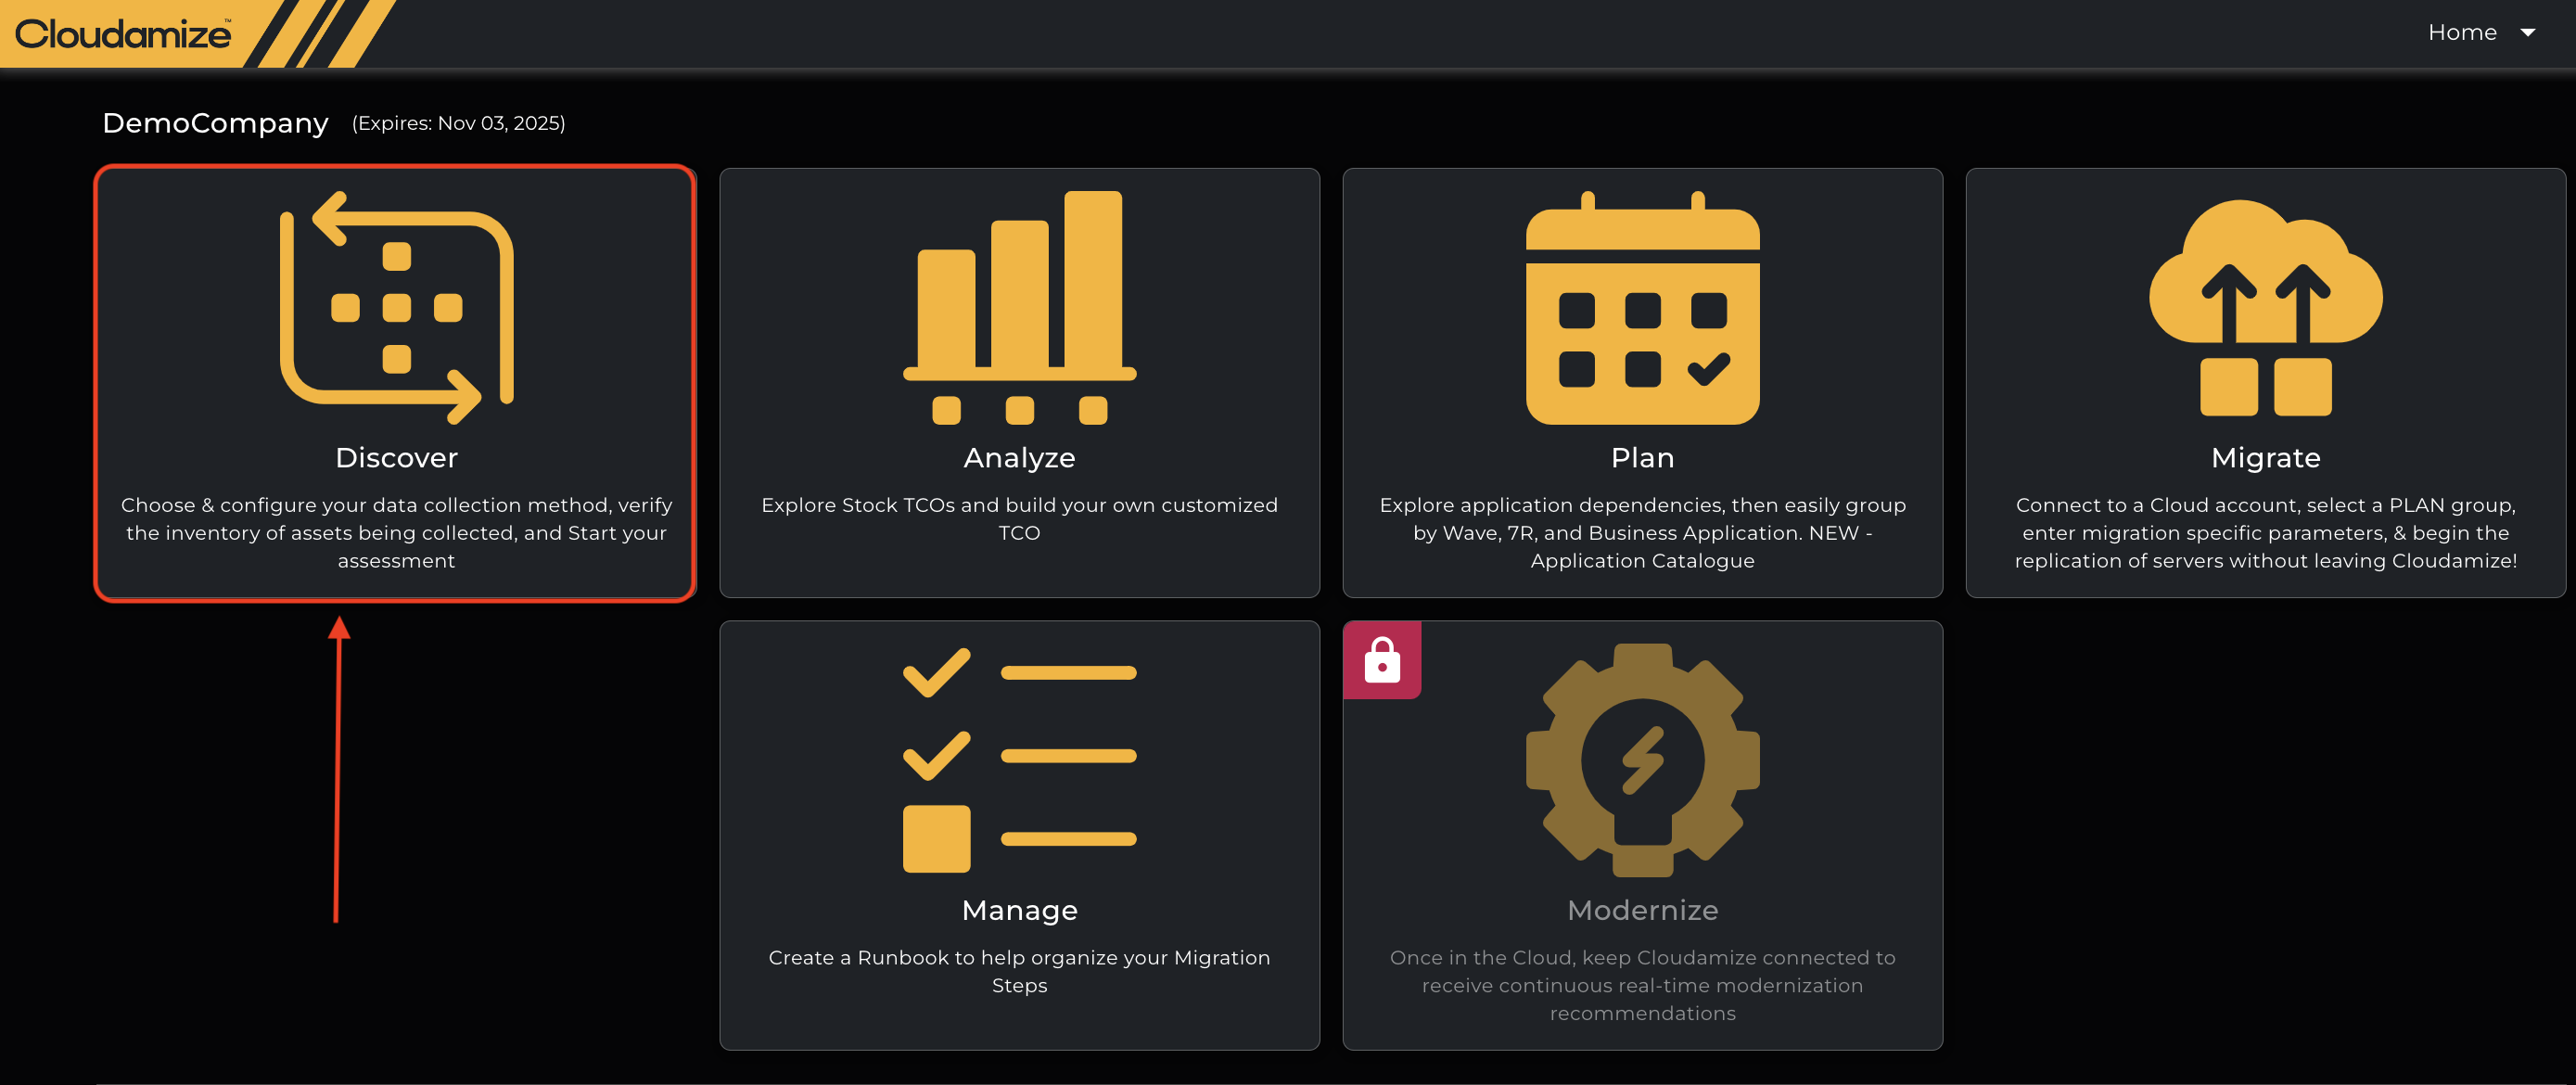
The Assessment tab in the Discover page displays key details relevant to your assessment's current status. To access the Assessment details, please select the “Discover option” from the Cloudamize Landing page as shown below.
Below are examples of how the page looks at different stages of the assessment:
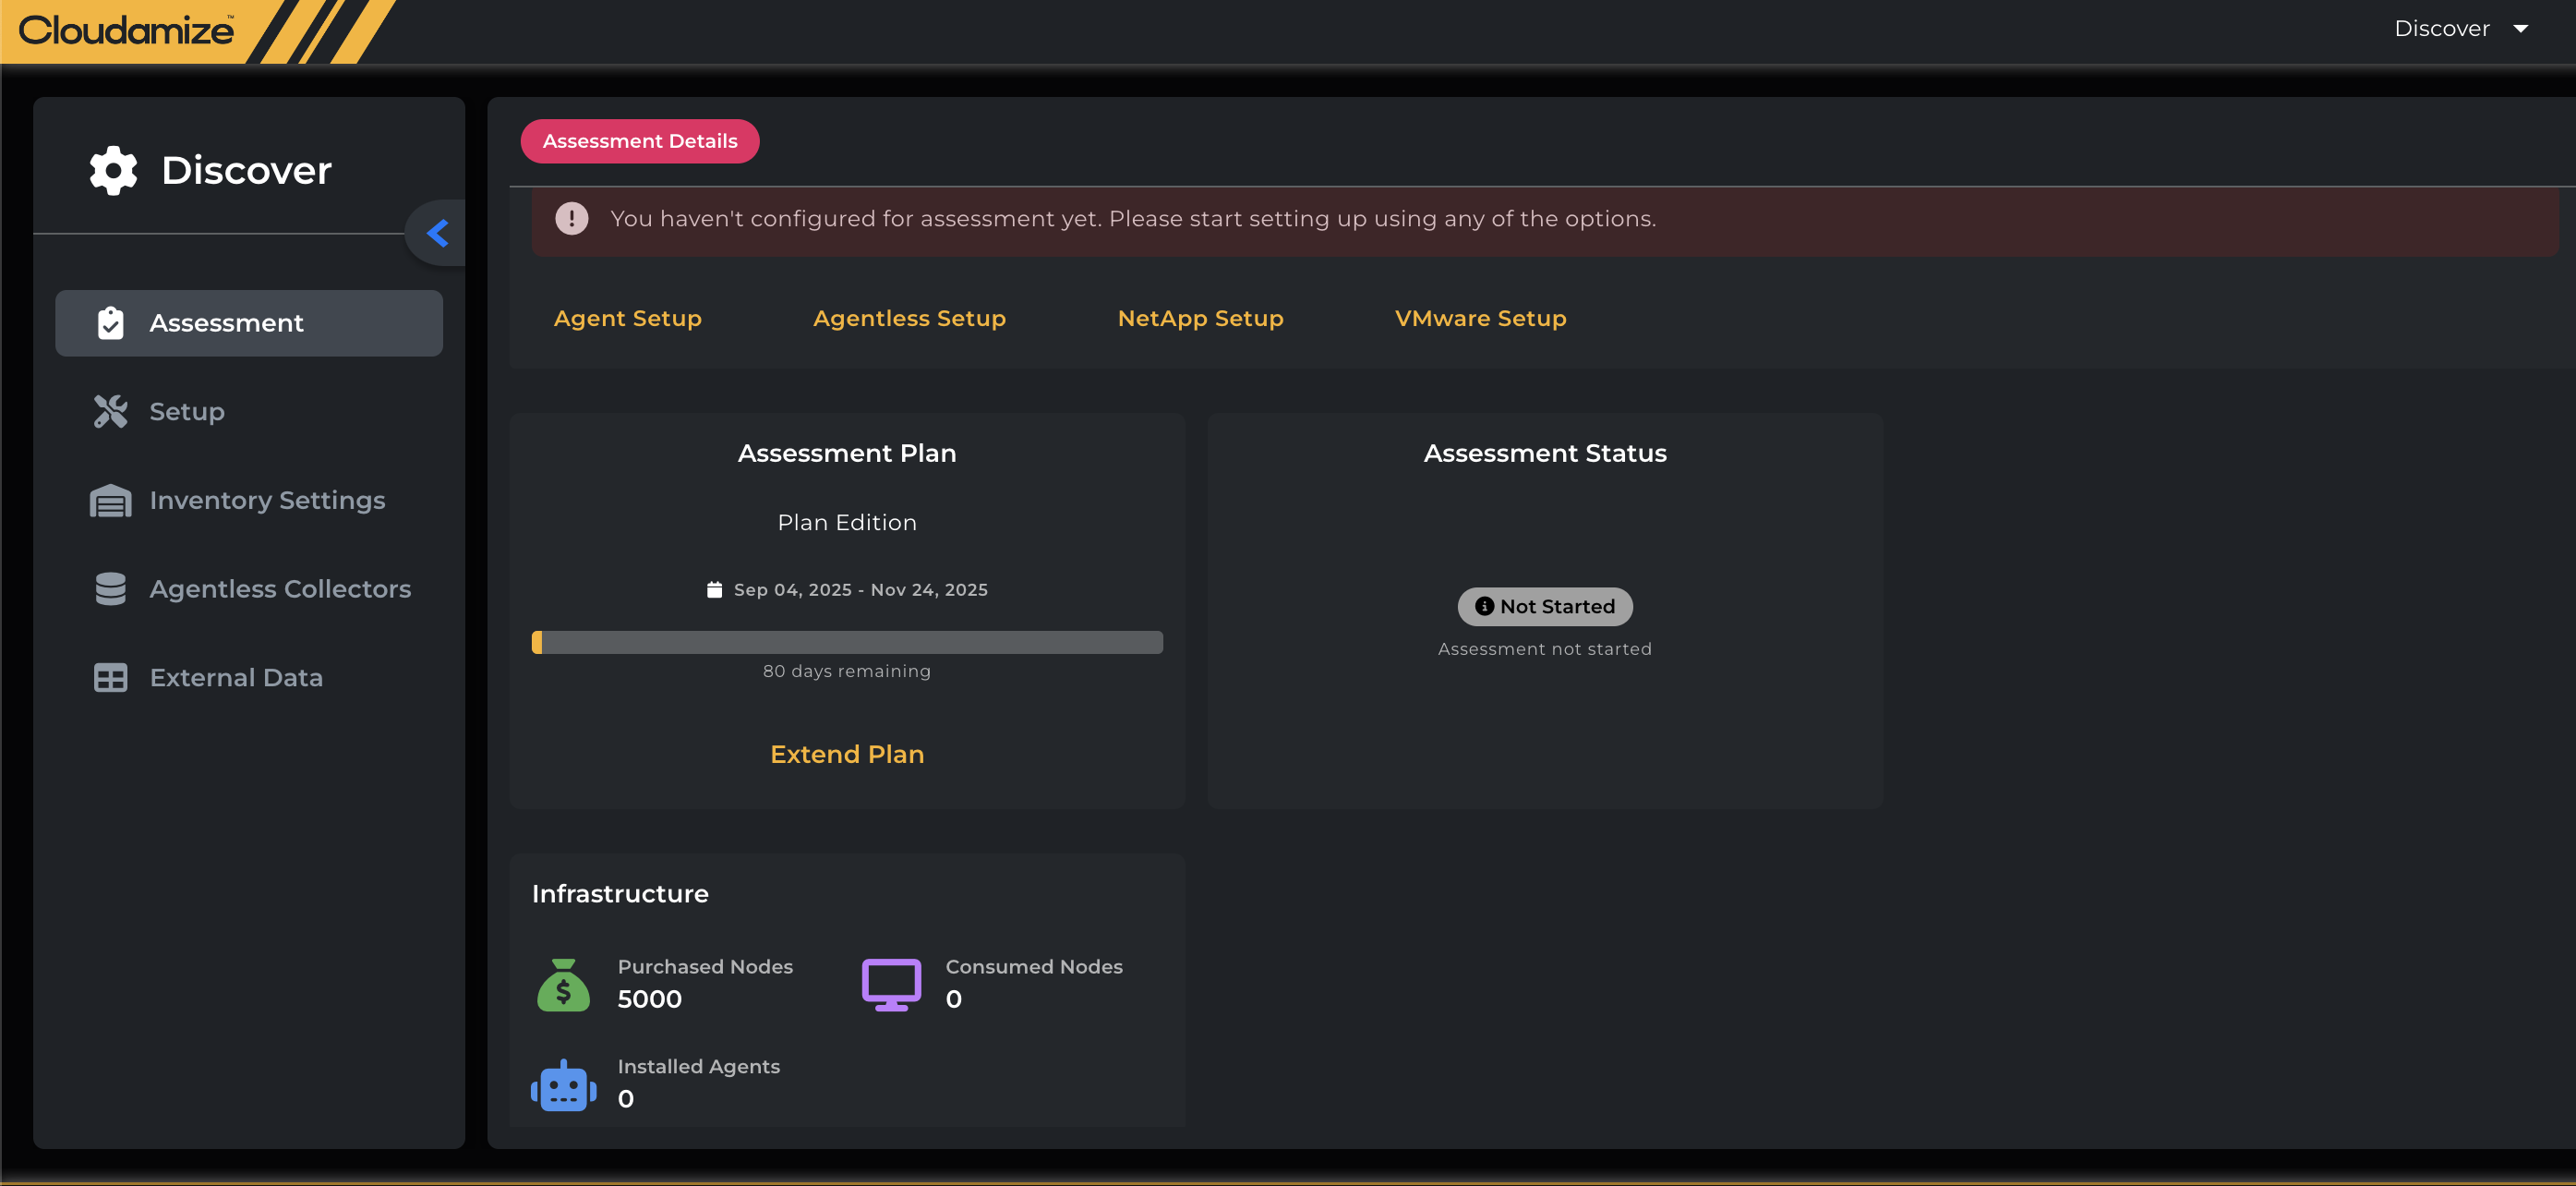
Once onboarding is complete, the page appears as shown below at the initial stage before configuration. You can click on the various setup options in the screenshot to begin the assessment configuration.
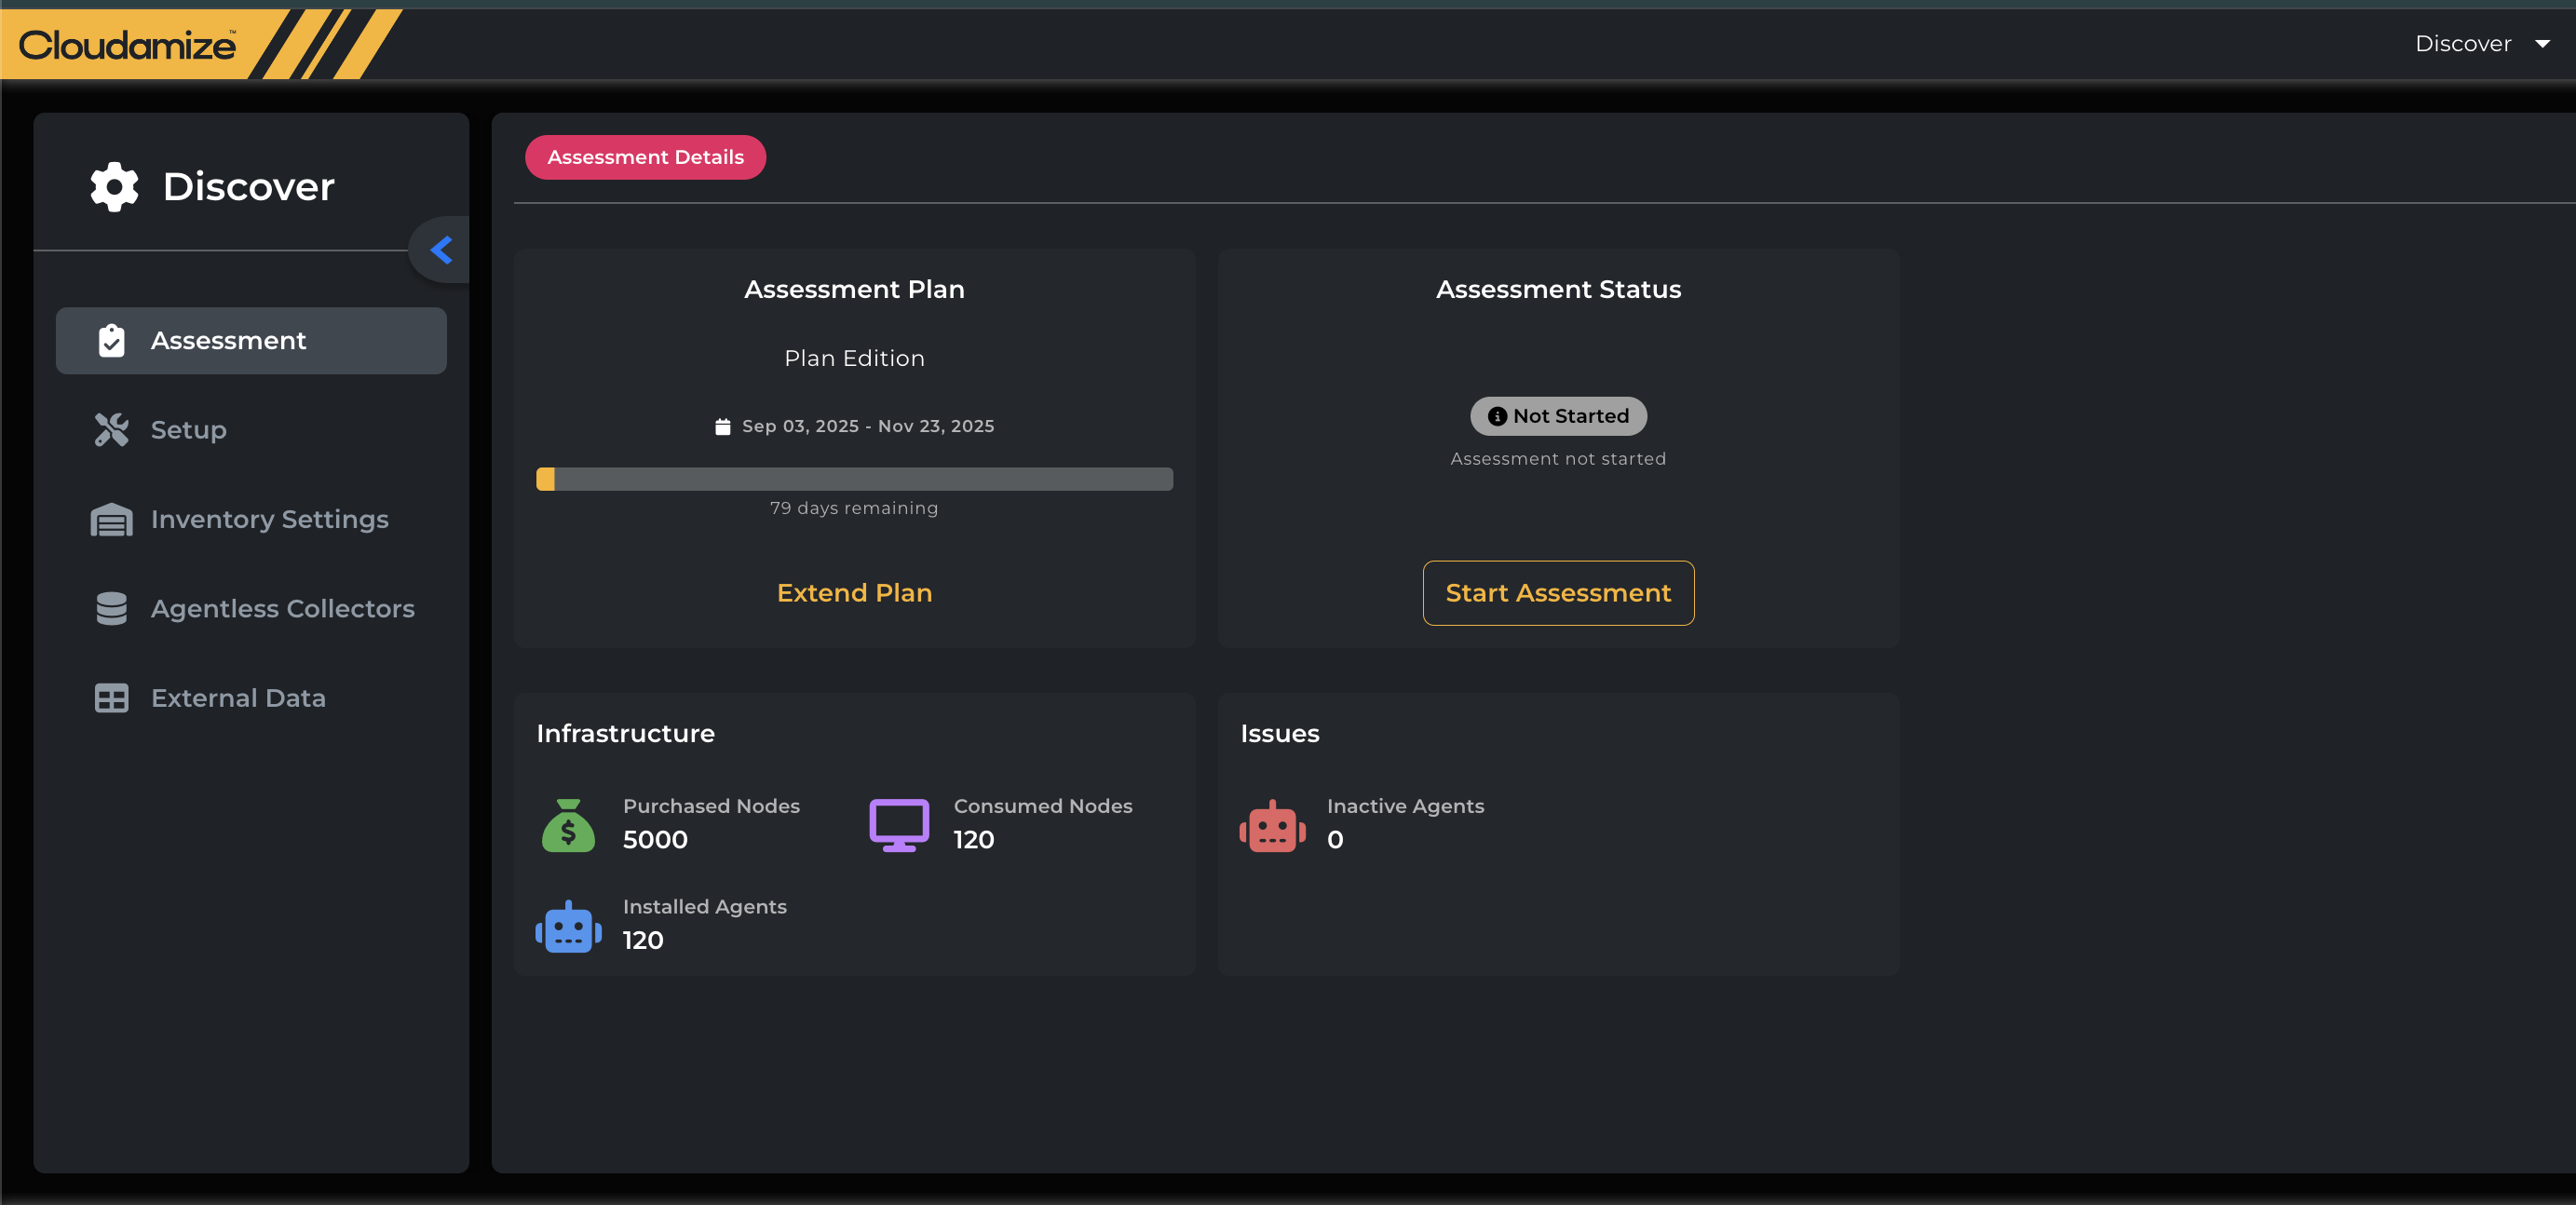
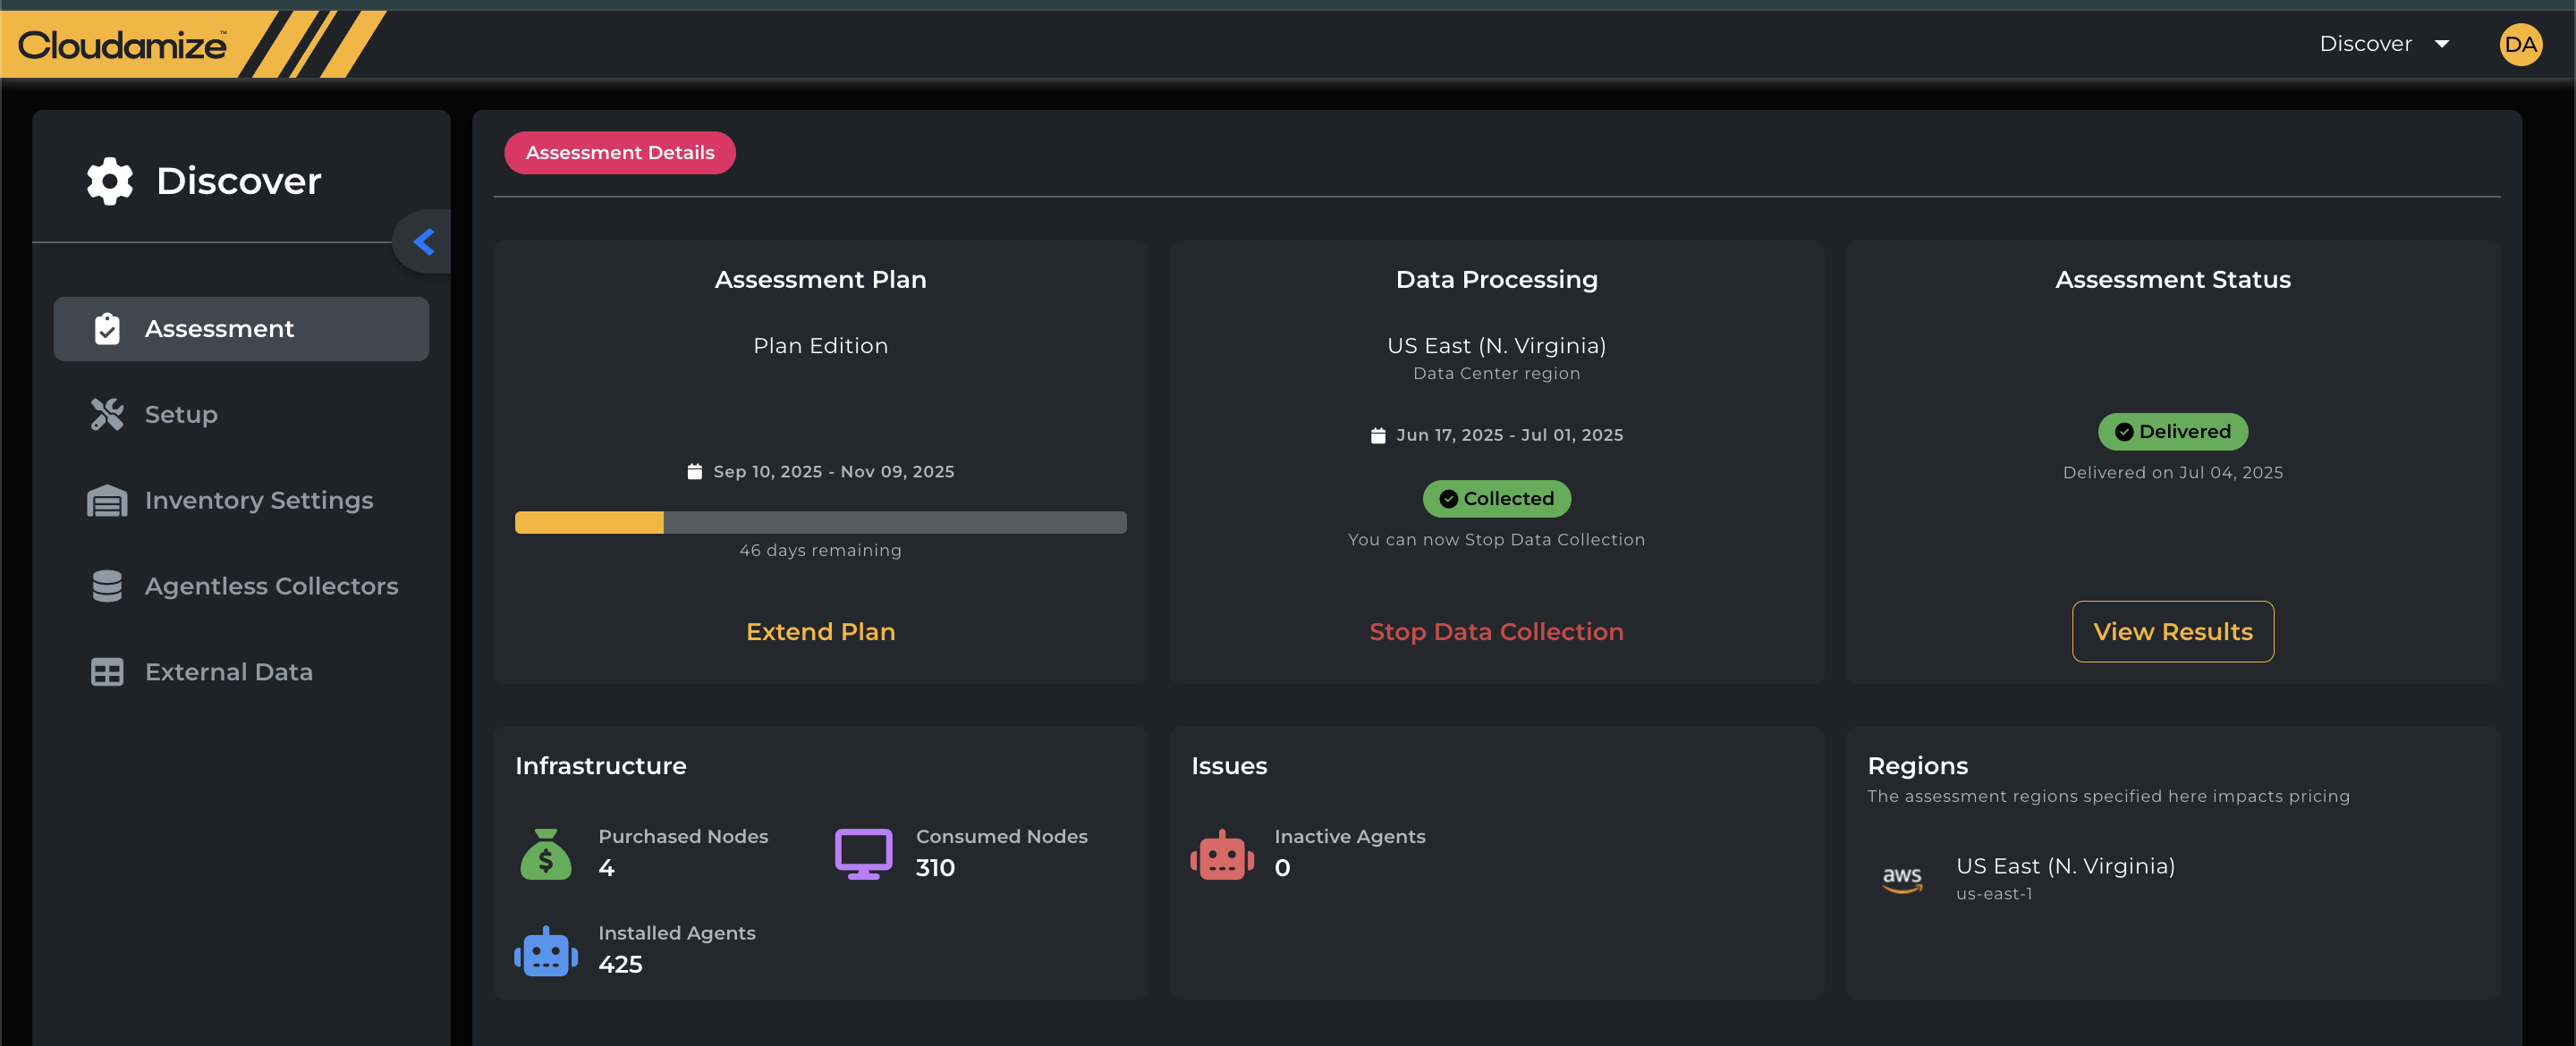
Once you complete the configuration for the assessment, the Assessment details section will change as follows.
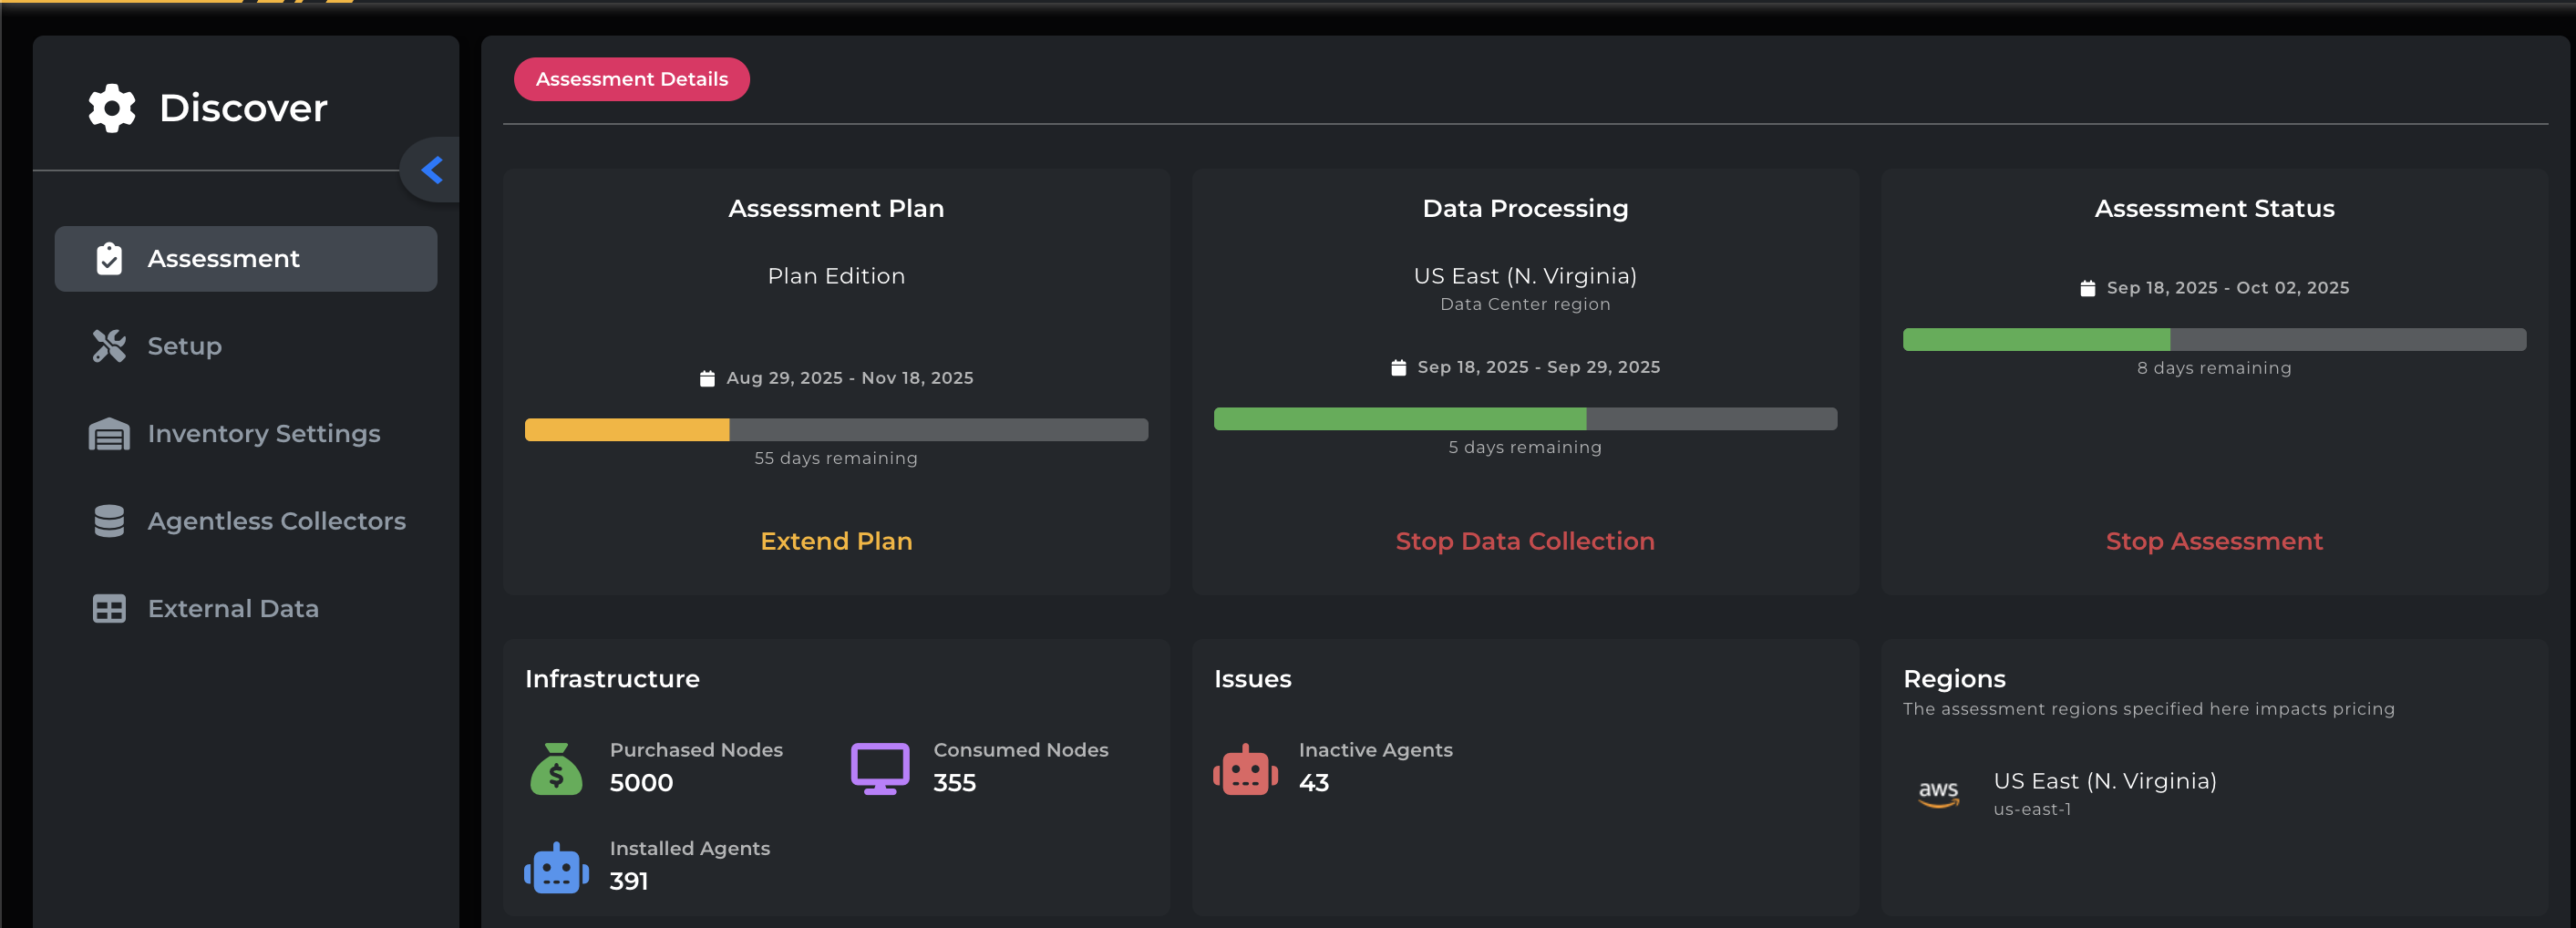
Once the assessment starts, the page appears as follows during the data collection period.
Once the assessment results are delivered, the Assessment status section changes to “Delivered,” as shown in the screenshot below.
Setup Prompt
Once onboarding is complete and before adding your infrastructure to the assessment, the page displays the Setup Prompt:

Clicking any setup option redirects you to the corresponding setup page. For example, clicking Agent Setup takes you to the page with details for setting up the Cloudamize Agent.
Assessment Plan
Throughout the assessment, the Assessment Plan details are displayed:
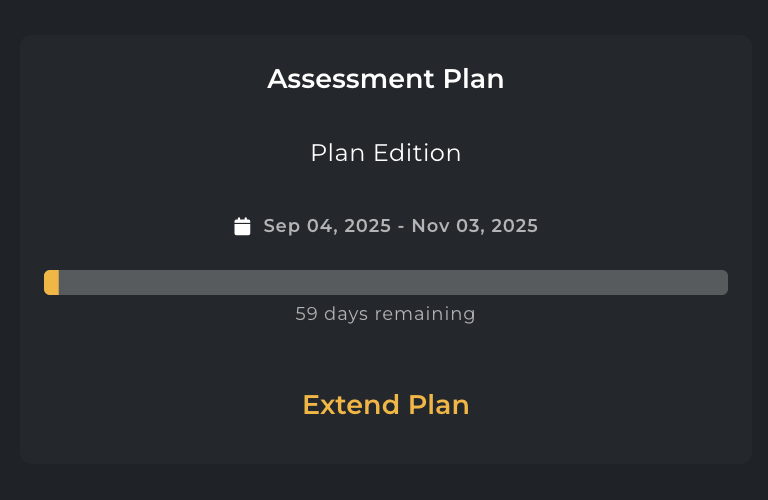
Here, the start and end dates for your assessment license are displayed; these are the dates that the assessment was first provisioned and the date that access to the assessment will be closed. A visual representation of this is included as a progress bar, and the number of days remaining until assessment closure is also displayed.
The start and end dates for your assessment license are shown here. These indicate when the assessment was first provisioned and when access will end. A progress bar visually represents this, along with the number of days remaining until assessment closure.
If you need to extend your assessment for any reason, the Extend Plan link directs you to the Cloudamize Helpdesk, where you can request an extension. Please note that the responsibility for final approval for extensions varies depending on the nature of your license. Cloudamize Helpdesk can advise in all cases
Data Processing
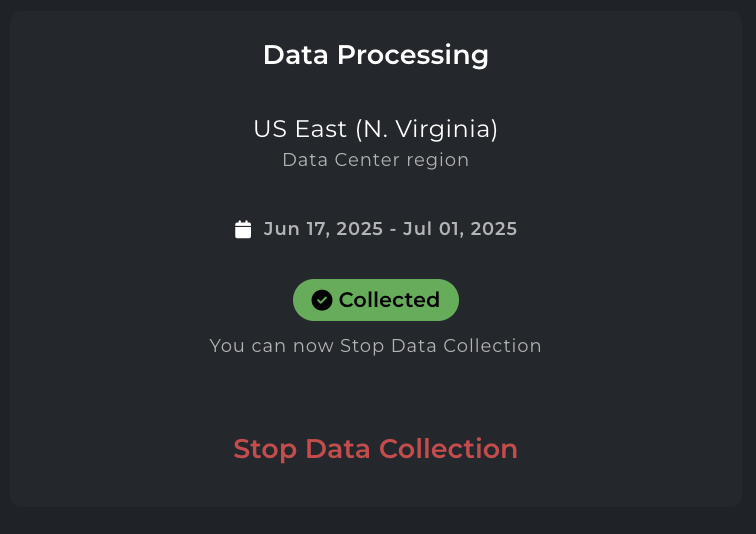
Data processing displays the start, end dates and Data Center region that specifies in which AWS region the data will be stored, along with a Stop Data Collection button. Clicking this button halts data collection, which then shows as disabled in the console inventory settings.
Assessment Status
The current Status of the assessment is displayed:
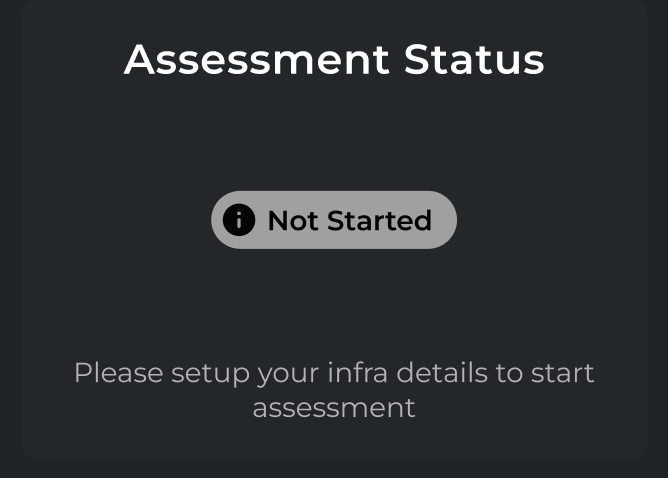
Your assessment will begin in this state before adding infrastructure.
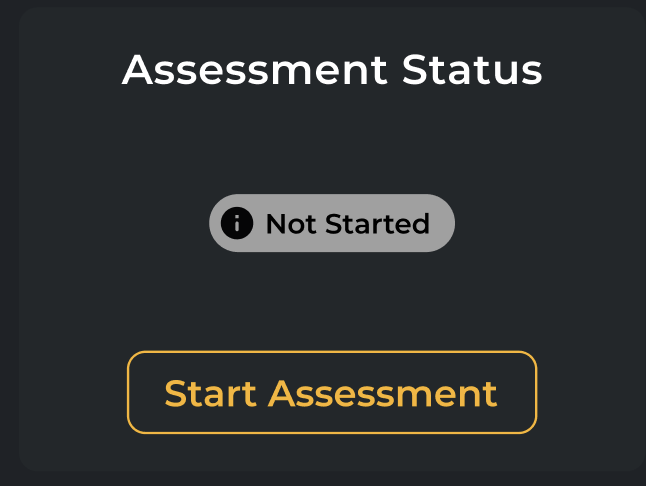
Once you have added all infrastructure via Agents, Agentless, etc., you can click the Start Assessment button to confirm infrastructure, choose regions, and set collection and delivery dates, beginning the assessment. Guide here.
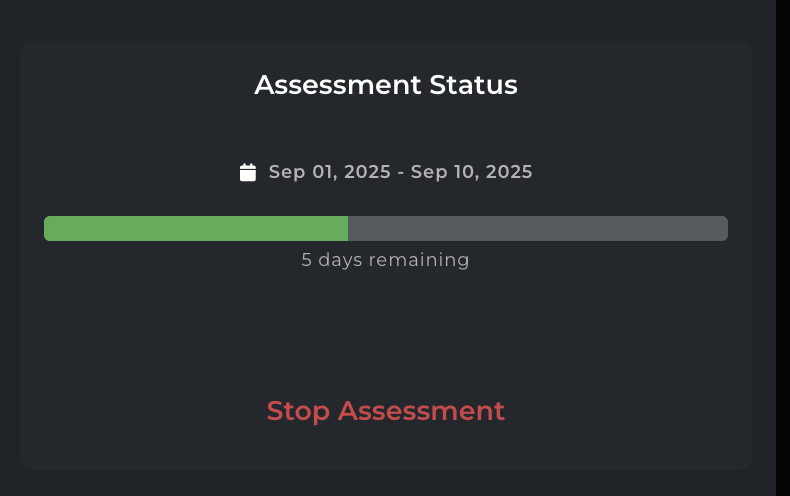
During the collection period (after start, before final processing begins), the progress of the collection is displayed here. Please note that the clicking on Stop Assessment will stop the assessment from running.
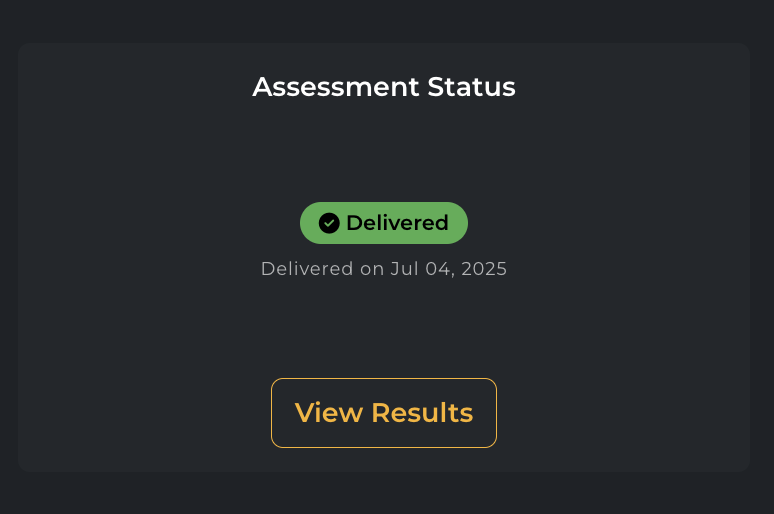
Once full results are delivered, you can access them through the View Result button here.
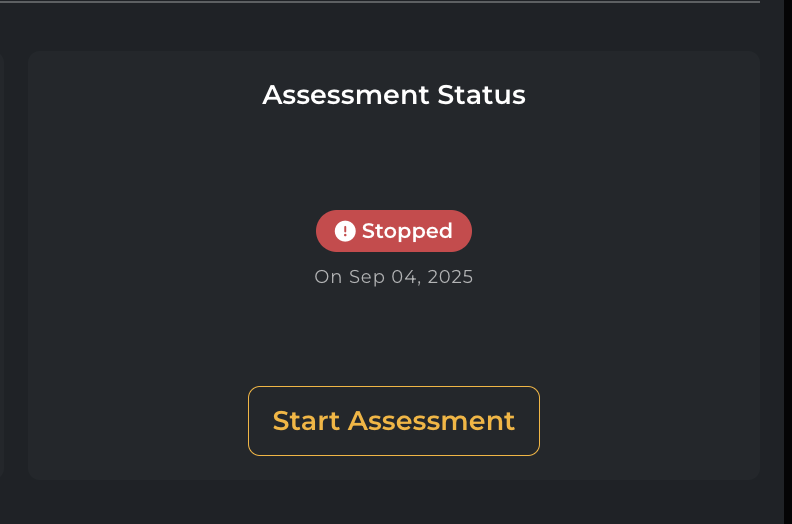
If your assessment is stopped for any reason after the start, you can see this here and start the assessment again.
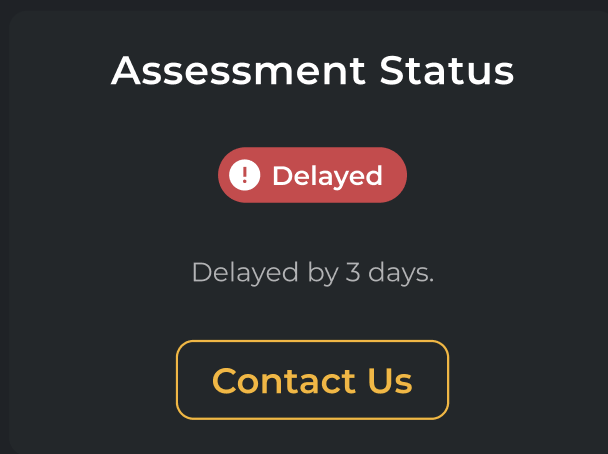
If your assessment is delayed, it will be displayed in this manner. You can click the link to contact the Cloudamize Helpdesk regarding this.
Infrastructure Summary
The Infrastructure Summary is also displayed throughout:
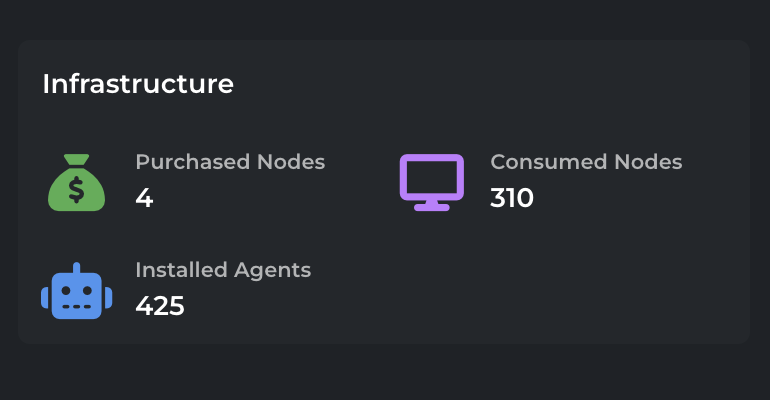
Purchased Nodes: represent the total number of licenses(nodes) available for the assessment. This is the maximum number of servers for which recommendation results can be processed based on purchased licenses.
Consumed Nodes: represent the total number of nodes selected for assessment; otherwise, the Number of nodes currently in the assessment scope.
Installed Agents: represents how many machines are connected via the Cloudamize Agents.
Issues Summary
Once nodes are added to the assessment, any Issues are summarised on this screen:
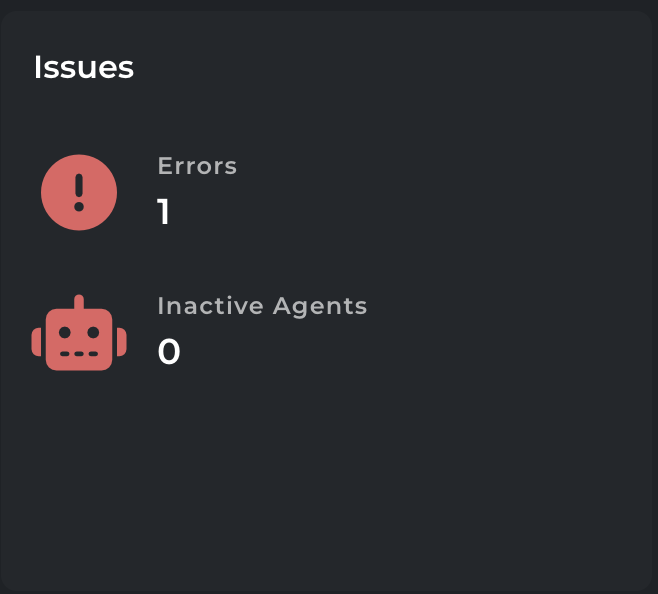
Errors: represent the number of errors detected in agents.
Inactive Agents: represents the number of installed agents that are currently Inactive.
More details on the errors themselves are present in the relevant Setup page.
Assessment Regions
The Regions selected for each available IAAS provider are displayed here:
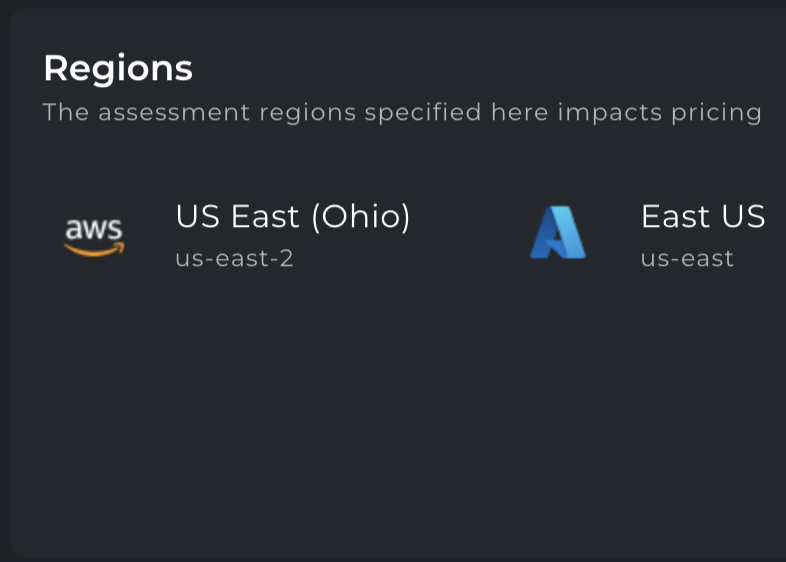
Note that this refers to the IaaS provider assessment region specified here, which impacts TCO pricing (where Cloudamize provides recommendations for each IaaS provider), not the data collection region (where Cloudamize is storing and processing data).
If you have any questions about the operation of the Assessment Details page, please contact the Cloudamize Helpdesk (or email helpdesk@cloudamize.com).
