

Getting Ready
This guide will walk you through setting up and troubleshooting the Cloudamize Agentless Data Collector.
Minimum System Requirements
The Cloudamize Agentless Data Collector will need to be installed on a physical or virtual Windows machine, meeting the following minimum requirements:
-
64-bit Windows Server 2012 or higher
-
.NET Framework version 4.0
-
8 CPU cores
-
16 GB RAM
-
5 GB persistent storage
-
PowerShell v5.1 (If SQL data is required)
-
SQLServer PowerShell Module (if advanced SQL data is required, the installer will attempt to install it if it is not)
Prior to Installation
-
Set up a new Windows instance to host the agentless data collector
-
When using multiple data collectors, ensure that each individual data collector’s scope of IP ranges is unique
-
Each data collector can, by default, assess up to a maximum of 500 instances (configurable)
-
Exclude the data collector IP address when adding hosts
-
Linux remote hosts: Cloudamize ADC cannot collect data when requiretty is true in sudo in remote hosts
Firewall requirements
Please note the following rules for each class of machine:
Machine with Cloudamize Agentless Data Collector installed
-
TCP port 445 opens inbound
-
TCP ports 443 and a proxy server port if a proxy is being used (e.g., 8080,80) open outbound to our servers at am.cloudamize.com (US), am-de.cloudamize.com (EU), or am-ae.cloudamize.com (UAE).
-
If your system locally caches DNS resolution, you may need to resolve am.cloudamize.com to 35.171.170.26 or am-de.cloudamize.com to 18.194.12.63 to allow egress traffic. This feature is not currently available for our UAE region.
-
Each Windows endpoint
-
TCP ports 135 and the dynamic RPC port ranges open inbound, appropriate for your OS versions:
-
Windows Server 2008 and later: TCP ports 49152 to 65535 open inbound
-
Windows Server 2003 and earlier: TCP ports 1025 to 5000 open inbound
-
-
TCP port 445 opens outbound to the machine with the Agentless Data Collector installed
Each Linux endpoint
-
TCP port 22 opens inbound
The table below lists the relevant ports for machine discovery and communication to the Cloudamize servers:
|
Protocol |
Port |
Usage |
|
TCP |
22 |
SSH to access Linux servers |
|
TCP |
135 |
Windows RPC |
|
TCP |
445 |
Microsoft-DS Active Directory and SMB, Windows shares |
|
TCP |
1025-5000 |
RPC dynamic port range for Windows Server 2003 and earlier |
|
TCP |
49152-65535 |
RPC dynamic port range for Windows Server 2008 and later |
|
TCP |
443 |
SSL to communicate with the Cloudamize servers |
Ports relevant to the Cloudamize Agentless Data Collector
Note: ICMP/Ping is required to discover machines
NOTE: When downloading and installing a new release of the Cloudamize Agentless MSI Installation via the double-click (GUI) method, users may encounter a blue "Windows protected your PC" notification.
This is a standard behaviour of Microsoft Defender SmartScreen. It occurs because SmartScreen uses a reputation-based system; every new version of an MSI is considered "unrecognized" until it has been installed a few hundred times globally. Please refer here for the instructions to proceed with the installation.
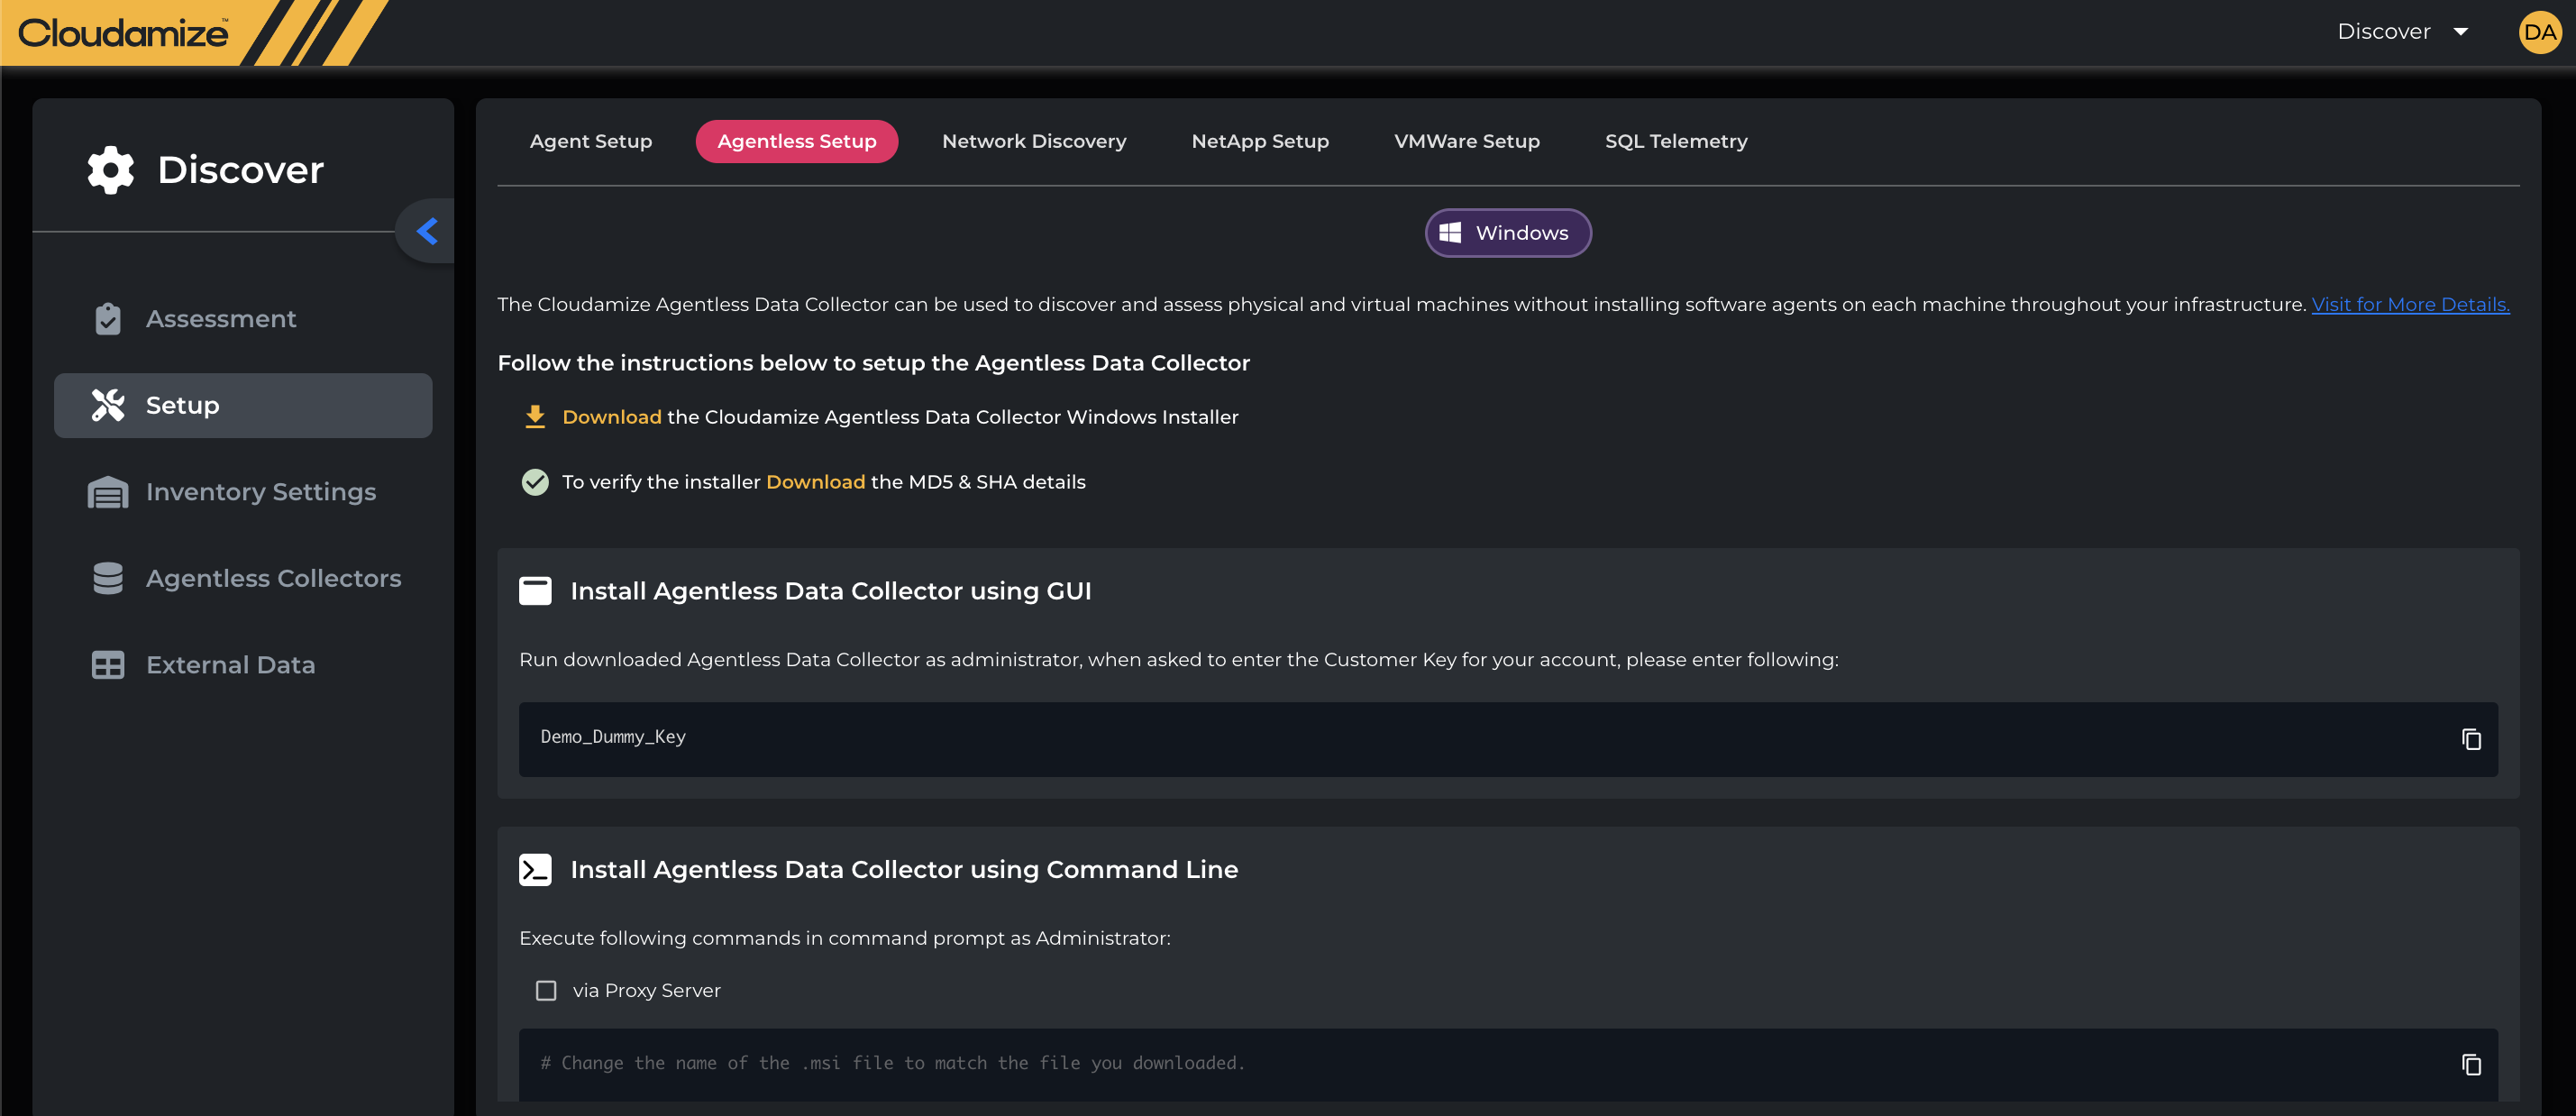
Windows Agentless Data Collector GUI Installation
The latest version of the Cloudamize Agentless Data Collector can be downloaded from your assessment in the agent setup tab.
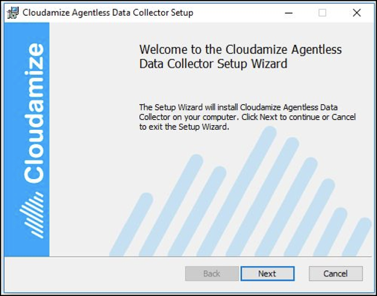
After downloading: Run the MSI file by double-clicking it and clicking "Next"
Accept the End-User License Agreement and click “Next”

Enter the customer key that was generated for the assessment. The customer key is available under the Install agent using the GUI. It is located by going to the Console portal here and navigating to Discover > Setup > Agentless Setup
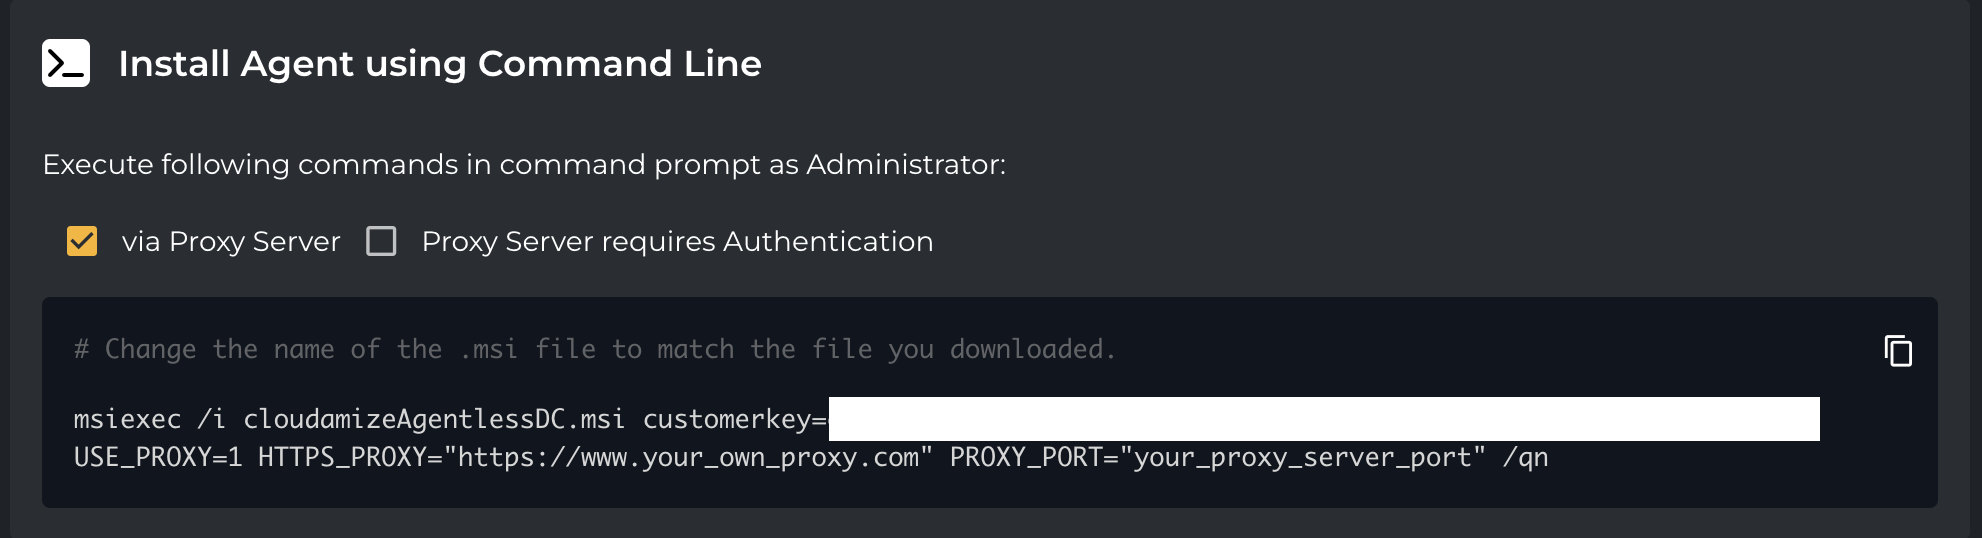
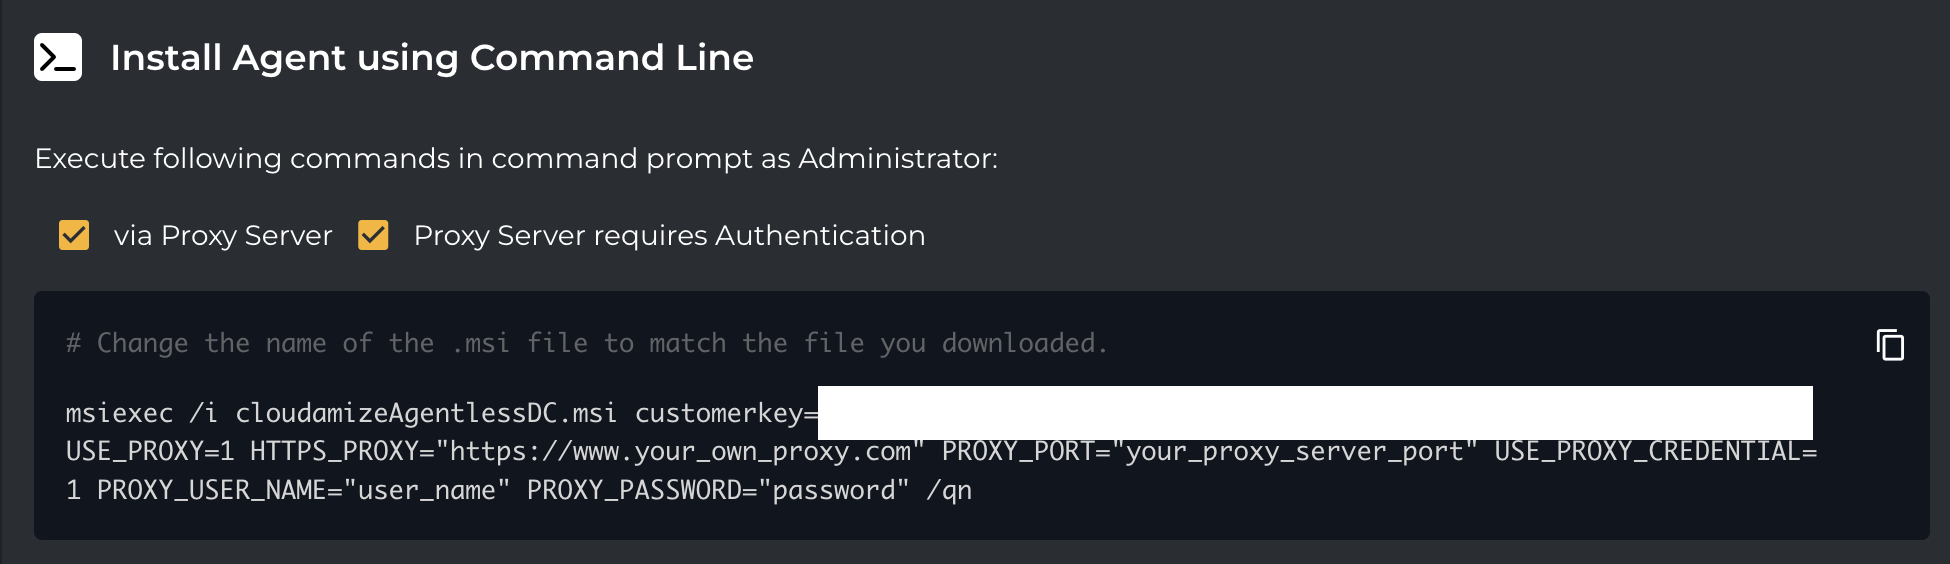
To use a proxy server, enable "Use proxy" and type in the HTTP proxy and port. If your proxy server needs user credentials, enable "Use proxy credentials" and enter the Username and Password.
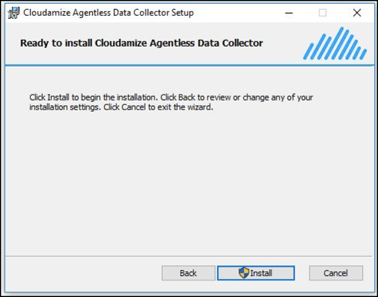
Click "Next". Click Install to begin the Cloudamize Agentless Data Collector installation
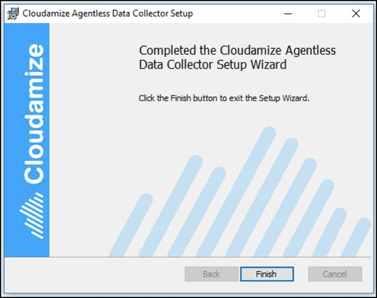
Once the installation completes, click Finish to close the installer
Command Line Installation with GUI
Please select one of the following commands and run it as administrator (i.e., run Command Prompt as administrator and type in one of the commands)
-
When a proxy server is not used,
-
msiexec /i <downloaded MSI file> CUSTOMERKEY="your key"
-
-
When a proxy server is used but proxy credentials are not used,
-
msiexec /i <downloaded MSI file> CUSTOMERKEY="your key" USE_PROXY=1 HTTPS_PROXY="https://www.your_own_proxy.com" PROXY_PORT="your_proxy_server_port"
-
-
When a proxy server is used and proxy credentials are used,
-
msiexec /i <downloaded MSI file> CUSTOMERKEY="your key" USE_PROXY=1 HTTPS_PROXY="https://www.your_own_proxy.com" PROXY_PORT="your_proxy_server_port" USE_PROXY_CREDENTIAL=1 PROXY_USER_NAME="user_name" PROXY_PASSWORD="password"
-
-
When a connection problem occurs, the installer will try to connect to the Cloudamize server for 24 hours. To limit the installation maximum duration due to a connection problem,
-
msiexec /i <downloaded MSI file> CUSTOMERKEY="your key" INSTALL_MAX_DURATION_IN_MIN=60
-
Unit of INSTALL_MAX_DURATION_IN_MIN is minutes, and 60 minutes are set in this example.
-
-
-
Additional options
-
IS_PROXY_CERTIFICATE_SIGNED_BY_CA
-
0: Skip the proxy certificate verification with the proxy server option. This is the default value.
-
1: Verify the proxy certificate.
-
-
IS_SERVER_CERTIFICATE_SIGNED_BY_CA
-
0: Skip the server certificate verification.
-
1: Verify the server certificate. This is the default value.
-
-
INSTALL_SQL_SERVER_PS_MODULE
-
0: Skip installation of the SQL Server PowerShell Module (only required for advanced SQL data).
-
1: Attempt installation of the SQL Server PowerShell Module if necessary.
-
-
Add and Configure Hosts
Continue to our guide for the following steps on how to Add and Configure Hosts with the Cloudamize Agentless Data Collector.
If you have any queries, please get in touch with the helpdesk via our Helpdesk Portal or by email at helpdesk@cloudamize.com.