

Overview
The VMWare Setup page contains all the tools you need to connect your vCenter to the Cloudamize data collection endpoint to analyze any servers it manages.
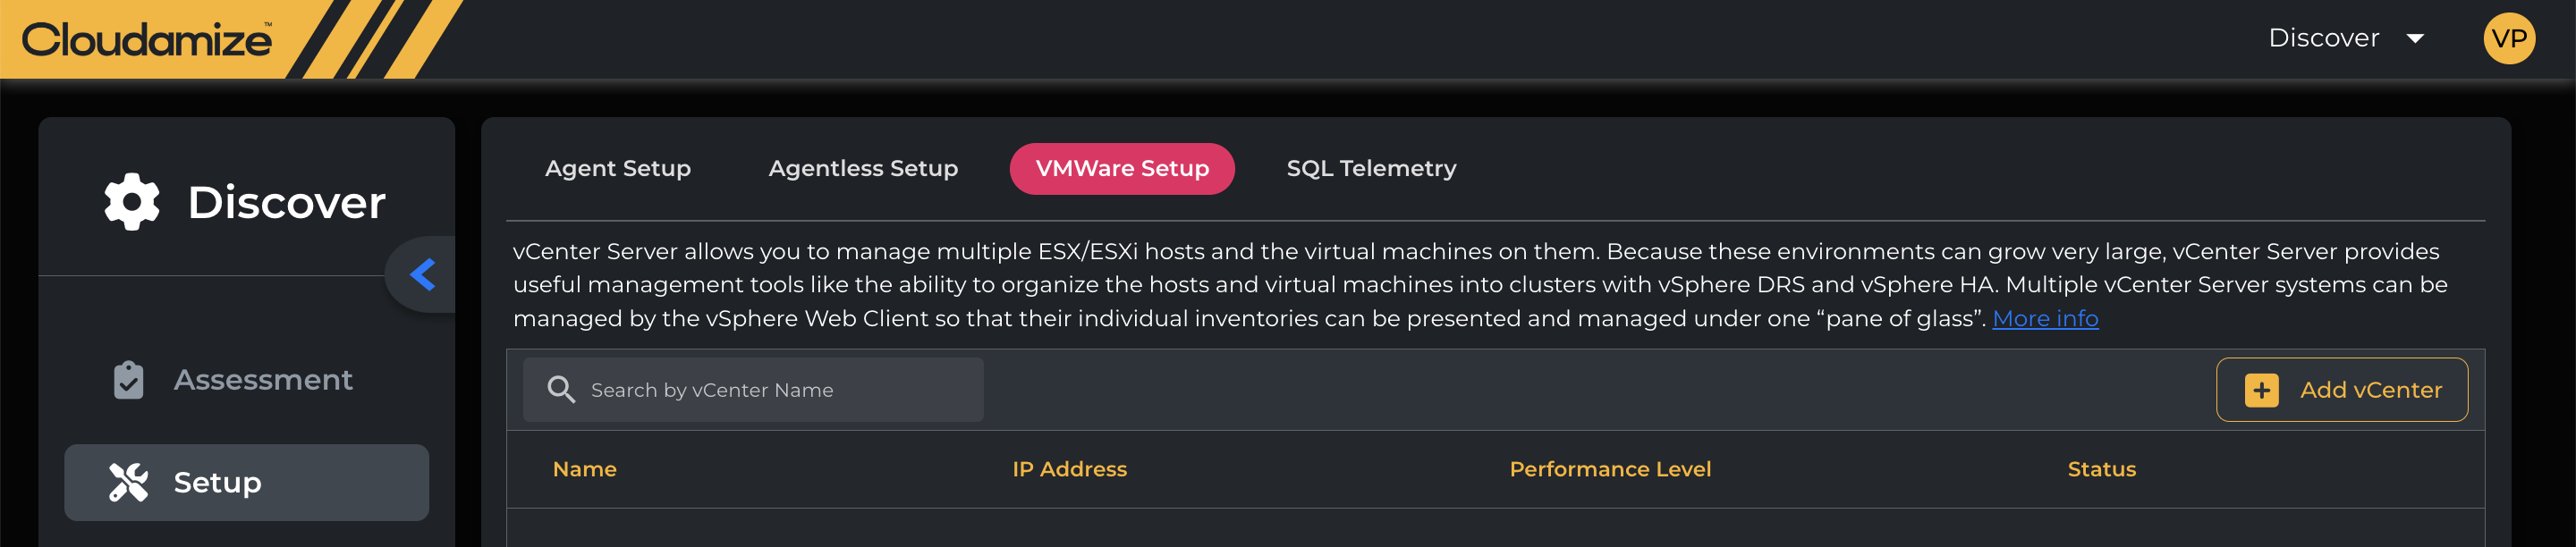
The VMWare setup can now be accessed by navigating through the steps mentioned below-
-
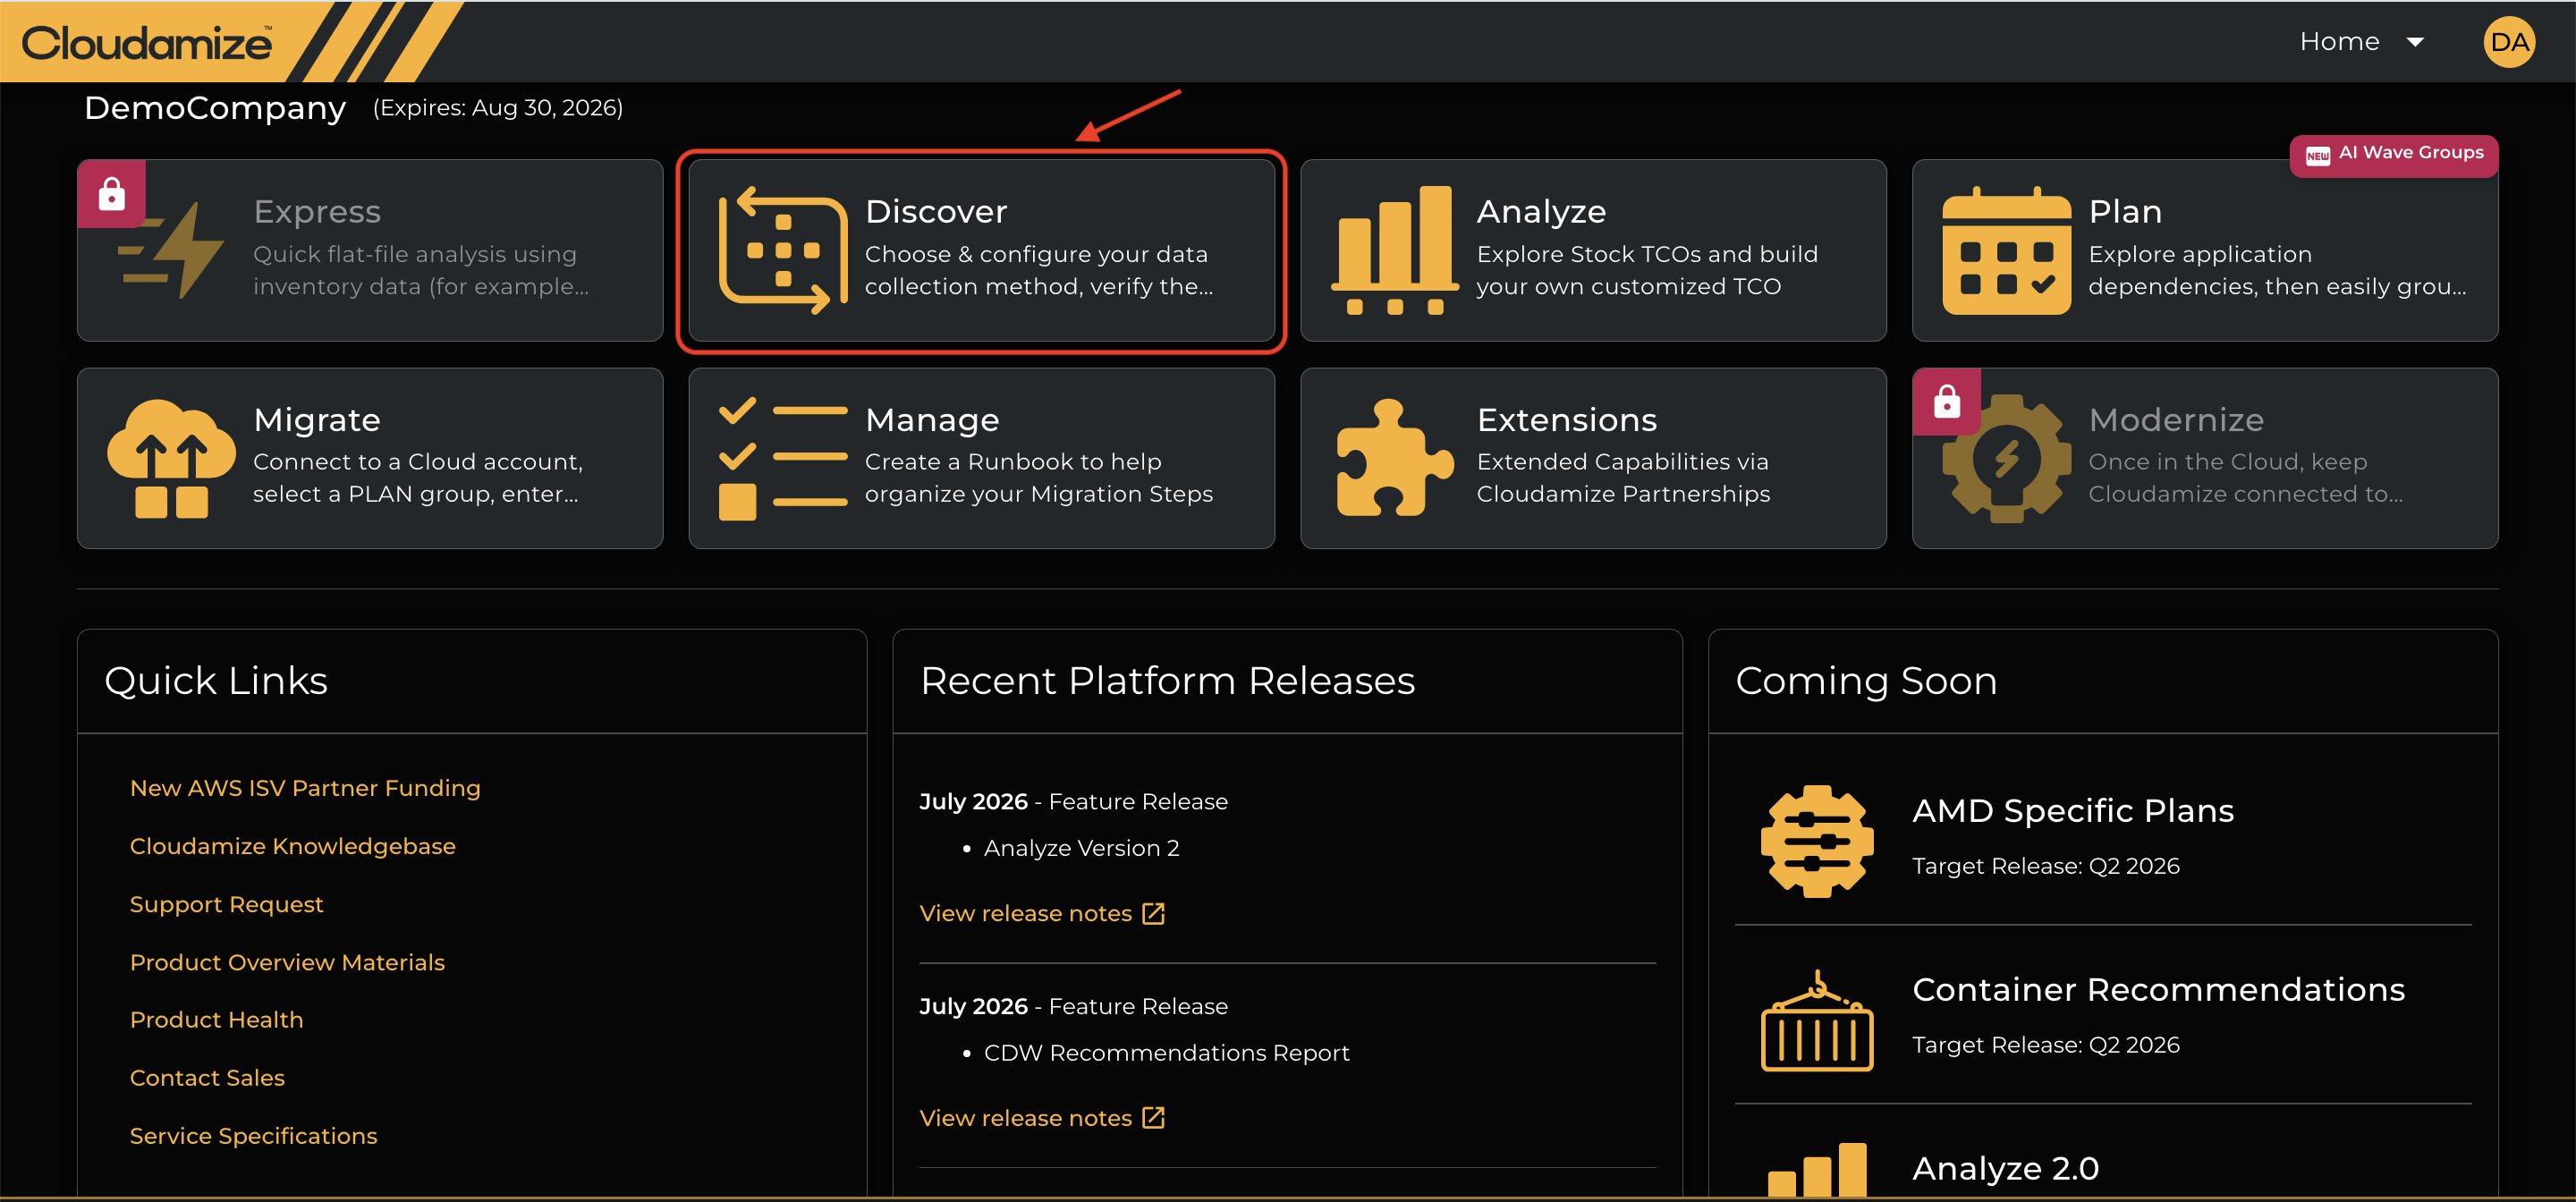
As soon as the user is logged into the console, it lands with the below page and click on the discover Icon as shown in the screenshot below and then → Setup → VMware Setup
This article describes the page and its functions below.
Add vCenter
The Add vCenter button can be clicked any time prior to starting data collection to add and configure a new vCenter using the below form:
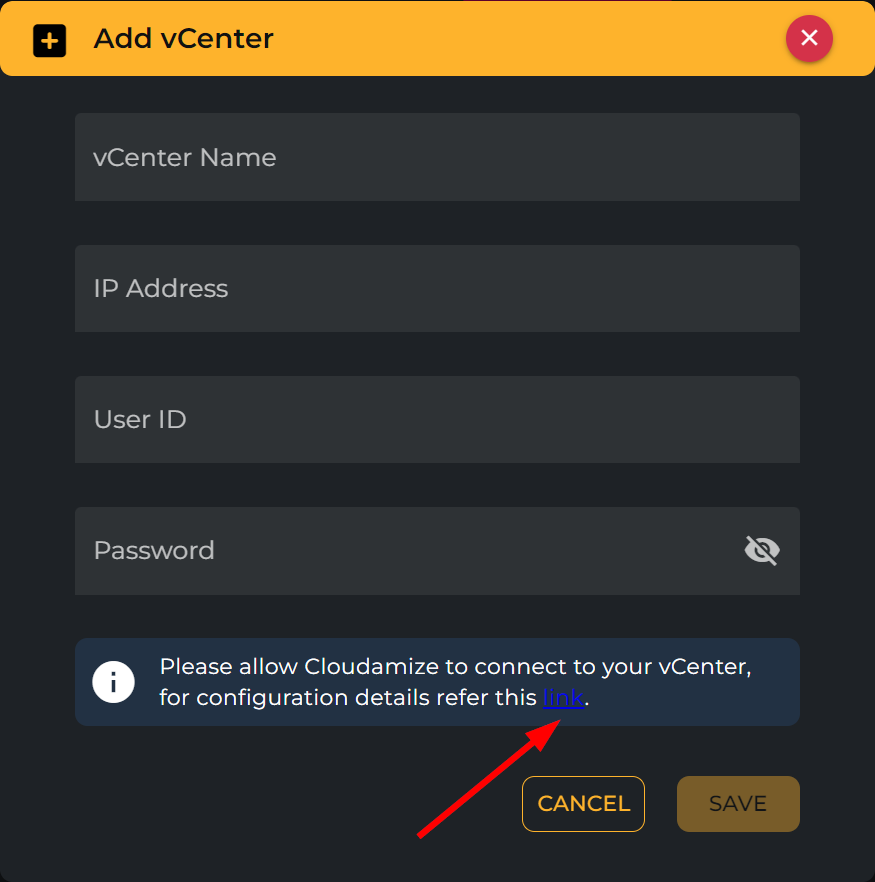
A link to our KB article on setting up vCenters on Cloudamize can be found here.
The button becomes disabled once you have started data collection, so if you have any issues with this please contact the helpdesk team.
Actions
Clicking the three dots to the right of the vCenter will bring up the action menu:
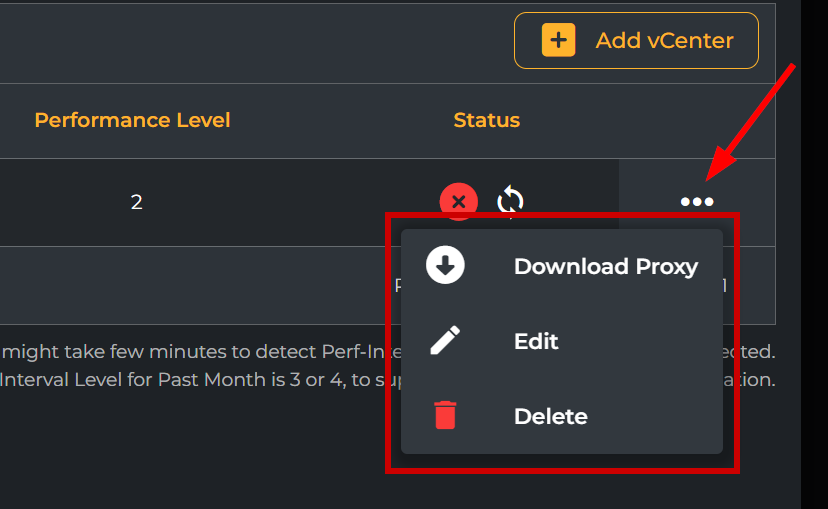
From here you can edit the vCenter configuration, delete the vCenter from the Cloudamize interface, or download the Cloudamize vCenter Proxy to install and configure. See our KB article for details of the proxy setup.
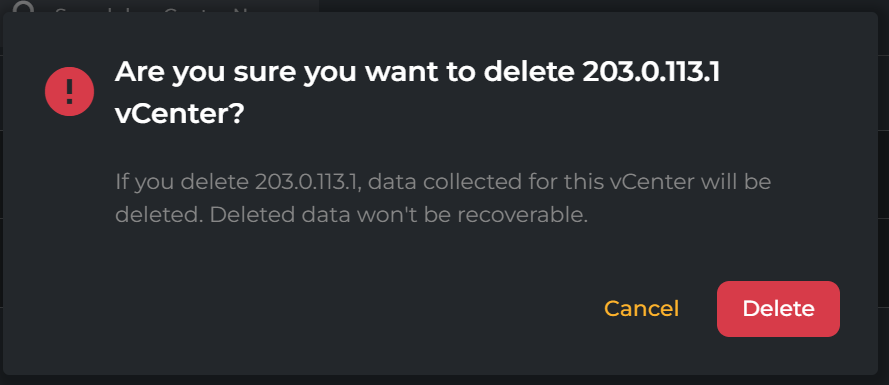
Deleting a vCenter will prompt for confirmation, as data is non-recoverable once deleted:
Status
The page shows the current status of any vCenters that have been configured:

The reported performance level is indicated. This is relevant when collecting historical data for building recommendations (level 3 or 4 is required; otherwise, only data captured during the collection period is used).
The current status of the connection to the vCenter is also displayed, along with any error messages. Debugging information can be found in the vCenter section of our KB.
Next to the current status indicator is a refresh button that will re-check the connection and update the status on demand.
If you have any queries, please get in touch with the helpdesk via our Helpdesk Portal or by email at helpdesk@cloudamize.com.