

Overview
This Knowledge Base article provides a complete guide for onboarding and logging into the Cloudamize Console for both Standard Assessment Accounts and Demo Accounts. Follow these steps to access your account, complete your first-time login, and manage temporary credentials.
Account Types & Provisioning Methods
Before logging in, understand how your account type is created:
|
Account Type |
Description |
Provisioning Method |
|
Standard Assessment Account |
Used for running active infrastructure discovery and TCO assessments. |
Created by an existing Assessment Administrator or by Cloudamize Support. |
|
Demo Account |
Sandbox environment used for feature walkthroughs and PoCs. |
Created exclusively by Cloudamize Support. Self-provisioning is not available. |
Step-by-Step Onboarding & Login Workflow
Account Provisioning
-
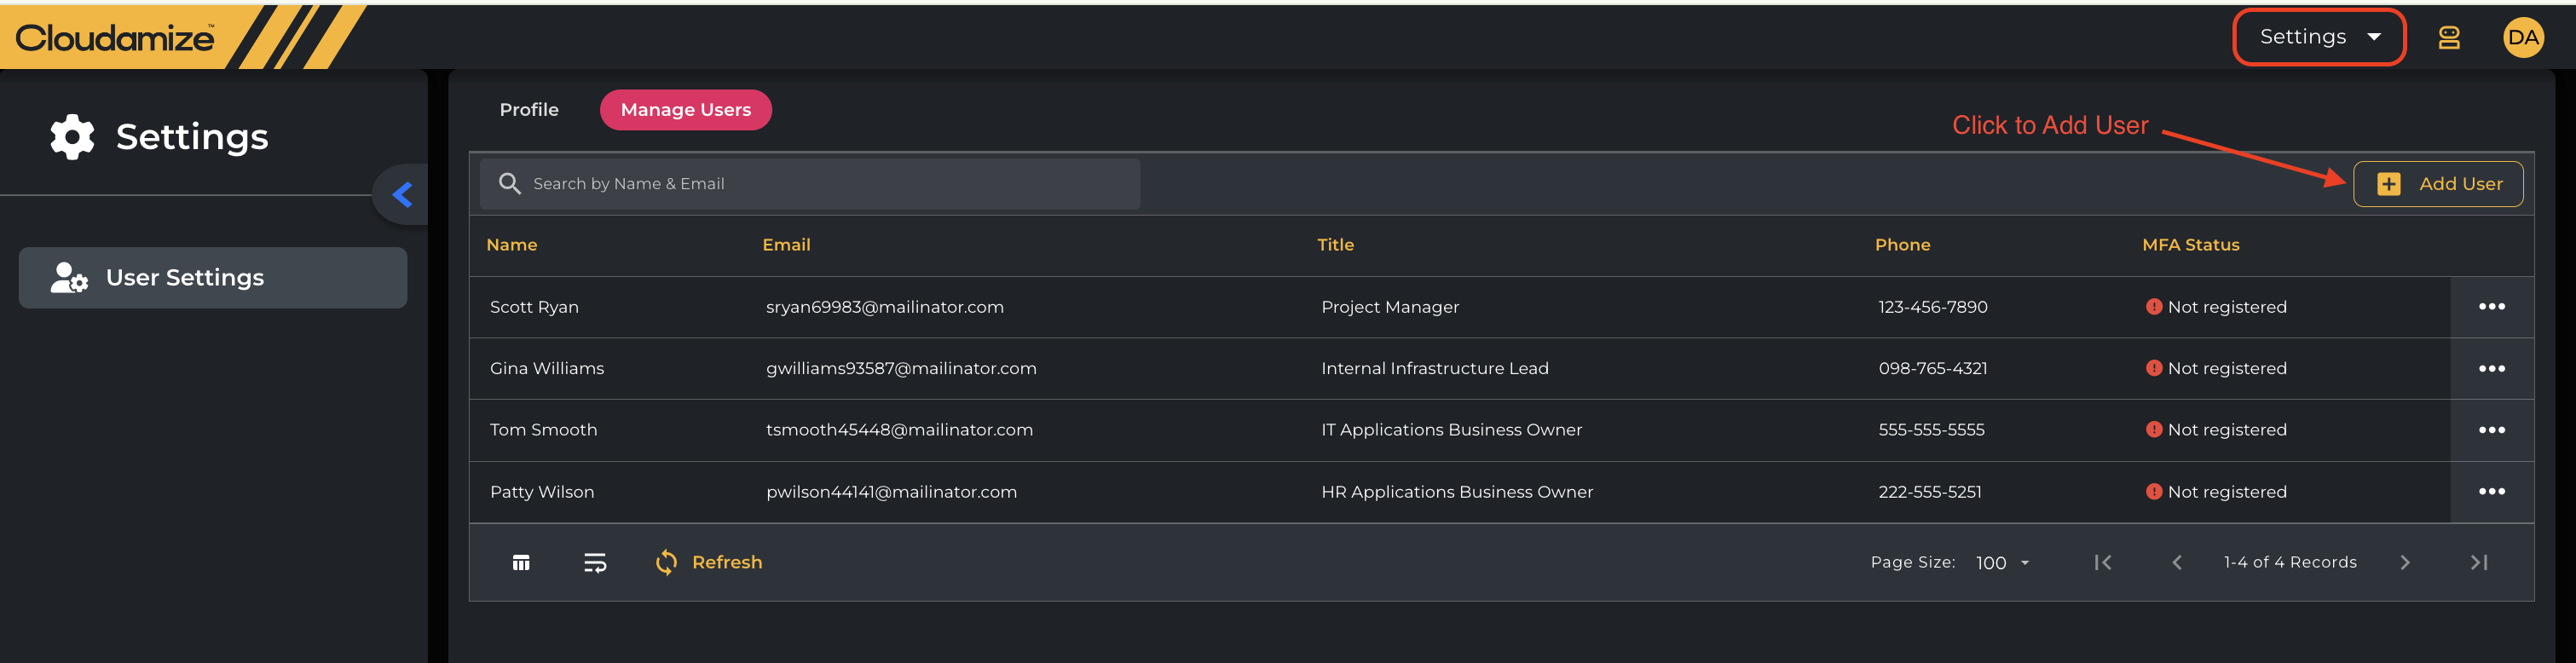
For Standard Accounts: A new user account can be created in one of two ways:
-
By an Existing Administrator: An existing Cloudamize account owner or administrator with access to your assessment console adds your email address.
-
By Cloudamize Support: The Cloudamize Support team provisions your account directly upon request.
-
-
For Demo Accounts: Your account is set up directly by Cloudamize Support following a request to your account representative.
Automated Welcome Email
Once your account is added to either environment, the system automatically sends a welcome email to your registered email address.
The welcome email includes:
-
Login URL:
https://console.cloudamize.com -
User ID / Login: Your registered email address
-
Temporary Password: A system-generated temporary password
Tip: If you do not see the email in your primary inbox within a few minutes of provisioning, check your Junk or Spam folder.
Step 3: First-Time Login
-
Open your web browser and navigate to console.cloudamize.com.
-
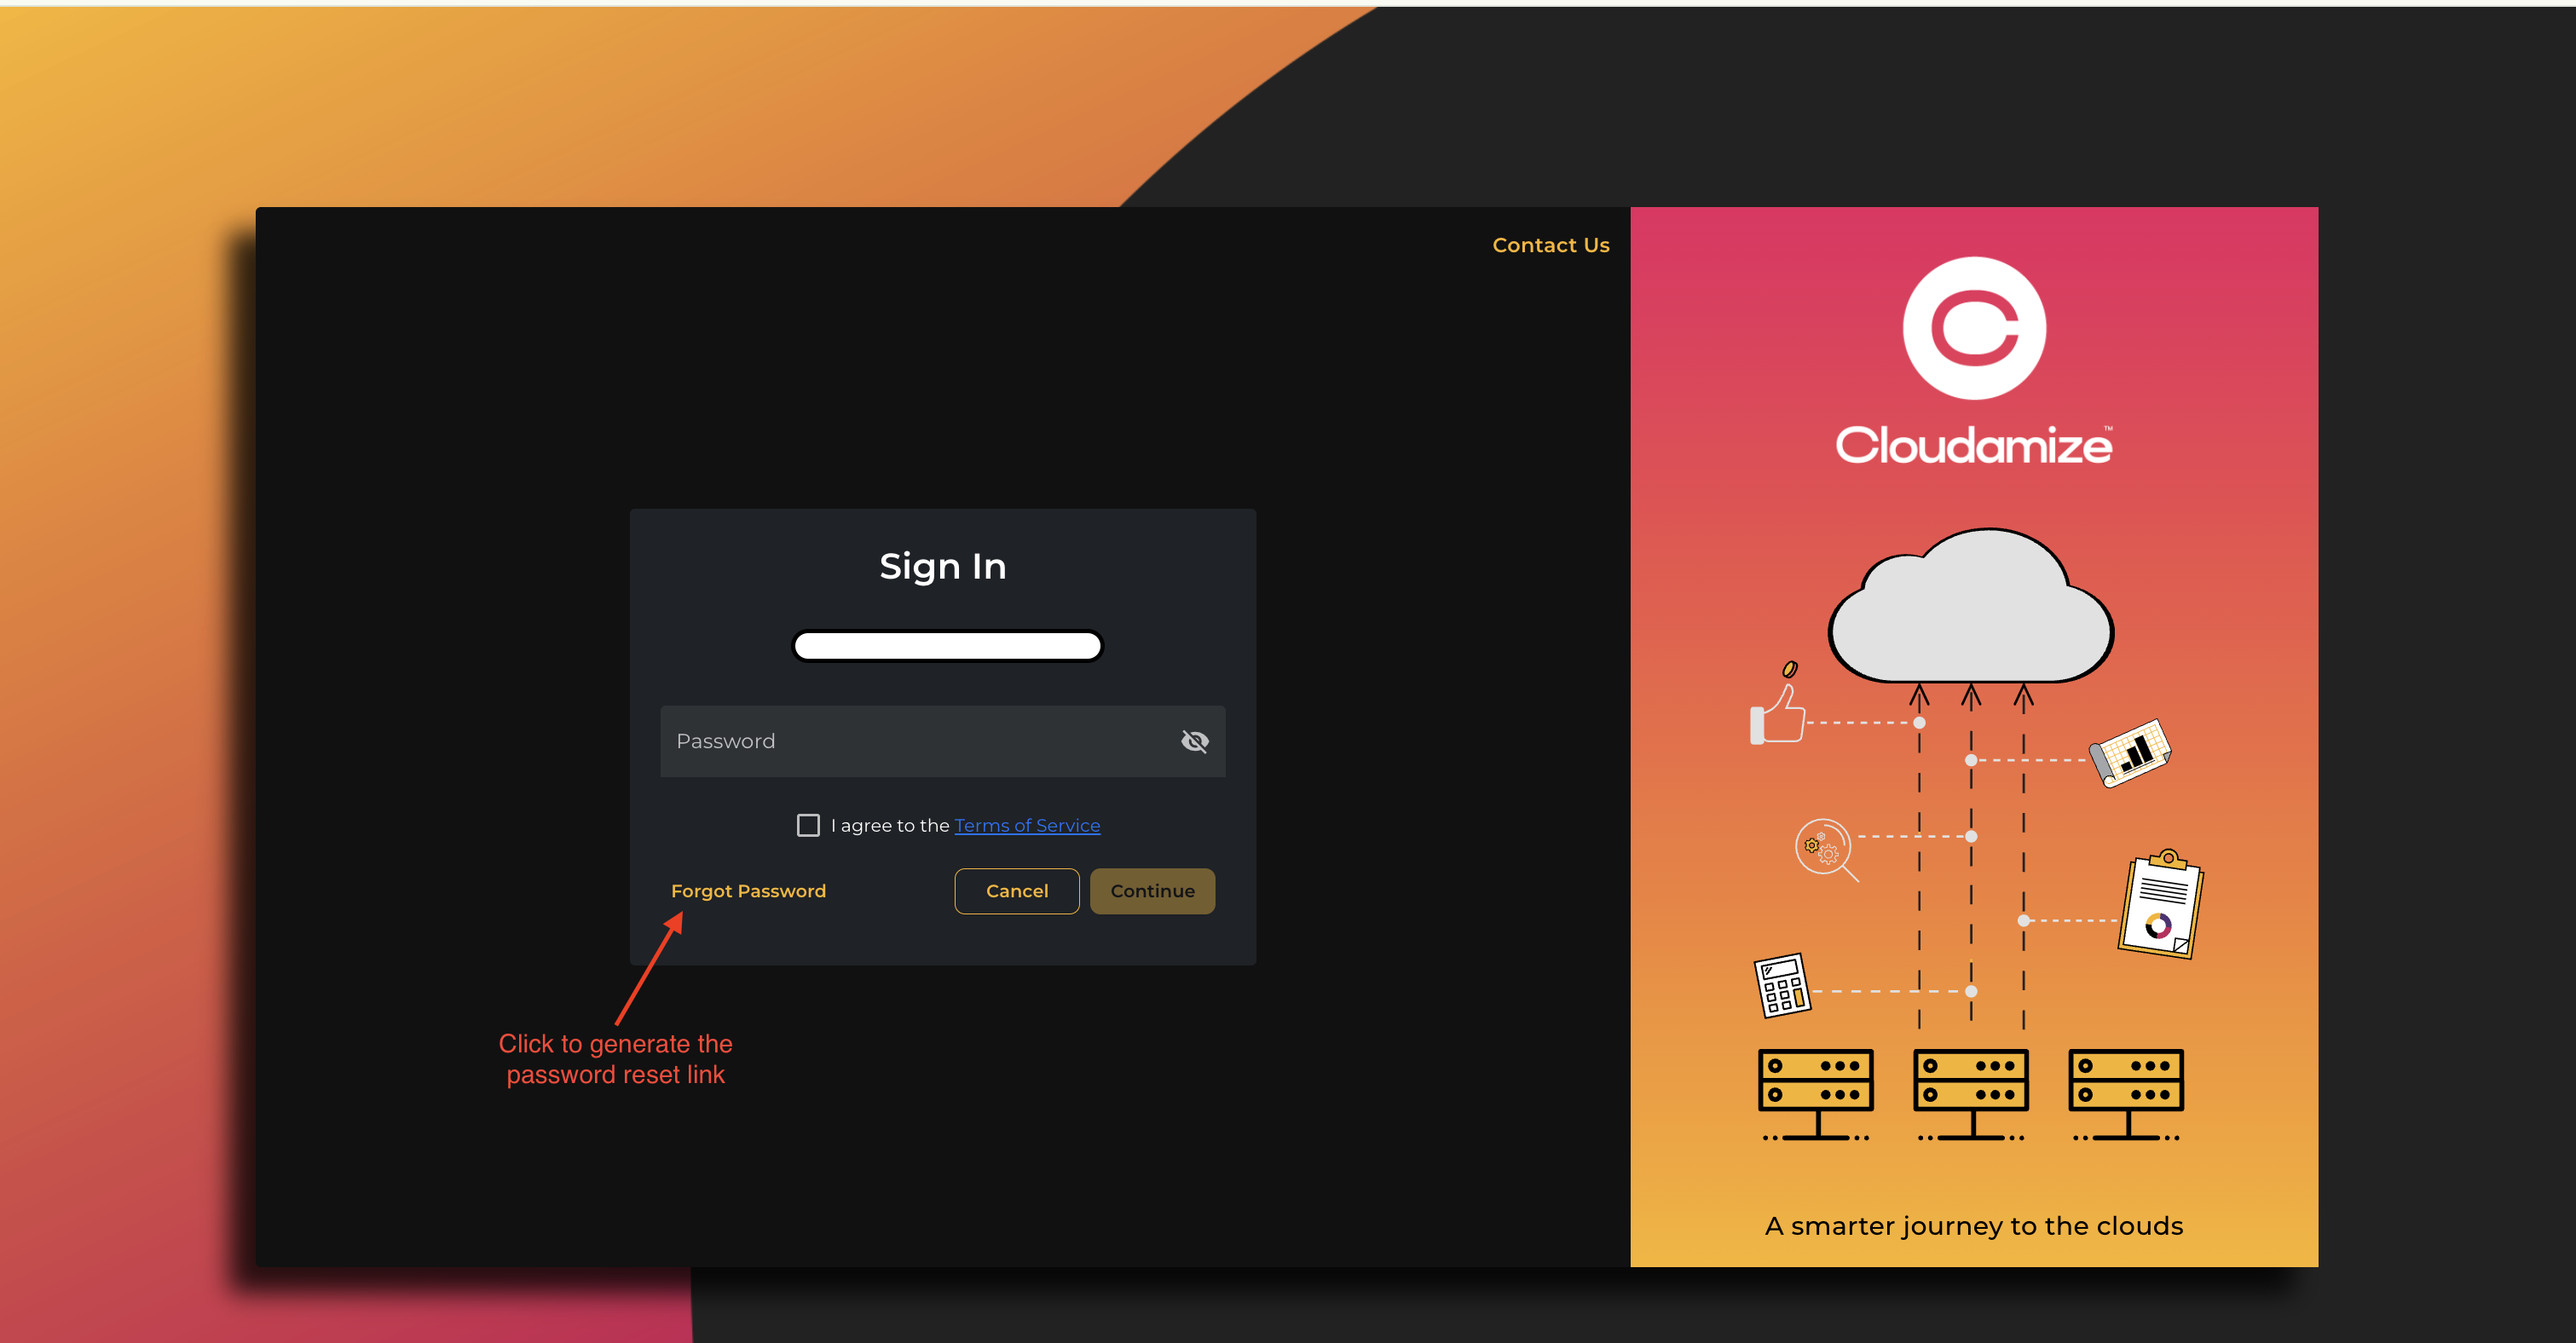
Enter your registered email address as your User ID and click Continue.
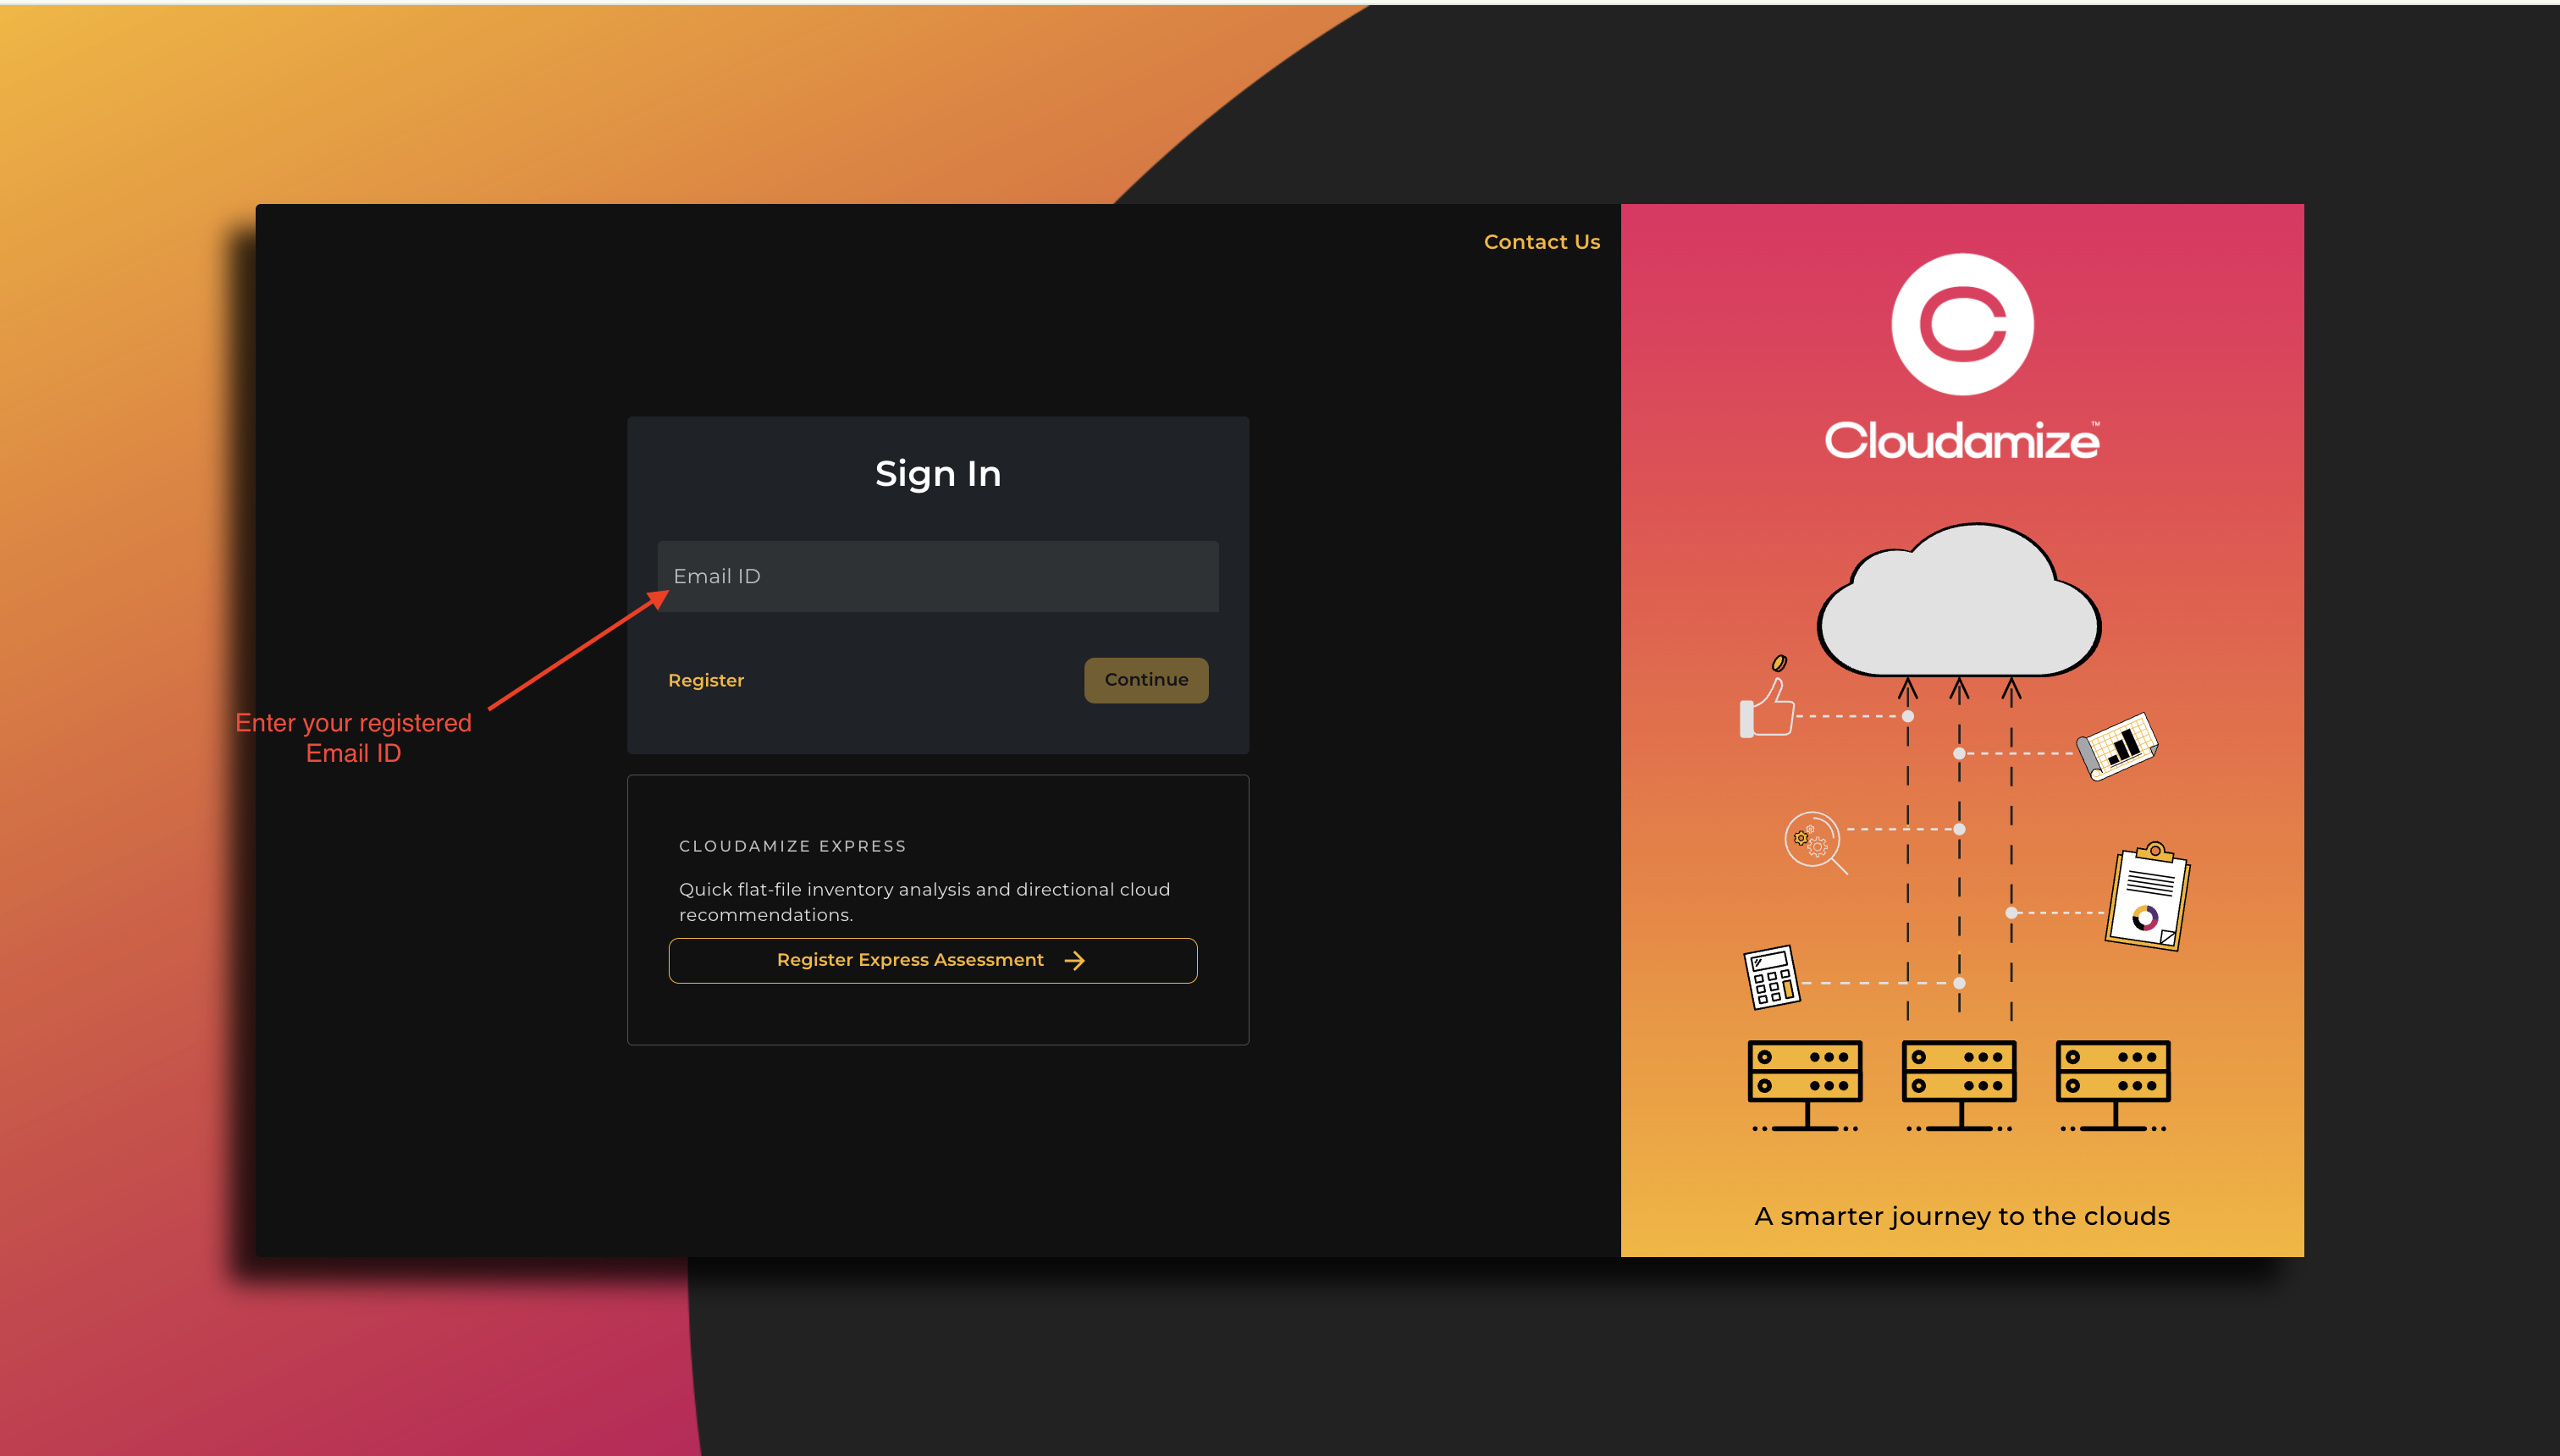
Login Screen -
Enter the temporary password provided in your welcome email.
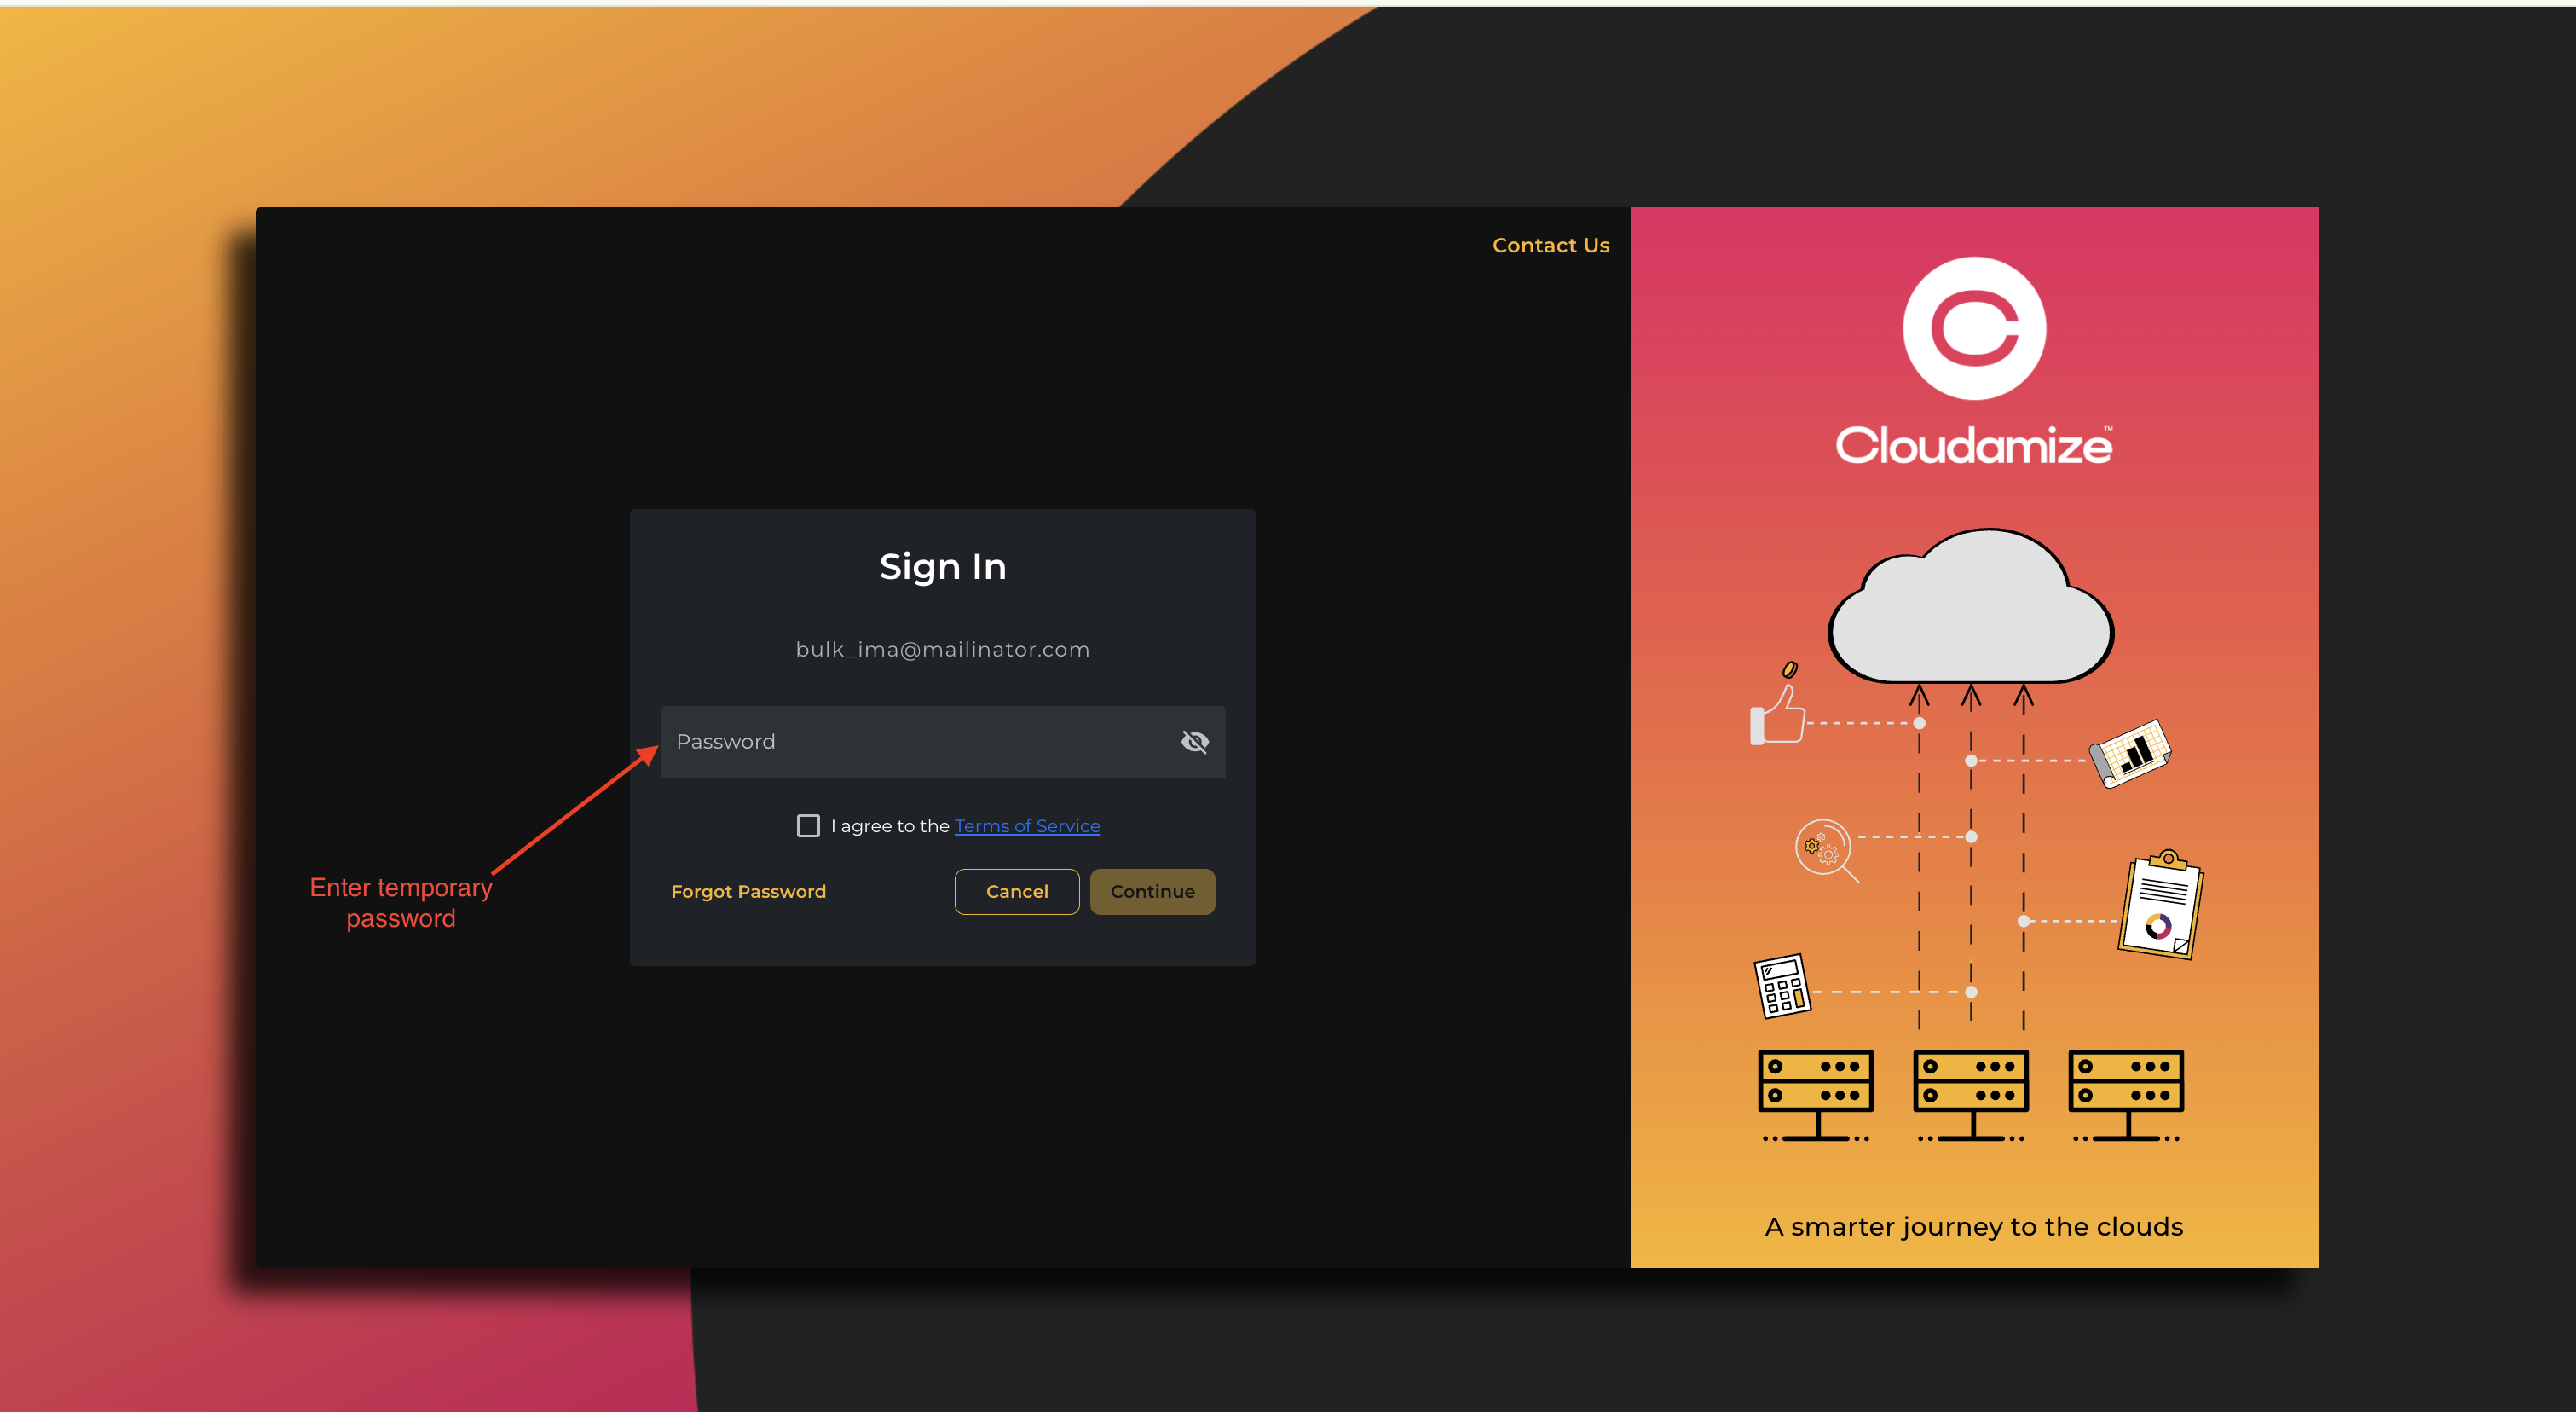
Password Screen -
Check the box to accept the Terms of Service and click Continue to log in.
-
Upon your initial successful login, you will be prompted to update your password to a secure, permanent password of your choice.
Successful Login & Main Dashboard Overview
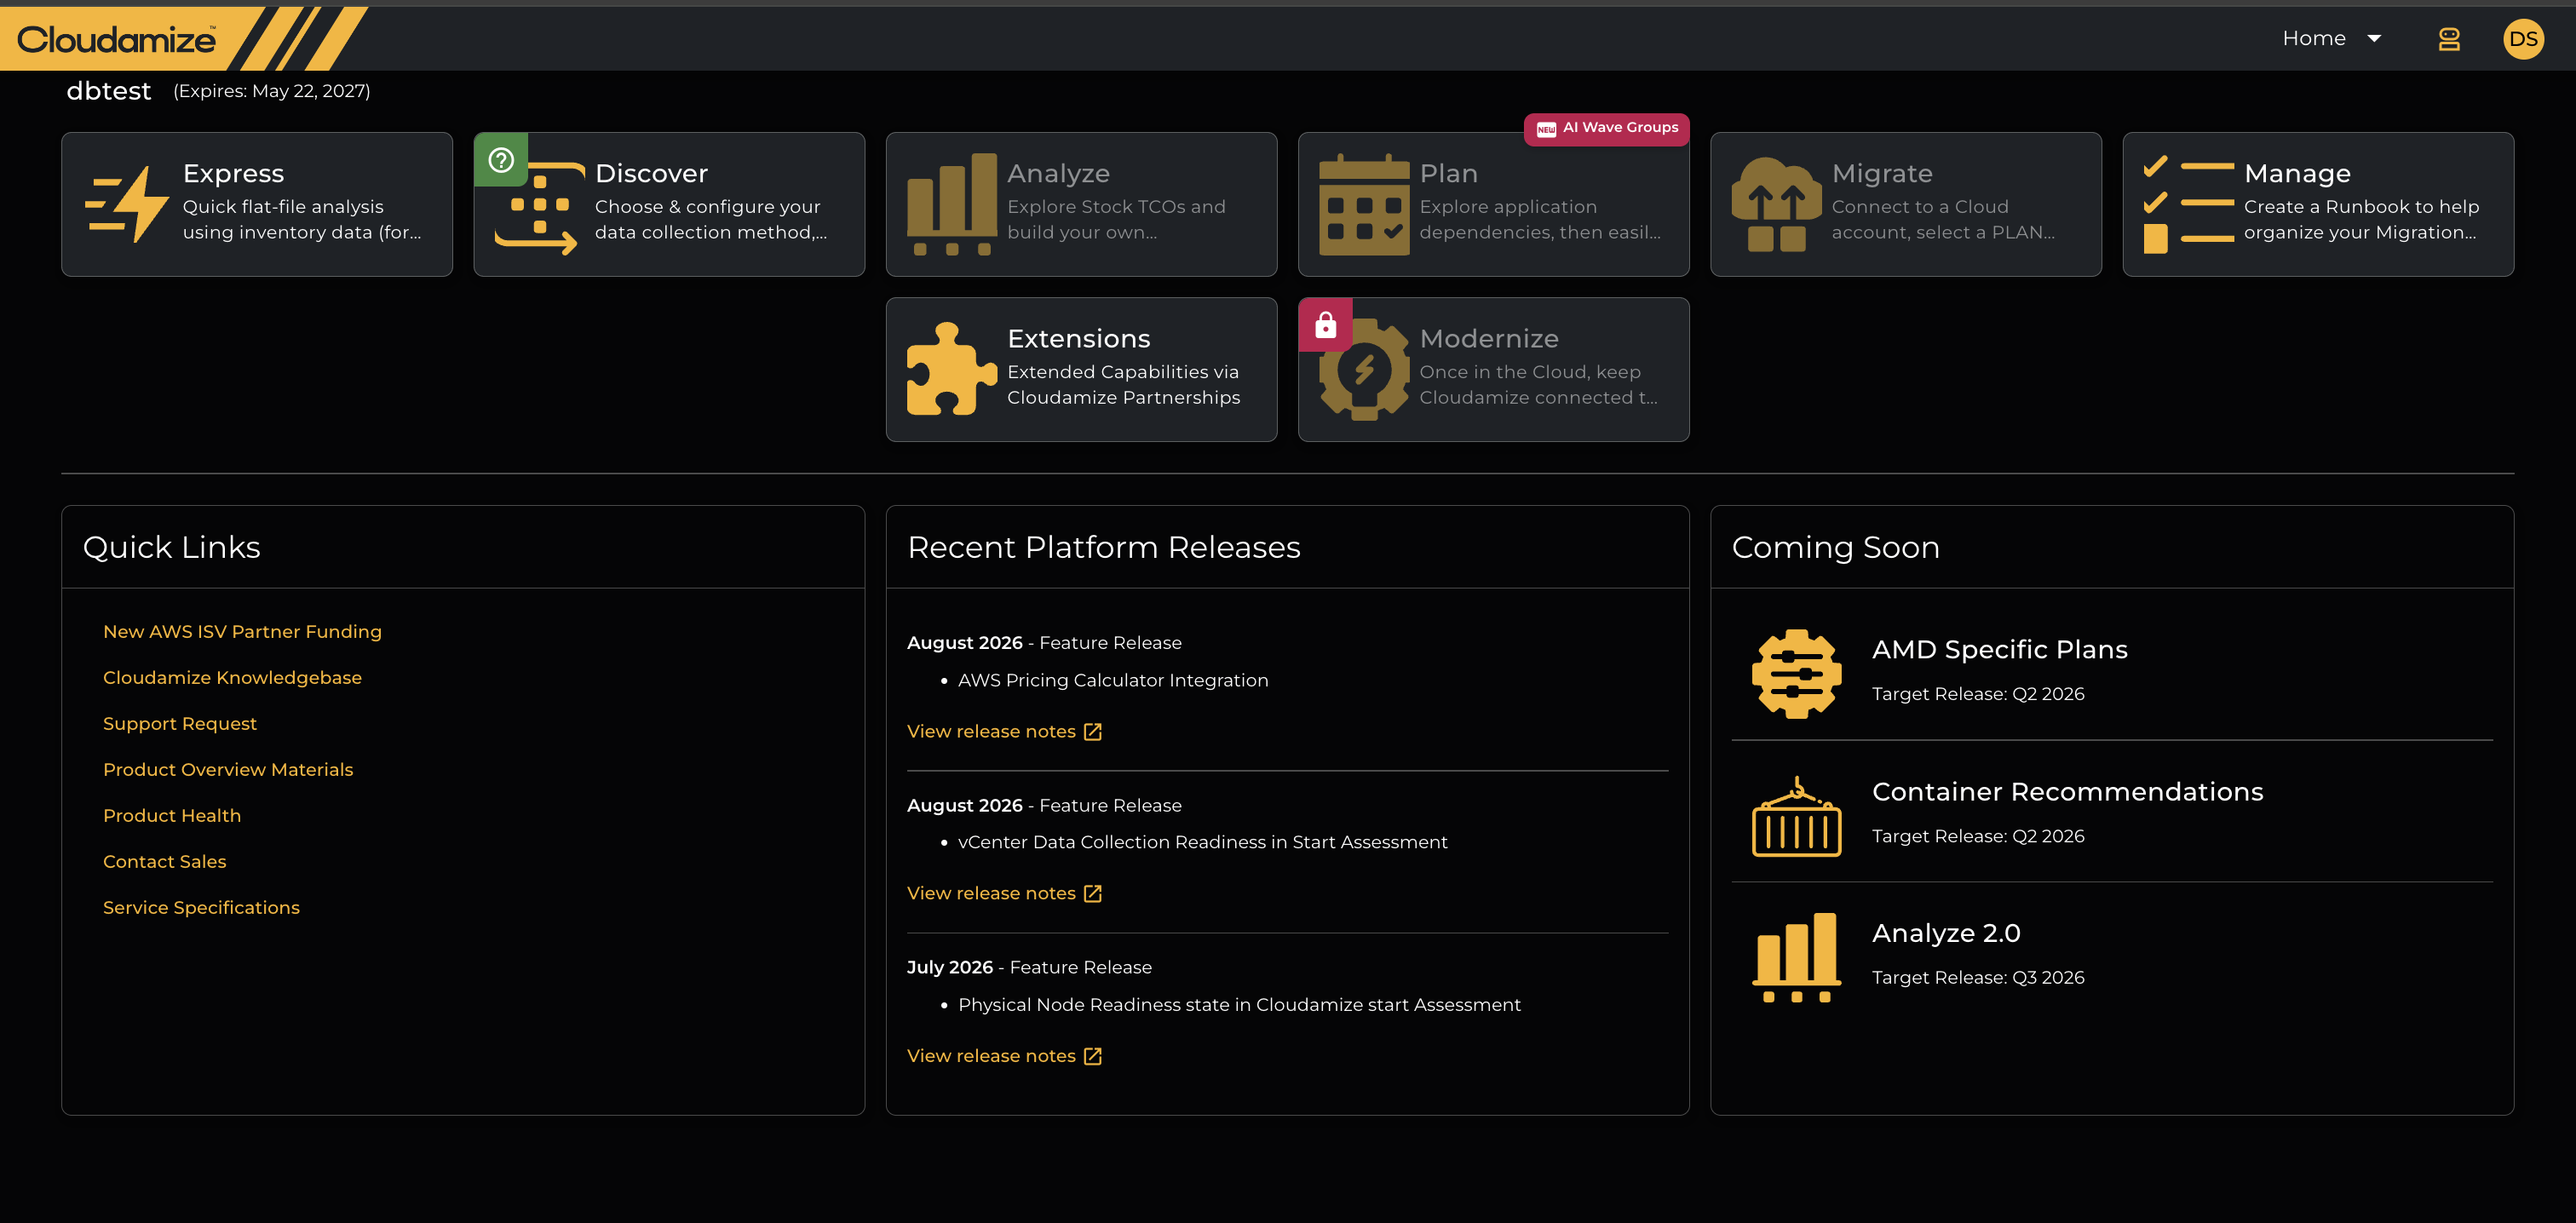
Upon successful authentication and password update, you will land on the primary Cloudamize Navigation Hub:
Step 4: Adding Servers & Starting Data Collection
To begin discovering your infrastructure and collecting performance metrics, you must navigate to the Discover module:
-
Click on the Discover tile ("Choose & configure your data collection method...") on the main landing dashboard.
-
The Discover section allows you to configure your preferred data collection methodology (Agentless, Agent-based, or vCenter connection) and begin adding target servers.
📌 Next Steps for Inventory Configuration:
For detailed instructions on adding target servers, configuring agentless/agent settings, and setting up discovery rules, please refer to the dedicated guide:
Step 5: Password Expiration & Reset (24-Hour Limit)
⚠️ IMPORTANT: Temporary passwords are valid for 24 hours from the time the welcome email is generated.
If you do not complete your first login within 24 hours, the temporary password will automatically expire for security purposes.
How to Request a New Password:
If your temporary password has expired, follow these steps to regain access:
-
Navigate to console.cloudamize.com.
-
Click the Forgot Password? link located on the login screen.
-
Enter your registered email address and submit the request.
-
Check your email for a password reset link, then follow the on-screen instructions to set a new password.
If you have any queries, please get in touch with the helpdesk via our Helpdesk Portal or by email at helpdesk@cloudamize.com.